Why Your Thuja Green Giant Is Turning Brown (And How to Fix
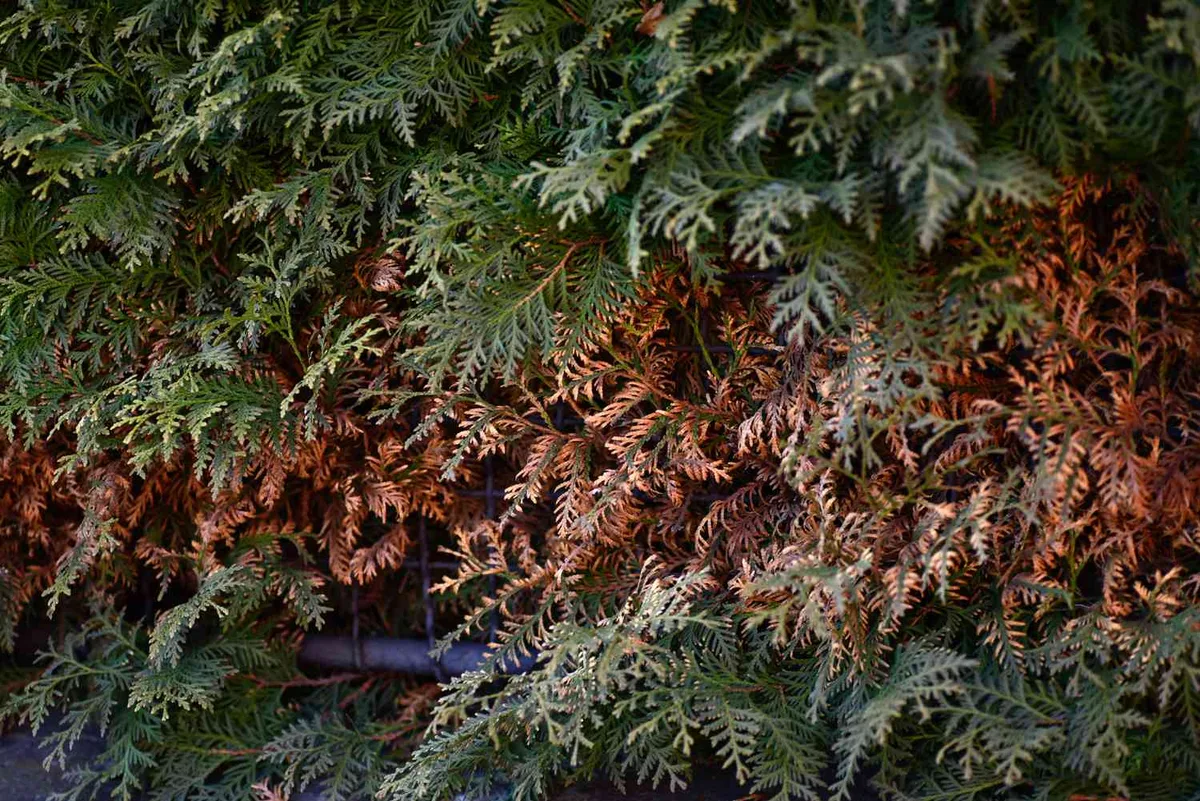
Seeing your thuja green giant turning brown feels like a slow disaster. You planted these trees for a thick privacy screen. Now the foliage looks crispy and dead.
Our research shows most browning comes from fixable environmental stress, not fatal diseases.
Thuja plicata x standishii hybrids grow 3 to 5 feet per year once established. They thrive in USDA Hardiness Zones 5 through 9. But their shallow root systems make them sensitive to water issues and winter winds.
Let’s figure out exactly what is wrong with your hedge.
Quick Answer
A thuja green giant turning brown usually signals environmental stress. Interior fall browning is natural seasonal needle drop. Winter winds cause tip burn called desiccation.
Soggy soil triggers root rot starting at the base. Check the browning location first to find the real cause.
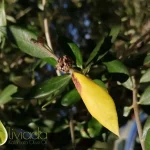
Image source: Web (Bing) / fity.club (Web image (fair-use with source credit))
Why Your Thuja Green Giant Is Turning Brown (And How to Read the Damage)
Your tree talks if you know how to read it. Browning isn’t a single problem. It is a symptom with different causes depending on the location.
The placement of the dead needles tells you where to start looking.
If the inner canopy near the trunk turns brown in autumn, relax. This is normal seasonal needle drop. Evergreen conifers shed their oldest interior needles every fall to conserve energy.
The outer tips stay bright green and flexible.
If the branch tips turn crispy after a cold snap, you have winter desiccation. Frozen ground stops roots from taking up water. Meanwhile, harsh winds pull moisture straight out of the leaves.
The tree dries out from the outside in.
If the browning starts at the bottom branches and creeps upward, suspect root rot. Heavy clay soils or daily sprinkler runs drown the shallow roots. The tree suffocates.
Phytophthora fungi often invade these weakened roots as a secondary issue.
Random bronze patches scattered across the canopy point toward pests or fungal blight. Spider mites suck sap during hot summers. Fungal pathogens like Cercospora needle blight attack when overhead watering keeps the foliage wet.
Location is your best diagnostic tool.
The Diagnostic Workflow: Pinpointing the Cause of Browning
Don’t guess. Don’t spray random chemicals. Follow this exact workflow every time an arborvitae looks sick.
You need two simple tests before making any decisions.
Where the Browning Starts Tells You Everything
Look closely at the tree in good light. Divide the damage into one of four specific zones. Each zone points directly to a different underlying cause.
- Inner canopy only: Normal seasonal needle drop. No action needed.
- Outer branch tips: Winter wind burn or salt spray damage.
- Bottom creeping up: Overwatering, poor drainage, or root rot.
- Scattered random patches: Spider mites or fungal needle blight.
If you see multiple zones affected, start with the soil. Water issues often weaken the tree enough to invite secondary pest problems. Fix the roots first.
Then treat the bugs.
The Paper Tap Test and Soil Moisture Check
Hold a piece of white paper under a discolored branch. Tap the branch sharply with your hand. Look closely at the paper for moving specks.
If tiny dustlike dots crawl around, you have spider mites.
Next, check the soil moisture. Dig down about four inches near the base. Grab a handful of dirt and squeeze it hard.
If water drips out, your tree is drowning. Cut your irrigation immediately.
If the soil crumbles into dry dust, the roots are parched. Give the tree a slow, deep soaking. Let the hose trickle at the base for an hour.
Fast surface watering never reaches the deeper roots.
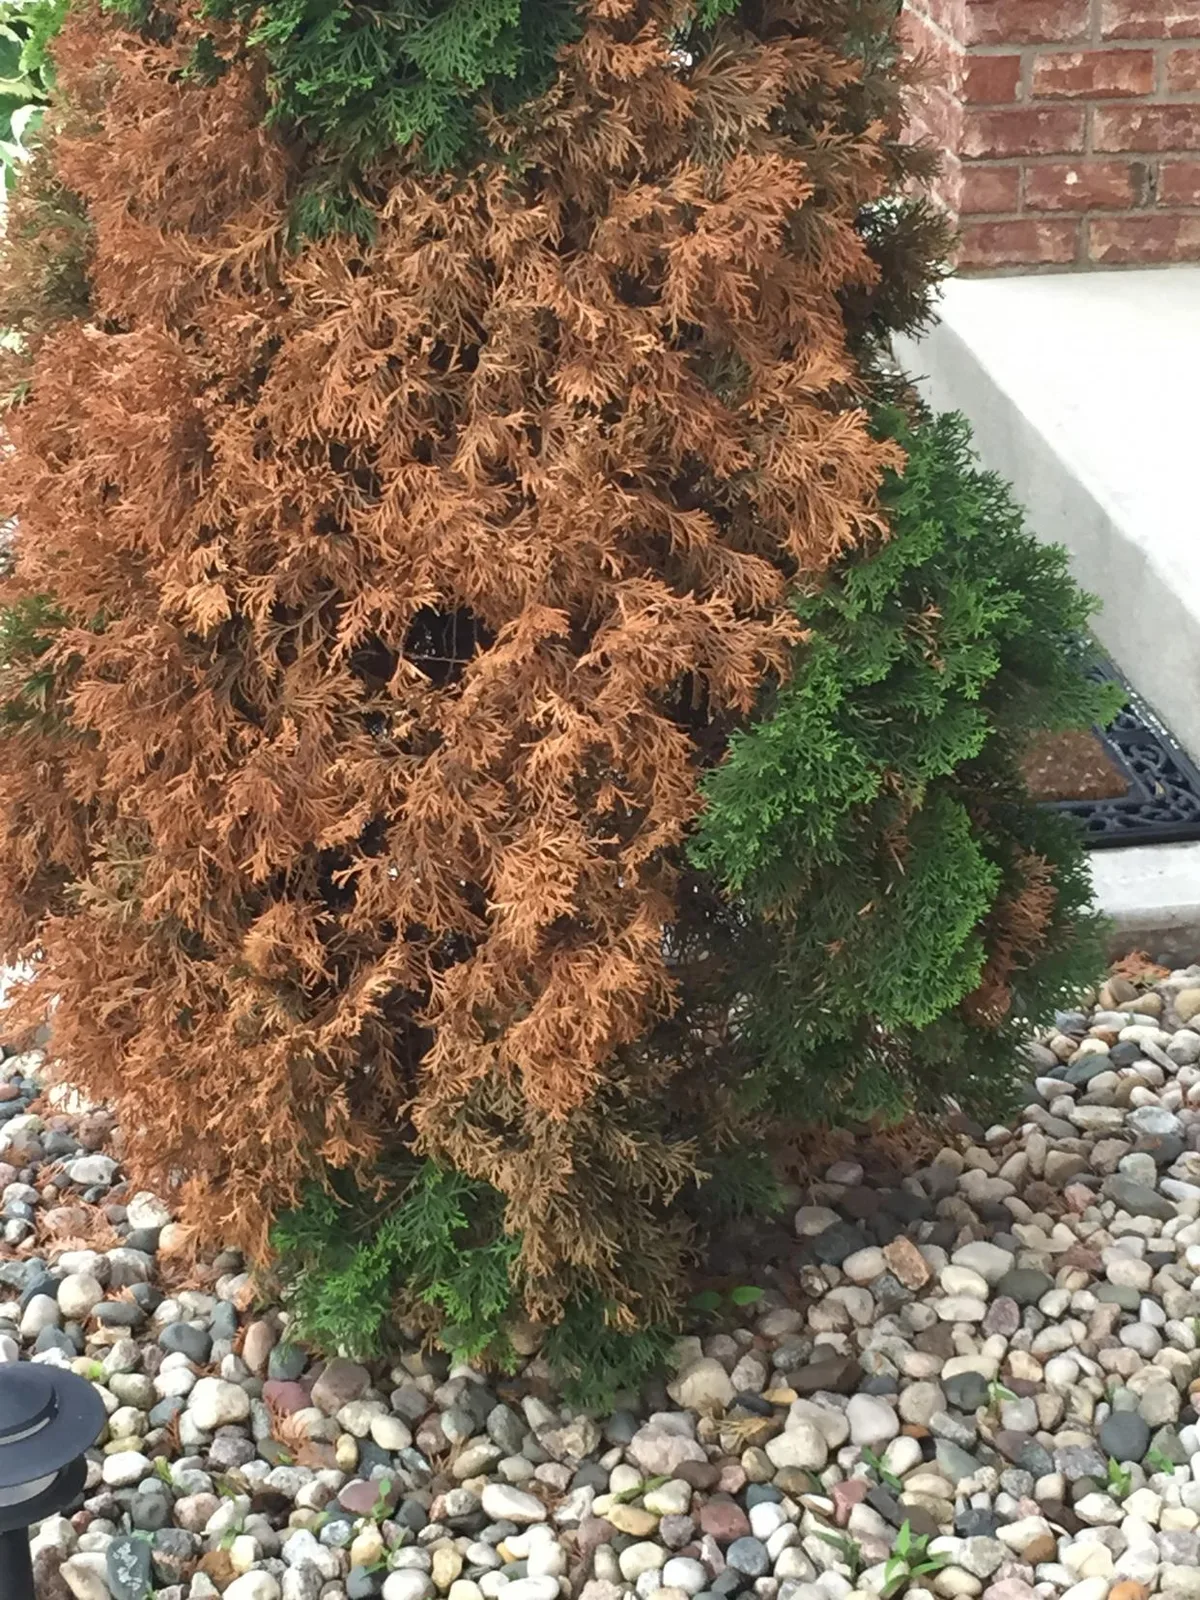
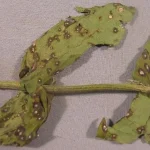
Image source: Bing (Web (fair-use with source credit))
University extension programs consistently recommend this physical soil test over relying on automated timers. A university cooperative extension service will tell you that automated sprinklers ignore actual weather conditions. Feel the dirt yourself before adding more water.
Decision Branches: Matching Your Symptoms to the Right Fix
Now we match your findings to a specific treatment plan. Use the results from your visual inspection and soil test. Pick the scenario below that matches your tree.
Follow the steps exactly.
Normal Fall Needle Drop vs. Winter Desiccation
If the inner needles dropped in autumn and the tips are green, do nothing. Rake up the fallen debris if you want a tidy look. Do not apply fertilizer to force new growth.
The tree is doing exactly what it should.
If the outer tips turned brown after winter, wait until spring. Do not prune in February. You might cut into living tissue that just hasn’t leafed out yet.
Wait until April or May to assess the true damage.
Once new green growth appears, lightly shear off the dead tips. Use sharp bypass pruners. Make clean cuts just above a living bud.
Next November, give the hedge a deep soaking before the ground freezes solid.
For trees exposed to heavy road salt or brutal winds, wrap young specimens in burlap. Leave the top open for air circulation. Remove the wrap as soon as the spring thaw begins.
Trapped heat under plastic damages the foliage faster than the cold.
Root Rot From Overwatering vs. Transplant Shock
Root rot requires immediate changes to your watering habits. Pull back any mulch piled against the trunk. Keep mulch two to three inches away from the bark.
Volcano mulching traps moisture and invites fungal decay.
Cut your watering frequency in half. Only irrigate when the top four inches of soil feel completely dry. If your yard has heavy clay, consider installing a French drain nearby.
Standing water kills Thujas faster than drought ever will.
Transplant shock looks similar but happens within the first year. Newly planted trees lack established root systems. They wilt and brown easily during summer heat.
Water them deeply twice a week for the first month.
Taper off gradually as the roots spread. Avoid synthetic fertilizers on stressed new plantings. High nitrogen burns tender young roots.
Stick to plain water and patience for the first growing season.
Spider Mites vs. Cercospora and Pestalotiopsis Fungal Blights
Spider mites thrive in hot, dry, dusty conditions. Blast the infested branches with a strong stream of water. Do this early in the morning so the foliage dries quickly.
Repeat every three days for two weeks.
If the population explodes, apply horticultural oil. Coat the undersides of the needles thoroughly. Never spray oils when temperatures exceed 90 degrees Fahrenheit.
The heat causes severe phytotoxicity and burns the plant tissue.
Fungal blights like Cercospora require a different approach. Stop all overhead watering immediately. Switch to drip irrigation or a soaker hose at the base.
Wet foliage overnight is the primary trigger for spore germination.
Prune out heavily infected branches. Wipe your shears with rubbing alcohol between every single cut. This prevents spreading spores to healthy wood.
Improve airflow by thinning out surrounding shrubs crowding the hedge.
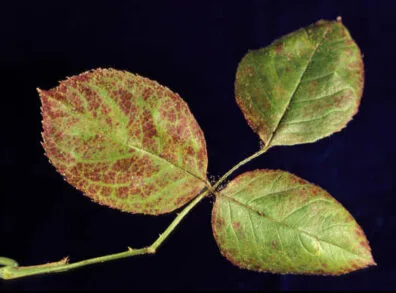
Image source: Bing (Web (fair-use with source credit))
In severe fungal cases, a copper-based fungicide helps prevent further spread. Apply it according to the manufacturer label directions. Fungicides protect new growth but won't cure already dead brown needles.
Always prioritize airflow and dry foliage over chemical treatments.
| Symptom | Primary Cause | Immediate Action |
|---|---|---|
| Inner needles dropping in fall | Seasonal needle drop | Do nothing. Rake debris. |
| Crispy outer tips in spring | Winter desiccation | Wait for new growth. Prune dead tips in May. |
| Browning base moving upward | Root rot / overwatering | Stop watering. Expose root flare. |
| Bronze patches with tiny specks | Spider mites | Blast with water. Apply horticultural oil. |
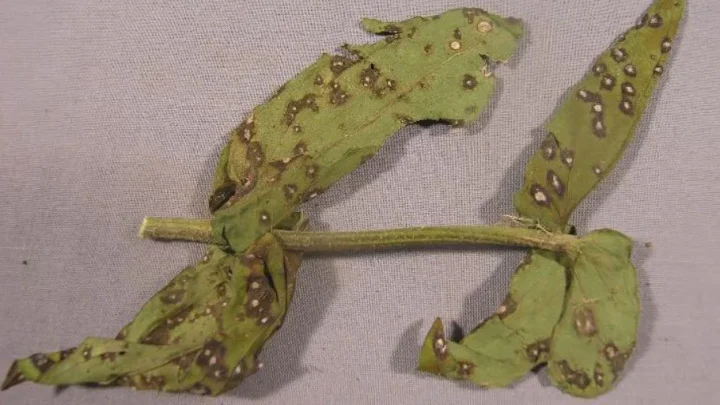
| Brown spots with black centers | Fungal blight | Prune infected wood. Stop overhead watering. |
Five Mistakes That Make Arborvitae Browning Worse
We see homeowners panic when their privacy screen starts dying. That panic leads to bad decisions. These five mistakes turn minor stress into total tree loss.
Avoid them entirely.
First, don’t panic-prune in late winter. If a brown branch still bends without snapping, it holds living tissue inside. Cutting it off removes buds waiting to open in spring.
Give the tree until mid-May to show its cards.
Second, stop volcano mulching. Piling mulch six inches high against the trunk rots the bark. It also hides the root flare, which needs exposure to air.
Keep mulch flat and pulled back from the base.
Third, avoid broad-spectrum pesticides for spider mites. These chemicals kill predatory insects that naturally eat mites. Once you wipe out the good bugs, mite populations explode tenfold.
Stick to water sprays and targeted horticultural oils.
Fourth, don’t throw synthetic nitrogen at a browning tree. Fertilizer burn pushes excess salts to the leaf tips. Those tips turn brown and crunchy.
Get a basic soil test from your local extension office before feeding anything.
Fifth, never water your hedge with oscillating sprinklers at night. Leaving scale-like foliage wet for twelve hours invites every fungal pathogen in the neighborhood. Water at the soil level.
Water in the morning. Keep the needles dry.
Long-Term Maintenance to Keep Your Privacy Hedge Green
Fixing a stressed tree is only half the job. Keeping your Thuja Green Giant green requires a predictable routine. Consistent care prevents almost every browning issue we covered earlier.
You just need to follow a few seasonal habits.
Water deeply but infrequently once the trees pass their first year. A mature hedge needs about one inch of water per week during summer. Let the top two inches of soil dry out completely between drinks.
Shallow daily watering guarantees weak roots and eventual rot.
Space your trees correctly when planting a new screen. Manufacturer specs confirm these hybrids reach 12 to 20 feet wide at maturity. Planting them three feet apart forces competition for water and blocks airflow.
Give them five to eight feet of space to prevent fungal blights later.
Mulch properly every spring. Apply exactly two to three inches of shredded hardwood bark. Keep that mulch pulled back from the trunk by at least three inches.
Exposed root flares breathe better and resist vole damage all winter long.
Skip heavy pruning on established hedges unless you are shaping them lightly. These trees naturally maintain a tight pyramidal form as of 2026. Hard cuts into old brown wood rarely produce new green growth.
Light shearing in early spring keeps the outer foliage dense and healthy.
Watch for pests during July and August. Hot, dry spells trigger spider mite outbreaks fast. Rinse the canopy with a hose every couple of weeks during droughts.
That simple habit knocks down pest populations before they turn your needles bronze.
Test your soil every three years. A basic pH and nutrient panel from your local university extension costs very little. It tells you exactly what your soil lacks.
Blind fertilizing causes more burned tips than it ever fixes.
Frequently Asked Questions
Will brown arborvitae needles turn green again?
Dead brown needles will never turn green again. The tissue is gone. However, if the branch itself is still alive, the tree pushes fresh green growth from the surviving buds next spring.
Always wait until May to judge what is truly dead.
How do I know if my Thuja Green Giant is dying?
Snap a small brown branch with your fingers. If it bends and feels flexible, the tree is still alive inside. If it snaps crisply like a dry twig, that section is dead.
Check multiple branches around the canopy before making a final call.
Should I water my arborvitae in winter?
Yes, but only before the ground freezes solid. Give the hedge a deep soaking in late November. Once the soil turns to ice, stop watering entirely.
Roots cannot absorb moisture from frozen dirt anyway.
Why is my newly planted Thuja turning brown?
New plantings suffer from transplant shock while establishing roots. They lack the network to pull enough water during hot weather. Water them deeply twice a week for the first month.
Avoid synthetic fertilizers until the second growing season.
Can overwatering cause arborvitae to turn brown?
Overwatering absolutely causes bottom-up browning. Soggy soil suffocates the shallow fibrous roots. Without oxygen, the roots die and invite Phytophthora fungi.
Always let the top four inches of soil dry out before watering again.

Similar Posts