Zinnia Leaves Turning Brown? Top Causes & Quick Fixes
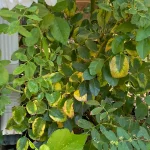
If you are seeing zinnia leaves turning brown, your plants are dealing with stress or disease. The exact cause depends entirely on where the damage starts and what it looks like. Crispy edges mean water issues.
Distinct spots usually point to a fungal infection.
Zinnias need about one inch of water per week to thrive. Spacing them 12 to 18 inches apart prevents humidity buildup that invites disease. Let us walk through exactly how to diagnose and fix the problem based on what you see.
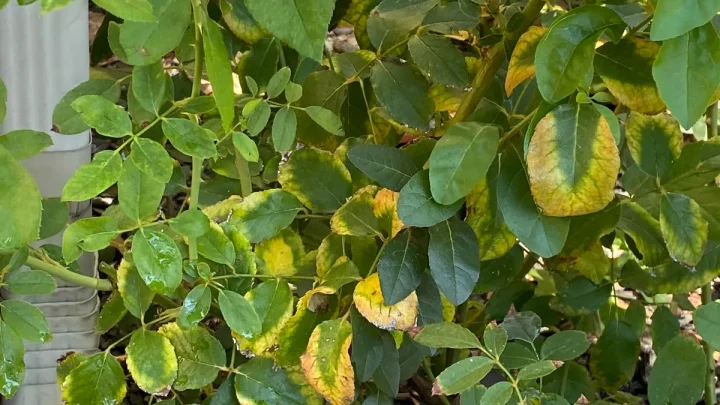
Image source: Web (Bing) / storage.googleapis.com (Web image (fair-use with source credit))
Quick Answer
Zinnia leaves turn brown from water stress or fungal infections. Crispy leaf edges indicate underwatering or fertilizer burn. Brown spots with yellow halos signal Alternaria leaf spot.
Bottom leaves browning naturally is normal aging. Check soil moisture before watering again.
Why Your Zinnia Leaves Are Turning Brown (And How to Read the Damage)
Brown leaves on zinnias are a symptom, not a single disease. You have to look closely at the damage pattern to figure out what went wrong. Our research shows gardeners often panic and overwater when they see brown tissue.
That reaction usually makes fungal problems much worse.
The first thing to check is the texture of the brown areas. Rub the damaged leaf gently between your fingers. Dry, crispy tissue points to environmental stress like drought or sun scorch.
Soft, mushy, or waterlogged spots almost always mean a pathogen is at work.
Next, look at where the browning started on the plant. Damage hitting the lowest leaves first is incredibly common. Those older leaves get splashed with soilborne spores every time it rains.
They also suffer first if the roots are sitting in soggy clay soil.
Top down dieback tells a completely different story. If the newest growth is turning brown, suspect spider mites or severe root rot. Mites thrive in hot, dry weather and can double their population every few days above 85 degrees Fahrenheit.
Root rot chokes the plant from the bottom up.
Reading the damage correctly saves you from wasting money on the wrong treatments. Applying a fungicide to a plant suffering from drought stress does absolutely nothing. Taking five minutes to inspect the leaves properly gives you the exact answer you need.
The Diagnostic Decision Tree: Match the Symptom to the Cause
Figuring out why your zinnias are struggling requires following a simple decision tree. You start with the visual symptom and follow the logic to the root cause. This workflow eliminates guesswork.
It stops you from treating a watering issue with chemicals meant for fungus.
Crispy Edges and Tips vs. Distinct Brown Spots with Yellow Halos
If the brown damage is limited to the outer margins and tips of the leaves, you are likely looking at moisture stress or fertilizer burn. Underwatered zinnias pull moisture away from leaf edges first to protect their core functions. The tissue dries out, turns pale green, and eventually goes crispy brown.
Fertilizer burn creates an identical pattern. Applying synthetic nutrients to bone dry soil draws water out of the roots through osmosis. The leaf margins scorch as a result.
Flushing the soil deeply with plain water is the immediate fix here.
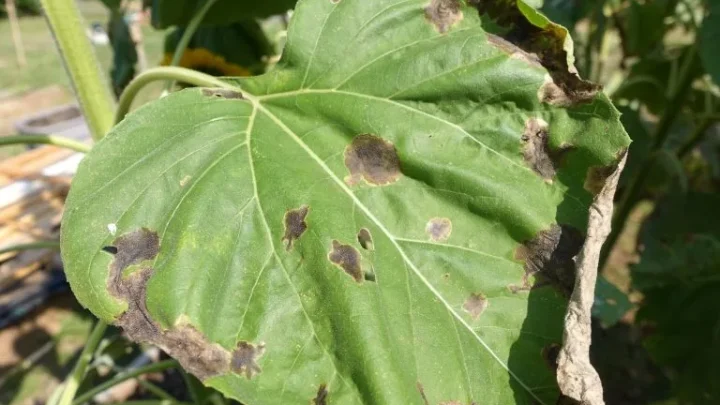
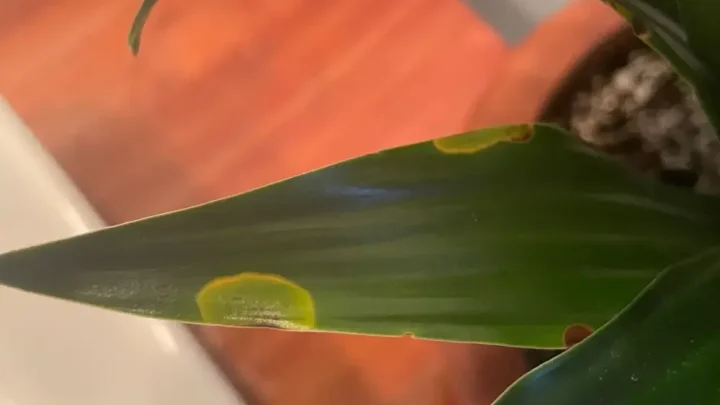
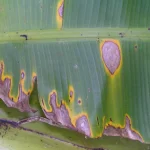
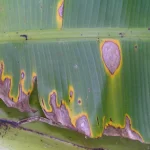
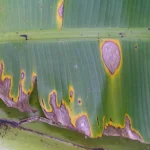
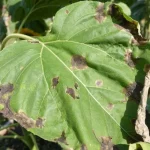
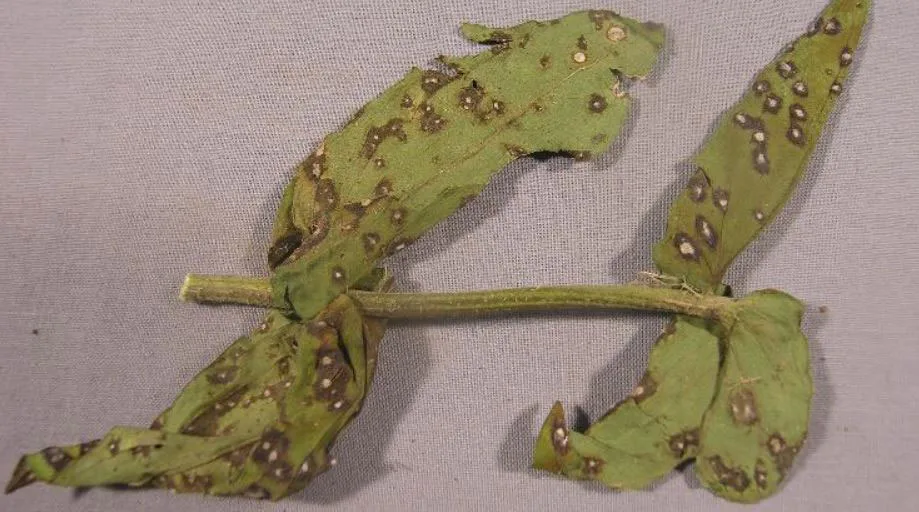
If you see distinct brown spots scattered across the leaf surface, the diagnosis changes entirely. Fungal diseases like Alternaria leaf spot (Alternaria zinniae) and Cercospora leaf spot (Cercospora zinniae) create defined lesions. These spots often feature concentric rings or dark borders surrounded by a yellow halo.
Bacterial leaf spot (Xanthomonas campestris pv. zinniae) produces angular spots trapped between leaf veins. They look water soaked at first before turning necrotic and brown. University extension pathology labs consistently identify these three pathogens as the primary culprits behind spotted zinnia foliage.
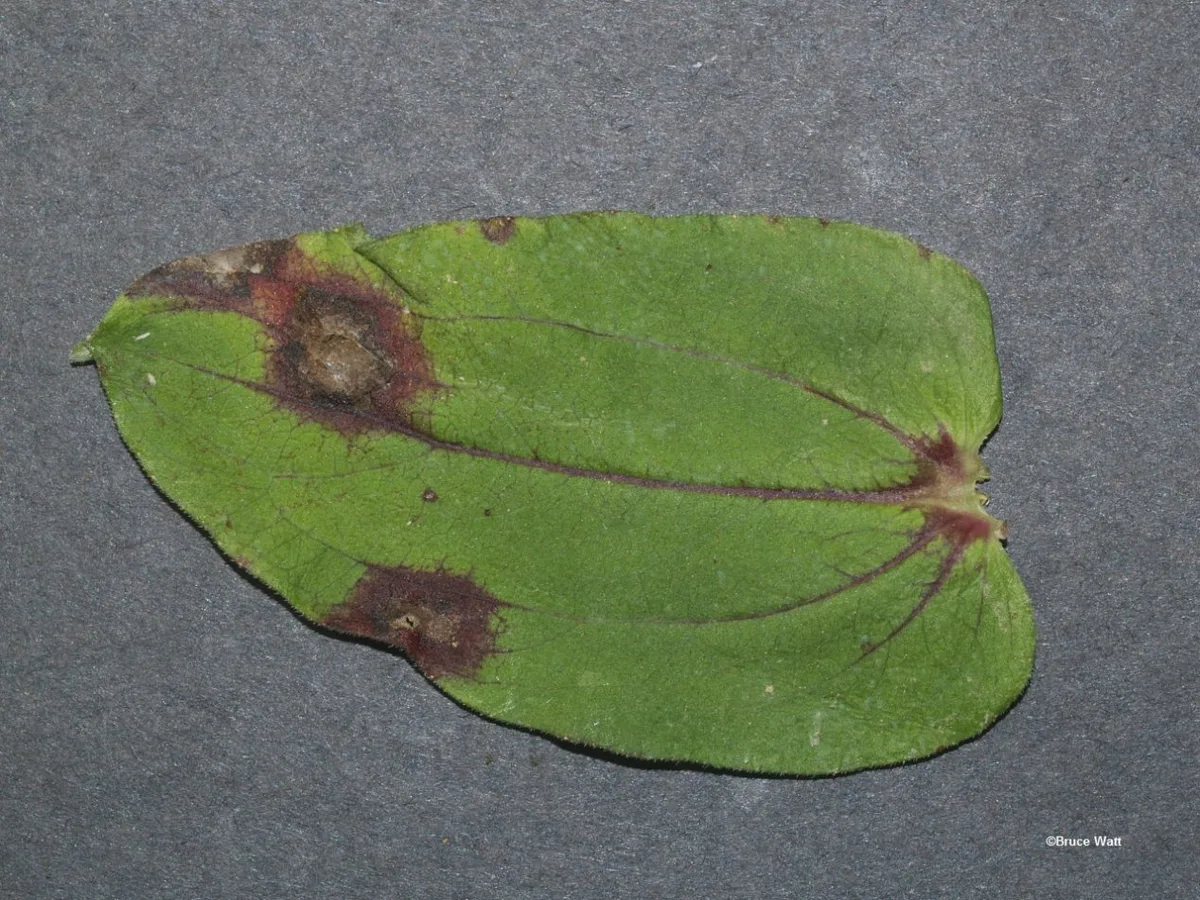
Image source: Web (Bing) / extension.umaine.edu (Web image (fair-use with source credit))
Lower Canopy Browning vs. Top-Down Dieback
Browning that starts at the bottom of the plant and slowly climbs upward is classic fungal behavior. Pathogens live in the soil and splash onto lower leaves during rain or overhead watering. As those bottom leaves age and weaken, they become easy targets for infection.
This specific pattern is so common that many cut flower farmers just strip the bottom six inches of foliage proactively. Removing those lower leaves improves airflow dramatically. It takes away the landing pad for soilborne spores.
Dieback starting at the top of the plant is far more urgent. New growth turning brown and stunted suggests spider mites are draining the tender leaves. Look closely at the undersides of the top leaves for tiny moving specks or fine silk webbing.
Top down browning can also indicate root rot suffocating the plant. If the soil stays constantly wet, roots cannot absorb oxygen. The newest growth fails first because the compromised root system cannot push water that high up the stem.
Fine Webbing and Bronze Stippling vs. Powdery Residue
Spider mites do not chew holes in leaves. They pierce individual plant cells and suck out the contents. This leaves thousands of tiny bronze or yellow stipple marks that eventually merge into solid brown patches.
Flip the affected leaf over. If you see fine webbing stretching across the veins, mites are your problem. Their populations explode during late summer heat waves.
Hosing the plants off with a sharp blast of cold water knocks their numbers down immediately.
Powdery mildew (Erysiphe cichoracearum or Podosphaera xanthii) announces itself differently. You will see a white, dusty coating on the upper leaf surfaces long before any browning happens. The fungus blocks sunlight and steals nutrients.
Eventually, the infected tissue dries out, turns brown, and crumbles. Mildew thrives in warm days followed by cool, humid nights. It is less dependent on wet leaves than Alternaria, making it a persistent threat even in drier climates.
Here is a quick reference table to help you match symptoms to causes.
| Visual Symptom | Texture | Location on Plant | Likely Cause |
|---|---|---|---|
| Crispy leaf margins | Dry and brittle | Edges and tips | Underwatering or fertilizer burn |
| Round brown spots | Dry with yellow halo | Scattered anywhere | Alternaria or Cercospora leaf spot |
| Angular brown spots | Water soaked then dry | Between leaf veins | Bacterial leaf spot |
| Bronze stippling | Fine and dusty | Top new growth | Spider mites |
| White dust then brown | Powdery then crispy | Upper leaf surface | Powdery mildew |
| Mushy brown base | Soft and slimy | Lowest stems and leaves | Root rot or overwatering |
Step-by-Step Fixes Based on Your Diagnosis
Once you know exactly what is causing the browning, you can take targeted action. Guessing leads to wasted effort. Follow the steps below that match your specific diagnosis from the decision tree.
For underwatering or fertilizer burn:
- Stick your finger two inches into the soil. If it feels completely dry and powdery, the plant needs water immediately.
- Water deeply at the base of the plant until the soil is moist down to the root zone. Avoid splashing the leaves.
- If you recently applied fertilizer, run water slowly at the base for several minutes to flush excess salts past the roots.
- Switch to a consistent schedule providing about one inch of water per week, including rainfall.
For fungal leaf spots (Alternaria, Cercospora, or bacterial):
- Wipe your bypass pruners with 70 percent isopropyl alcohol before touching the plant.
- Snip off every leaf showing brown spots or yellow halos. Do not compost this material. Fungal spores easily survive standard backyard compost piles.
- Bag the diseased leaves and throw them in the trash.
- Wipe your pruners with alcohol again before moving to the next plant. This prevents spreading Xanthomonas bacteria to healthy zinnias or nearby vegetables.
- Apply a copper based fungicide or a biological spray containing Bacillus subtilis according to the label rates. University extension programs recommend starting preventative sprays early in humid regions.
For spider mites:
- Spray the plant down hard with a garden hose. Focus the water stream on the undersides of the leaves where mites hide.
- Repeat this physical knockdown every two to three days to break their rapid reproduction cycle.
- If the infestation is heavy, apply insecticidal soap or neem oil in the early morning. Never spray oils when temperatures exceed 90 degrees Fahrenheit. The oil will cook the leaves and cause massive browning.
For powdery mildew:
- Prune out heavily infected stems to open up the center of the plant.
- Stop overhead watering immediately. Wet leaves encourage secondary fungal infections.
- Treat remaining foliage with a sulfur based fungicide or potassium bicarbonate spray.
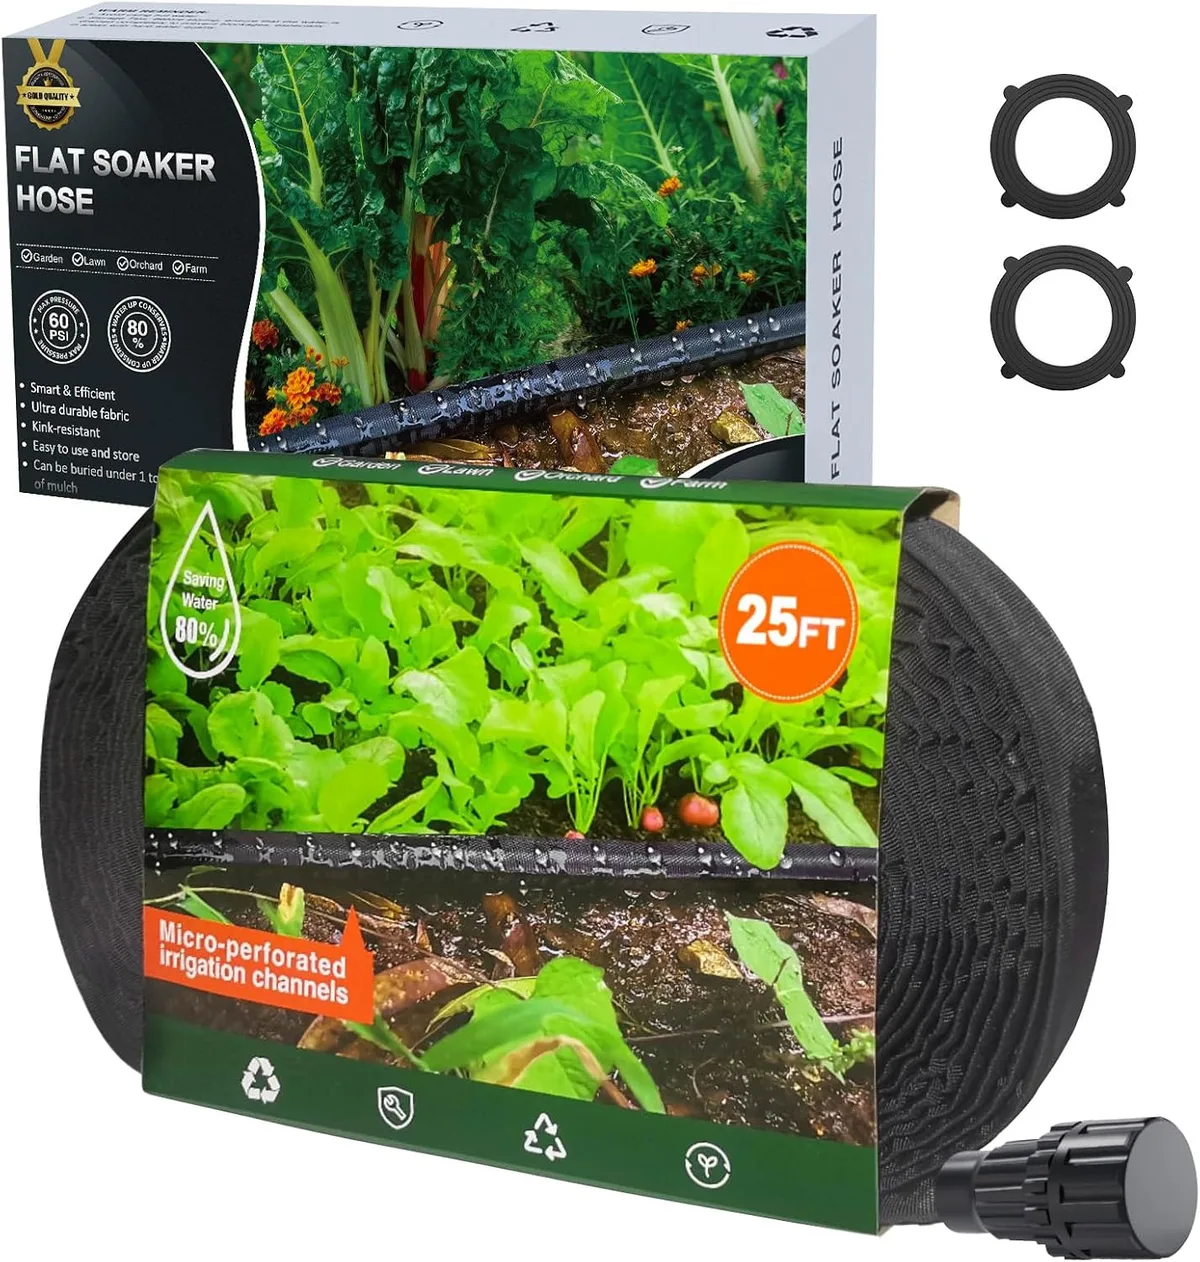
Image source: Web (Bing) / amazon.com (Web image (fair-use with source credit))
Using drip irrigation or soaker hoses keeps water off the foliage entirely. This single change prevents the vast majority of fungal issues we see in summer flower beds.
Mistakes That Make Zinnia Leaf Browning Worse
Gardeners often try to help their plants but end up accelerating the damage. Understanding what not to do is just as critical as knowing the right treatment. These common errors turn minor cosmetic issues into total plant losses.
Overhead watering is the biggest offender. Sprinklers coat the leaves in moisture, creating the perfect environment for Alternaria and Cercospora spores to germinate. Fungal spores need free water on the leaf surface to infect the tissue.
Watering at the base eliminates this risk completely.
Planting zinnias too close together traps humidity inside the canopy. When air cannot circulate freely, leaves stay damp for hours after rain or morning dew. Spacing Zinnia elegans cultivars at least 12 to 18 inches apart allows breezes to dry the foliage quickly.
Crowded plants almost always develop lower leaf browning by midsummer.
Applying fungicides to drought stressed plants causes chemical burns. If your zinnias are wilting from lack of water, their stomata are wide open and vulnerable. Always water the plant thoroughly and let it recover for a day before applying any chemical treatments.
Leaving severely infected plants in the bed puts everything else at risk. We understand it is hard to pull out a flowering plant. But a zinnia covered in bacterial leaf spot acts as a reservoir, splashing pathogens onto neighboring flowers every time it rains.
Sometimes removing the whole plant is the only way to save the rest of the bed.
Finally, ignoring tool sanitation spreads disease rapidly. Cutting a diseased leaf and then pruning a healthy plant transfers bacteria directly into fresh wounds. Keep a small spray bottle of rubbing alcohol in your garden bucket.
Wipe your blades between every single plant.
Preventing Future Damage: Spacing, Watering, and Choosing Resistant Varieties
Stopping brown leaves starts before you even put seeds in the ground. The right variety choice eliminates most fungal headaches entirely. Zinnia elegans is the classic tall cut flower everyone loves. It is also highly susceptible to Alternaria and powdery mildew by late summer.
If you live in a humid climate like the Southeast or Midwest, switch your strategy. Zinnia angustifolia and Zinnia haageana offer natural disease resistance. These shorter varieties rarely develop the severe leaf spotting that plagues taller types. They keep blooming cleanly right up to the first fall frost.
Spacing is your second line of defense. Crowded beds trap humidity against the lower stems. Give tall cultivars at least 18 inches of breathing room on all sides.
Shorter spreading types still need a solid 12 inches between plants.
Water management locks everything in place. Overhead sprinklers guarantee wet foliage, which invites every pathogen we covered earlier. Soaker hoses or drip lines deliver moisture exactly where roots need it.
You keep the canopy completely dry while maintaining consistent soil hydration.
Mulching adds another layer of protection. A two inch layer of straw or shredded leaves blocks soilborne spores from splashing upward during heavy rain. It also regulates soil temperature and slows down moisture evaporation.
This prevents the rapid dry cycles that trigger crispy leaf margins.
Per the USDA, healthy soil biology supports stronger plant immune responses. Feeding your soil with compost builds a resilient root system. Strong roots handle heat stress without dropping their lower leaves.
Finally, rotate your planting spots each year. Fungal spores overwinter in dead plant debris left behind in the bed. Moving your zinnias to fresh ground breaks that disease cycle.
As of 2026, crop rotation remains one of the simplest and most effective tools for home gardeners managing annual flowers.
Frequently Asked Questions
Should I cut off brown zinnia leaves?
Yes, remove any leaves showing distinct brown spots or yellow halos immediately. Use clean pruners wiped with rubbing alcohol between cuts. Do not compost diseased foliage, as fungal spores survive standard backyard piles.
Bag the removed leaves and throw them in the trash.
Why are my zinnia leaves turning brown at the edges?
Crispy brown edges usually mean underwatering or fertilizer burn. Zinnias pull moisture away from leaf margins first during drought stress. If you recently applied synthetic fertilizer to dry soil, flush the root zone deeply with plain water to push excess salts past the roots.
Can zinnias recover from powdery mildew?
They can if you catch it early. Prune out heavily infected stems to improve airflow inside the canopy. Treat remaining foliage with a sulfur based fungicide or potassium bicarbonate spray.
Stop overhead watering immediately to prevent secondary infections from taking hold.
How often should I water zinnias to prevent browning?
Zinnias generally need about one inch of water per week, including rainfall. Check the soil two inches down before watering again. If it feels moist, wait another day.
Consistent deep watering at the base prevents both drought stress and root rot.
Are spider mites making my zinnia leaves turn brown?
Spider mites cause fine bronze stippling that eventually merges into solid brown patches. Look closely at the undersides of affected leaves for tiny moving specks or fine silk webbing. Blast the foliage with a strong stream of cold water every few days to knock their populations down.

Similar Posts