Can a Spider Plant Live Outside? What You Need to Know
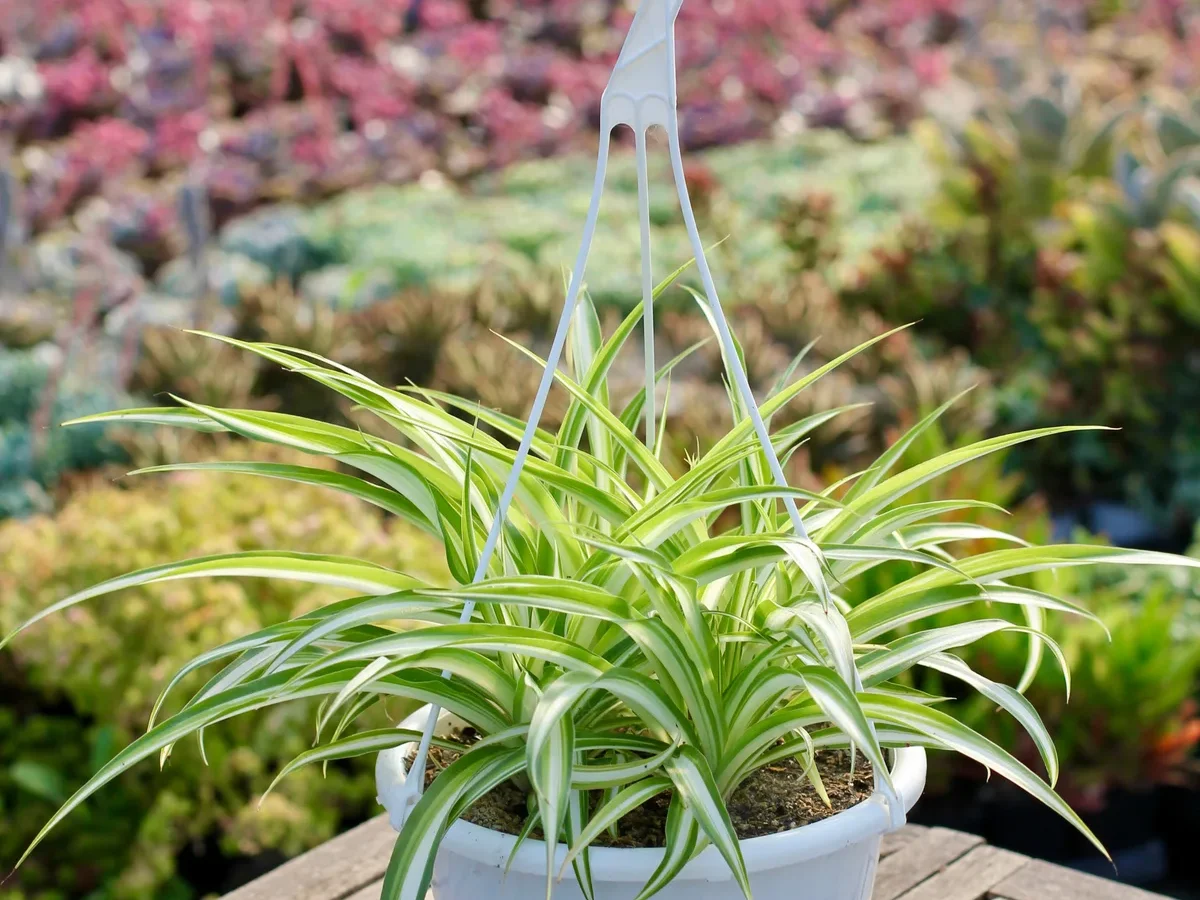
If you're wondering whether a spider plant can be outside, the short answer is yes. But you can't just drag your houseplant onto the patio and hope for the best. Outdoor conditions are harsher than your living room.
Sun, wind, and temperature swings will stress an unprepared plant fast.
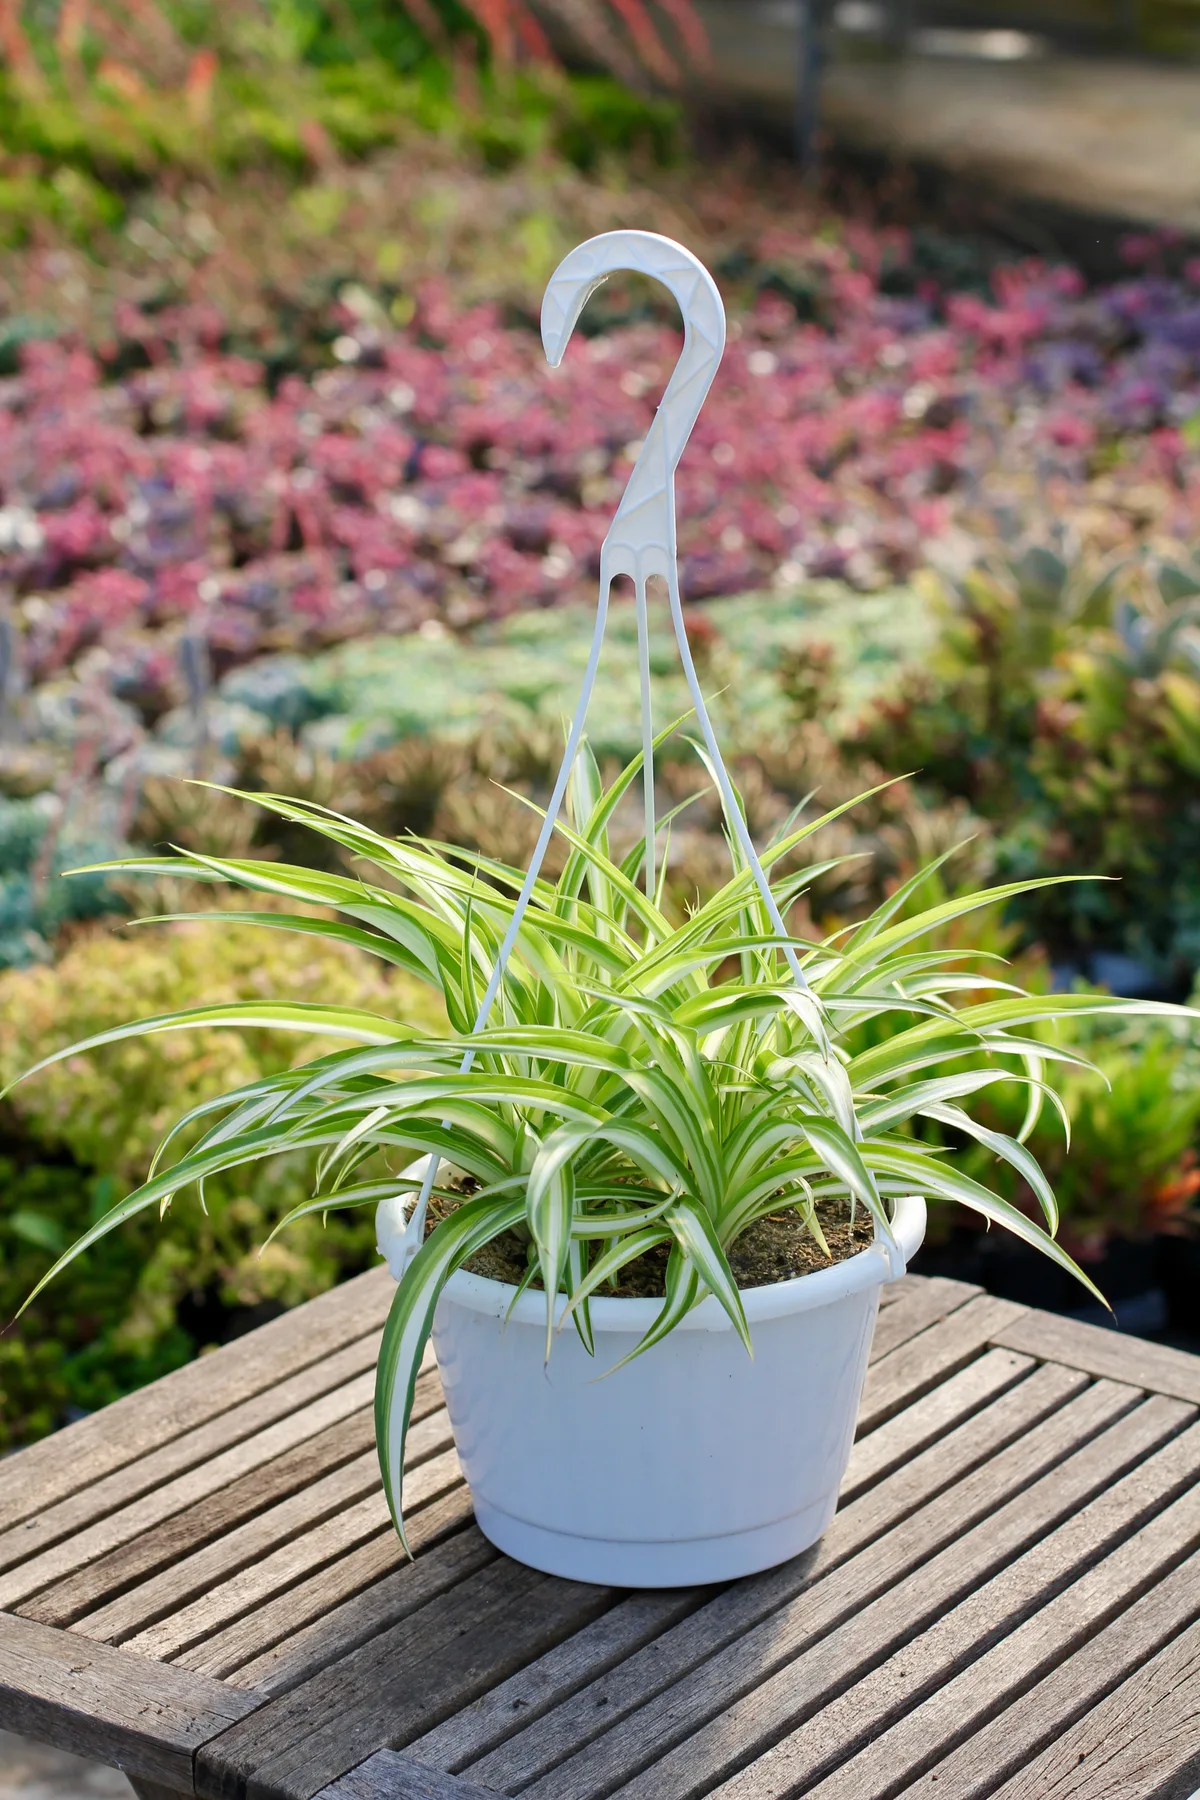
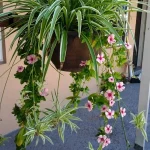
Image source: Web (Bing) / lighthouse-gardens.com (Web image (fair-use with source credit))
Per the USDA Plant Hardiness Zone Map, spider plants (Chlorophytum comosum) survive outdoors year round only in zones 9 through 11. That means nighttime temperatures must stay above 20 degrees Fahrenheit. If you live anywhere colder, your plant needs a specific seasonal workflow to survive outside.
Let's walk through exactly how to decide what your plant needs.
Quick Answer
A spider plant can be outside if temperatures stay warm. They thrive outdoors in USDA zones 9 through 11. Colder climates require bringing them inside before frost hits.
Direct sunlight will scorch their leaves quickly. Always transition them outdoors gradually over two weeks.
Can a Spider Plant Live Outside? The Quick Answer Based on Your Climate
Yes, a spider plant can live outside, but your local climate dictates the rules. If you live in a warm coastal area like southern Florida or southern California, your plant can stay outdoors all year. These regions fall into USDA zones 9 through 11.
Nighttime temperatures rarely drop low enough to damage the fleshy tuberous roots.
In these warm zones, spider plants actually grow faster outdoors than they do inside. Our research shows that higher ambient humidity prevents the brown leaf tips so common in dry indoor air. Natural rainwater also flushes out accumulated fertilizer salts from the soil.
You'll notice significantly more runners and baby spiderettes forming by midsummer.
For everyone else, outdoor time is strictly a summer vacation. If your winter temperatures dip below freezing, treat the spider plant as a seasonal visitor. Wait until nighttime temperatures consistently stay above 50 degrees Fahrenheit.
That usually means late May or early June for most temperate regions. Bring it back inside well before autumn chills arrive.
Solid green cultivars handle outdoor light slightly better than variegated types like 'Vittatum'. The white stripes on variegated leaves lack chlorophyll. That makes them highly prone to sunburn under intense afternoon rays.
Keep this in mind when picking a spot on your porch or balcony.
| Climate Zone | Minimum Temp | Outdoor Strategy |
|---|---|---|
| Zones 9 to 11 | 20°F and up | Year round outdoor planting |
| Zones 3 to 8 | Below 20°F | Summer container use only |
The Decision Tree: Should Your Spider Plant Stay Indoors or Go Out?
Deciding whether to move your spider plant outside depends on three variables. Those are your hardiness zone, your available shade, and your current season. Follow this logic to figure out the safest approach for your specific situation.
Don't guess. A single surprise frost will turn your plant to mush overnight.
Branch 1: You live in USDA Zones 9 to 11 (Year Round Outdoor Growing)
If your winters stay mild, you have two choices. You can keep the plant in a pot on a covered patio. Alternatively, you can plant it directly into the ground as a border edge.
University cooperative extension services note that Chlorophytum comosum spreads aggressively in frost free climates. Keeping it in a container prevents it from taking over your garden beds.
If you plant it in the ground, pick a spot with dappled shade. Under a tree canopy works perfectly. Direct midday sun will bleach the arching linear leaves within days.
Water deeply when the top inch of soil feels dry. The tuberous roots store water well, but arid heat drains them fast.
Watch out for slugs and snails if the plant sits on the ground. They love chewing on the tender foliage at night. Elevating the pot on a plant stand solves this problem instantly.
Branch 2: You live in Zones 3 to 8 (Summering Houseplants Outdoors)
If you experience freezing winters, your spider plant stays in its pot. You are simply "summering" the houseplant. This means moving it outside for the warm months to boost growth.
Wait until nighttime temperatures hold steady above 50 degrees Fahrenheit. Anything colder stalls growth and causes leaf discoloration.
Choose a north facing wall or a deeply shaded porch. Morning sun before 10 AM is acceptable. Afternoon sun is not.
Wind desiccation is a real threat here. Breezes dry out container soil much faster than still indoor air. You might need to water every two days instead of weekly.
When late summer arrives, start watching the forecast closely. Once nights threaten to drop near 50 degrees, bring the pot back inside. Inspect the leaves thoroughly for aphids or scale insects first.
You don't want to introduce outdoor pests to your indoor space.
How to Harden Off Your Spider Plant Without Burning the Leaves
Hardening off is the process of slowly introducing an indoor plant to outdoor conditions. Skipping this step is the fastest way to ruin your spider plant. Indoor leaves are thin and adapted to low light.
Outdoor UV rays will scorch them white in about three days if you rush the transition.
Start by placing the pot outside in full shade for just two hours. Do this on a mild day without heavy wind. Bring it back inside afterward.
Repeat this for three days. Then increase the outdoor time to four hours for another three days. Gradually build up to a full day outside over 7 to 14 days.
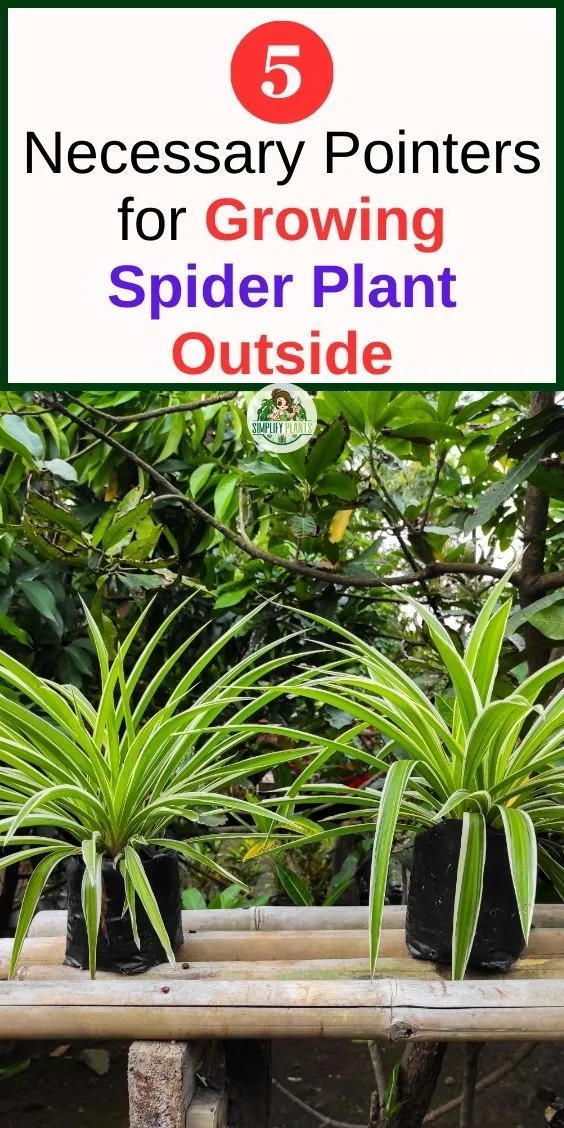
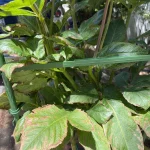
Image source: Web (Bing) / pinterest.com (Web image (fair-use with source credit))
Keep the plant in deep shade during this entire acclimation period. Even after two weeks, a variegated spider plant shouldn't sit in direct noon sunlight. Solid green varieties tolerate slightly more brightness once fully hardened.
But bright indirect light remains the sweet spot for both types.
Pay attention to the wind during the hardening off phase. Indoor air is stagnant. Outdoor breezes whip moisture right out of the stomata on the leaves.
If it's particularly windy, leave the plant indoors that day. Resume the schedule when the air calms down. Patience here saves you from pruning crispy dead leaves later.
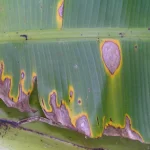
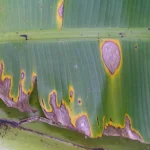
If you notice pale or bleached patches appearing on the foliage, pull the plant back indoors immediately. That's sunburn. Trim the damaged sections with clean shears.
Restart the hardening off process with even shorter outdoor windows. As of 2026, erratic spring weather makes this gradual approach more critical than ever.
Where to Put It Outside: Light, Wind, and Microclimates That Actually Work
Location determines whether your spider plant thrives outdoors or struggles constantly. You need to evaluate three things: light intensity, wind exposure, and ambient humidity. Most people just set the pot on the nearest table.
That's a mistake. Take ten minutes to find the right microclimate around your home.
Light is the biggest factor. Spider plants naturally grow as understory plants in their native habitats. They live beneath taller trees, receiving filtered sunlight.
Replicate this setup. A covered porch facing east gets gentle morning rays. A spot under a large deciduous tree provides perfect dappled shade.
Avoid south or west facing concrete patios. Concrete reflects heat and bakes the root system.
Wind dries out pots incredibly fast. A hanging basket swinging in a constant breeze loses moisture rapidly. The fleshy tubers hold some water, but they can't keep up with high evaporation rates.
Tuck the plant into a corner shielded by walls or railings. If you live in a notoriously windy area, skip hanging baskets entirely. Use a heavy, wide base pot that won't tip over.
Humidity matters too. Balconies near pools or surrounded by other lush plants retain more moisture. Dry, exposed decks do not.
Grouping several potted plants together creates a small humid pocket. They release moisture through transpiration, benefiting each other. Just ensure they aren't touching so tightly that pests spread easily between them.
Check the ASPCA toxicity list if you have dogs or cats roaming the yard. Spider plants are non toxic to pets. However, cats find the dangling leaves irresistible and may chew the plant down to stubs.
Hang it out of reach if neighborhood cats frequent your patio.
Watering, Pots, and Pests: Managing the Outdoor Shift
Outdoor watering requires a completely different schedule than indoor care. Wind and higher temperatures evaporate moisture from pots incredibly fast. A spider plant watered once a week inside might need water every two days on a summer patio.
Check the soil daily by pushing your finger an inch deep. If it feels dry, water thoroughly until it drains from the bottom.
Pot selection matters just as much as the watering schedule. Terracotta breathes well but dries out rapidly in outdoor heat. Plastic or resin containers hold moisture longer during hot spells.
Whichever material you choose, verify the drainage holes are clear. Tuberous roots expand aggressively and will crack small or weak pots over a single summer season.
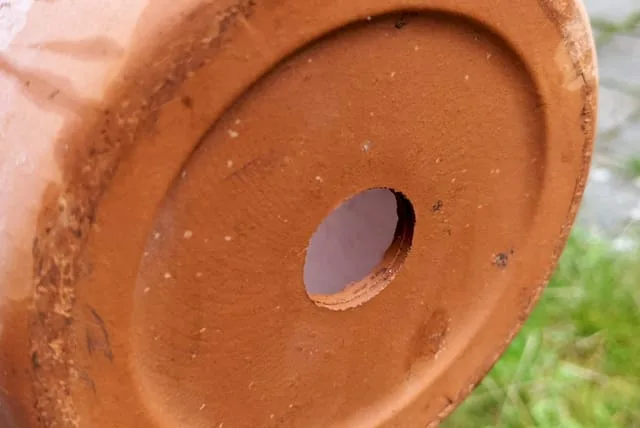
Image source: Bing (Web (fair-use with source credit))
Pests multiply quickly once you move a houseplant outdoors. Aphids love clustering on fresh new growth near the center of the plant. Spider mites thrive if the air turns hot and dry.
Slugs target low hanging foliage overnight. Inspect the undersides of leaves twice a week to catch infestations early.
If you spot pests, wipe the leaves down immediately. A damp cloth removes most aphids and mite webs effectively. For stubborn outbreaks, insecticidal soap works well without harming the plant.
Spray in the early morning so the foliage dries before the sun gets intense. Wet leaves under bright midday light will scorch.
Use a standard potting mix amended with perlite for better drainage. Garden soil compacts too tightly in containers. It suffocates those thick tuberous roots and holds excess rainwater.
Our research shows that adding pine bark fines improves aeration significantly. This keeps the root zone healthy through heavy summer thunderstorms.
| Pot Material | Moisture Retention | Best For |
|---|---|---|
| Terracotta | Low | Humid climates, frequent rain |
| Plastic or Resin | High | Hot, dry, or windy patios |
| Glazed Ceramic | Medium | Shaded porches, moderate heat |
When to Drag It Back Inside (And How to Do It Safely)
Bring your spider plant indoors when nighttime temperatures consistently drop below 50 degrees Fahrenheit. Waiting for the first frost is a guaranteed way to kill the foliage. Cold damage causes the arching leaves to turn translucent and collapse into mush.
Watch your local weather forecast closely starting in late August.
The transition back inside requires its own hardening off period in reverse. Moving a plant from humid outdoor air straight into dry climate controlled rooms causes shock. Leaves often yellow and drop within days if you skip this step.
Start by bringing the pot inside at night and leaving it out during the day. Do this for about a week before leaving it indoors permanently.
Pest inspection is the most critical part of moving plants back inside. You absolutely do not want outdoor hitchhikers spreading to your other houseplants. Wash every leaf gently with lukewarm water in the shower or with a hose.
Pay special attention to the base where the stems meet the soil. That is exactly where scale insects and spider mites hide.
Once the plant settles back into its indoor spot, cut back your watering immediately. Lower light levels and cooler indoor air slow evaporation drastically. Overwatering during winter is the leading cause of root rot in container plants.
Let the top two inches of soil dry out completely between waterings. The tubers store plenty of reserves to keep the plant healthy.
Prune away any damaged or scorched leaves before bringing the pot inside. Clean cuts heal faster and prevent fungal issues in stagnant indoor air. Use sharp bypass pruners for a clean slice.
Leave the healthy green foliage intact so the plant can continue photosynthesizing through the darker months.
Frequently Asked Questions
Can spider plants survive winter outside?
They only survive freezing winters outdoors in USDA zones 9 through 11. In colder regions, frost destroys the fleshy roots and foliage completely. You must bring potted spider plants indoors before temperatures drop below 50 degrees Fahrenheit.
Treat them as seasonal summer visitors anywhere else.
Do spider plants like direct sunlight outdoors?
Direct afternoon sunlight scorches their leaves quickly. Variegated varieties bleach white in just a few days of harsh exposure. Solid green types tolerate slightly more light but still prefer shade.
Always place them in dappled shade or spots receiving only gentle morning sun.
Should I repot my spider plant before moving it outside?
Check the roots first. If thick tubers push out of the drainage holes, size up one pot. Outdoor heat accelerates growth rapidly compared to indoor conditions.
Use a well draining potting mix with added perlite to handle heavy summer rainstorms.
Why are my outdoor spider plant leaves turning brown at the tips?
Brown tips usually indicate inconsistent watering or wind desiccation. Outdoor breezes pull moisture from the leaves faster than the roots can replace it. Increase your watering frequency slightly during windy spells.
Grouping plants together also helps create a small pocket of protective humidity.
Are spider plants safe around dogs and cats on the patio?
Yes, the ASPCA confirms Chlorophytum comosum is non toxic to both dogs and cats. However, cats find the dangling leaves highly attractive and may chew them heavily. The plant contains mild compounds that fascinate felines.
Hang baskets out of reach to protect the foliage.

Similar Posts