Will Butternut Squash Ripen Off the Vine? The Truth
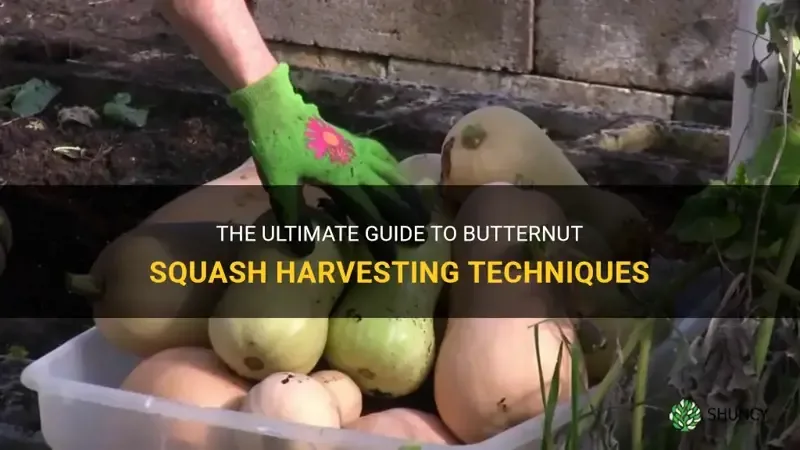
Will butternut squash ripen off the vine? Yes, but only if the fruit has reached physiological maturity before harvest. Immature squash will never develop full sweetness or proper texture regardless of storage conditions.
Image source: Web (Bing) / shuncy.com (Web image (fair-use with source credit))
Postharvest research from UC Davis confirms curing at 80°F to 85°F for 10 days triggers essential starch conversion in mature fruit. This guide walks you through assessing maturity and executing the right workflow for your specific harvest situation.
The Short Answer: Maturity Matters More Than Color
Butternut squash will ripen off the vine only when physiologically mature. Color alone does not guarantee successful off-vine ripening. Green squash with hardened rinds can still sweeten properly.
Soft green squash will rot instead of ripening.
Physiological maturity means seeds are fully developed and viable. The fruit must have completed its growth cycle on the plant first. Post-harvest changes are biochemical conversions, not continued growth.
Starch converts to sugar during curing only in mature specimens.
Immature fruit lacks the starch reserves needed for this conversion. No amount of warmth or time creates sugar from nothing. You cannot force an underdeveloped squash to become sweet.
Recognizing this distinction prevents wasted storage space and disappointment later.
The decision hinges entirely on physical indicators at harvest time. Rind hardness matters more than external coloration. A thumbnail test reveals true maturity better than visual inspection.
We will cover these assessment methods in detail next.
Understanding this biological limitation sets realistic expectations. Some green squash deserve patience while others belong in the compost. Your assessment determines which path to take.
Getting this judgment right saves weeks of futile curing attempts.
How to Tell If Your Green Butternut Is Worth Saving
Green butternut squash is worth saving only if it passes three maturity tests. Rind hardness, stem condition, and ground spot color all must align. Missing even one indicator suggests the fruit is too immature.
Trust physical evidence over calendar dates or size assumptions.
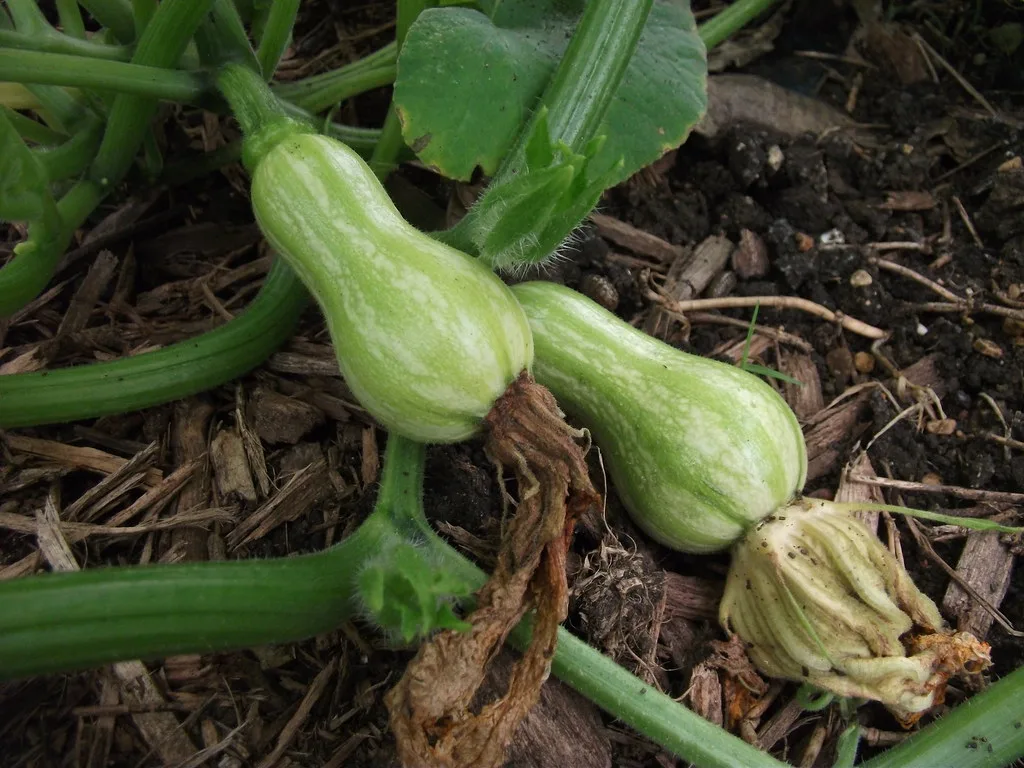
Image source: Web (Bing) / flickr.com (Web image (fair-use with source credit))
The Thumbnail Test for Rind Lignification
Press your thumbnail firmly into the squash skin. Mature rinds resist puncture and feel hard like a fingernail. Immature skin yields easily and leaves a visible dent.
This lignification process indicates the fruit has stopped growing.
Soft rinds mean cell walls have not yet hardened completely. Such fruit loses moisture rapidly during curing. Rot organisms penetrate soft skin within days.
Only hard-rinded specimens survive the warm humid curing environment safely.
Evaluating Stem Corking and Dryness
Examine where the stem attaches to the fruit. Mature stems turn brown, corky, and begin drying naturally. Green fleshy stems signal active growth still underway.
A partially dried stem shows the plant initiated senescence.
Corking occurs as vascular tissue seals off from the vine. This natural abscission layer protects against pathogen entry. Harvesting before corking completes increases rot risk significantly.
Wait for at least partial stem browning whenever possible.
Ground Spot Color as a Maturity Proxy
Check the area where the squash rested on soil. Mature fruit develops a deep orange or tan ground spot. Pale yellow or white spots indicate insufficient field ripening.
This color change reflects carotenoid accumulation beneath the skin.
The ground spot matures independently of sun exposure. It provides reliable evidence of internal development stage. Combine this indicator with rind hardness for confirmation.
Both must suggest maturity before attempting off-vine curing.
| Indicator | Mature (Worth Curing) | Immature (Cook Green) |
|---|---|---|
| Rind hardness | Resists thumbnail pressure | Dents or punctures easily |
| Stem condition | Brown, corky, drying | Green, fleshy, moist |
| Ground spot | Deep orange or tan | Pale yellow or white |
| Sound when tapped | Hollow, resonant thud | Dense, solid sound |
| Weight relative to size | Heavy for dimensions | Lighter than expected |
The Step-by-Step Curing Workflow for Off-Vine Ripening
Successful off-vine ripening requires precise environmental control throughout curing. Temperature and humidity must stay within narrow ranges for 10 to 14 days. Deviations cause either incomplete conversion or rapid decay.
Follow this workflow exactly for best results.
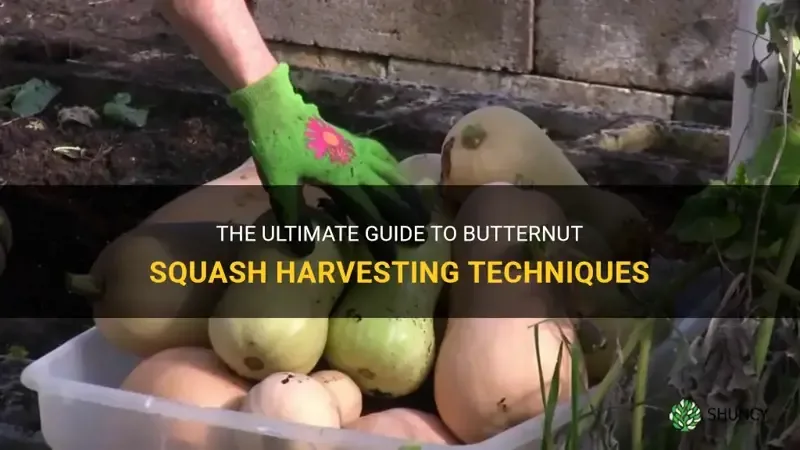
Image source: Web (Bing) / shuncy.com (Web image (fair-use with source credit))
Preparing Fruit for Curing
Harvest with at least two inches of stem attached. Never carry squash by the stem as breakage invites rot. Wipe fruit gently with a dry cloth to remove soil.
Do not wash unless absolutely necessary for heavy mud.
Moisture on the surface promotes fungal growth during curing. If washing is unavoidable, dry thoroughly before proceeding. Inspect each fruit for cuts, bruises, or soft spots.
Set aside any damaged specimens for immediate use rather than storage.
Setting Up the Curing Environment
Maintain 80°F to 85°F with 80% to 85% relative humidity. Use a space heater with thermostat control in spare rooms. Place pans of water nearby to boost humidity levels.
Ensure gentle air circulation without direct drafts on fruit.
Avoid stacking squash directly against each other. Single-layer spacing allows even airflow around each specimen. Check temperature and humidity twice daily with calibrated instruments.
Adjust ventilation or heating as needed to maintain targets.
Monitoring Progress During the Cure Period
Inspect fruit every three to four days throughout curing. Remove any showing mold, softening, or leakage immediately. Healthy squash gradually shifts from green toward tan.
Skin should remain firm and unblemished during this transition.
Weight loss of 10% to 20% is normal and expected. Excessive shriveling indicates humidity is too low. Condensation on surfaces means humidity exceeds safe limits.
Fine-tune conditions based on these observable feedback signals.
Transitioning to Long-Term Storage After Curing
Move cured squash to 50°F to 55°F storage after 10 to 14 days. Lower temperatures slow respiration and extend shelf life. Maintain 50% to 70% humidity to prevent desiccation.
Avoid refrigeration as cold damage ruins texture permanently.
Store in single layers with adequate spacing between fruits. Check monthly for spoilage throughout winter storage. Properly cured mature butternuts keep three to six months.
Flavor continues improving for four to eight weeks post-cure.
Cornell University Extension guidelines emphasize that consistent curing temperatures are critical for uniform starch-to-sugar conversion across diverse cultivars. Skipping this step or rushing it produces bland, starchy flesh regardless of initial maturity level. Patience during curing pays dividends in final eating quality.
When to Give Up and Cook It Green Instead
Immature butternut squash should be cooked fresh rather than cured. Attempting to ripen truly green fruit wastes time and space. These specimens lack the biochemical capacity for sweetening.
Recognizing when to pivot prevents frustration and food waste.
Squash failing the thumbnail test belongs in this category. Soft rinds indicate incomplete cell wall development. Such fruit rots before converting any starch.
Accept this reality early rather than hoping for impossible changes.
Using Green Squash as Summer Squash Substitute
Treat immature butternut like zucchini or yellow summer squash. Peel the thin skin and scoop out undeveloped seeds. Slice or cube for sautéing, grilling, or roasting.
Mild flavor accepts seasoning well in savory preparations.
Texture resembles summer squash more than winter varieties. Expect higher water content and less density. Adjust cooking times accordingly to avoid mushiness.
Green butternut works excellently in stir-fries and casseroles.
Quick-Pickling Immature Fruit for Preservation
Small green squash pickle beautifully in vinegar brine. Slice thinly into rounds or spears for jar packing. Add dill, garlic, and peppercorns for classic flavor profiles.
Process in water bath canner for shelf-stable storage.
Pickling transforms potential waste into tasty condiments. Acidic environment preserves safely without pressure canning. Texture stays pleasantly crisp when processed correctly.
Use within one year for best quality and safety.
Composting Truly Underdeveloped Specimens
Squash smaller than tennis-ball size rarely contains viable seeds. These specimens lack sufficient flesh for culinary use. Direct them to compost rather than kitchen or cure space.
Chop into small pieces to accelerate decomposition.
Composting returns nutrients to garden soil efficiently. Even failed crops contribute value through nutrient cycling. Avoid adding diseased or moldy fruit to piles.
Healthy immature squash breaks down quickly in active systems.
Making this distinction early streamlines your post-harvest workflow. Focus curing resources only on fruit with genuine potential. Redirect immature specimens toward appropriate alternative uses.
This triage approach maximizes overall harvest utilization.
Storage Conditions That Actually Sweeten the Flesh
Proper storage after curing actively enhances flavor development. Temperature and humidity control drives ongoing enzymatic activity. Sweetness peaks four to eight weeks post-harvest in ideal conditions.
Neglecting storage parameters stalls this improvement process entirely.
Cool temperatures between 50°F and 55°F optimize sugar accumulation. Warmer storage accelerates respiration and depletes reserves faster. Cooler temperatures below 50°F cause chilling injury and off-flavors.
Consistency matters as much as absolute temperature values.
Humidity between 50% and 70% prevents moisture loss without encouraging mold. Below 50% causes shriveling and texture degradation. Above 70% promotes surface mold and stem-end rot.
Monitor with hygrometers and adjust ventilation accordingly.
Air circulation removes respiratory heat and ethylene gas buildup. Stagnant air creates microclimates favoring decay organisms. Space fruits apart and avoid sealed containers.
Gentle passive airflow maintains uniform conditions throughout storage area.
Darkness slows chlorophyll breakdown and preserves carotenoids. Light exposure triggers undesirable sprouting in stored squash. Cover windows or store in interior rooms without sunlight.
Darkness also helps maintain stable temperature fluctuations.
Regular inspection catches problems before they spread widely. Remove any softening or molding fruit immediately. One rotten specimen can compromise entire storage batches.
Weekly checks balance vigilance with minimal disturbance.
Flavor testing reveals optimal consumption windows for your palate. Sample one squash monthly to track sweetness progression. Personal preference determines peak ripeness timing objectively.
Record observations to refine future storage practices.
Common Curing Mistakes That Ruin the Harvest
Most curing failures stem from ignoring temperature or humidity basics. Guessing conditions without instruments is the primary error we see. Digital thermometers and hygrometers cost little but prevent total loss.
Trust data over intuition when managing post-harvest physiology.
Washing fruit before curing introduces dangerous surface moisture. Water trapped in stem cavities invites rapid fungal colonization. Dry brushing removes soil safely without wetting skin.
Reserve washing only for heavily soiled specimens and dry immediately after.
Stacking squash creates pressure points and restricts airflow. Bottom fruits bear weight that bruises rinds and blocks ventilation. Single-layer spacing on shelves or tables prevents contact rot.
Vertical storage racks maximize space while maintaining separation.
Rushing the cure period stops starch conversion prematurely. Ten days is the absolute minimum for reliable sweetening. Fourteen days produces superior flavor and longer storage life.
Patience during this phase determines final eating quality.
Storing cured fruit near apples or pears accelerates spoilage. These fruits emit ethylene gas that triggers senescence in squash. Keep cucurbits isolated from climacteric produce entirely.
Separate storage areas preserve shelf life effectively.
Ignoring daily inspections allows small problems to cascade. One rotting specimen releases spores affecting neighbors quickly. Remove compromised fruit at first sign of softness or mold.
Vigilance protects your entire stored harvest investment.
Overheating above 90°F cooks flesh instead of curing it. High temperatures denature enzymes needed for sugar conversion. Monitor heater output carefully in small enclosed spaces.
Consistent moderate warmth beats intermittent high heat every time.
Frequently Asked Questions About Ripening Butternut Squash
Can I ripen butternut squash that was picked too early?
Only physiologically mature green squash ripens successfully off the vine. Fruit harvested before seed development completes will never sweeten properly. Check rind hardness and stem corking before attempting cure.
Immature specimens should be cooked fresh as summer squash instead.
How long does off-vine ripening actually take?
Curing requires 10 to 14 days at 80°F to 85°F. Flavor continues improving for four to eight weeks afterward in cool storage. Total time from harvest to peak sweetness spans two months typically.
Rushing any stage compromises final texture and taste.
Why is my cured butternut still bland and starchy?
Blandness indicates insufficient initial maturity or improper curing temperatures. Starch conversion fails below 75°F or above 90°F consistently. Verify your thermometer accuracy against a known standard.
Truly immature fruit cannot develop sweetness regardless of perfect conditions.
Is it safe to eat green butternut squash raw?
Green immature butternut is safe raw but often bitter and tough. Peeling and removing seeds improves palatability significantly. Mature cured squash tastes better raw due to higher sugar content.
Always wash exterior surfaces thoroughly before cutting into flesh.
Will frost-damaged squash still ripen indoors?
Light frost killing vines does not harm mature fruit underneath. Harvest immediately after frost event before secondary rots set in. Cure normally if rinds remain hard and undamaged.
Frozen or water-soaked flesh will not recover and should be composted.

Similar Posts