Brown Spots on Mint Leaves: Causes & How to Fix Them
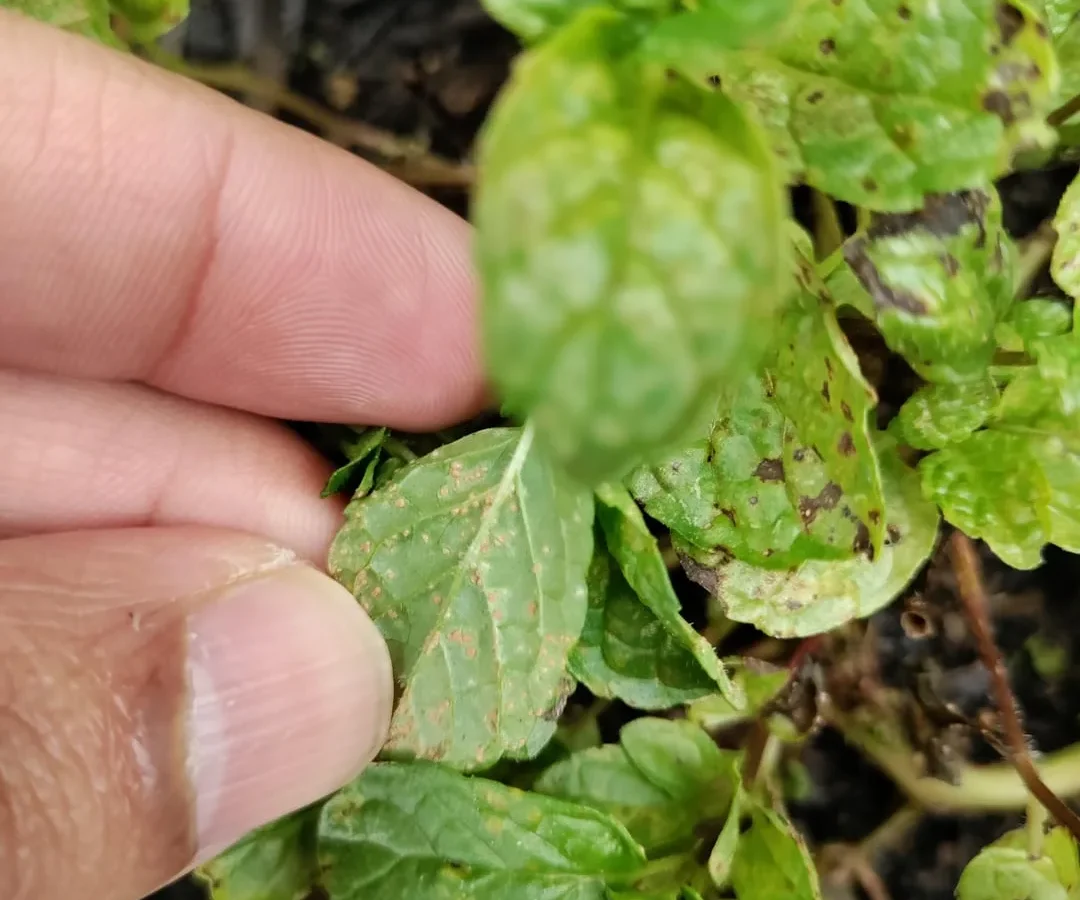
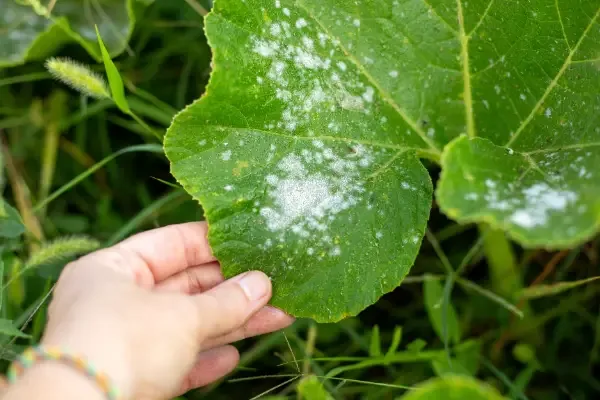
Brown spots on mint plant leaves usually signal fungal infection, pest damage, or environmental stress rather than a single disease. You need to identify the specific spot pattern and texture before applying any treatment to avoid ruining your harvest.
Most cases stem from excess moisture or poor airflow creating ideal conditions for pathogens like mint rust or anthracnose. University extension research indicates that over 70% of foliar mint issues are abiotic or cultural rather than requiring chemical intervention as of 2026. Let’s walk through the diagnostic steps to pinpoint your exact problem.
Quick Answer
Brown spots on mint plant leaves indicate disease, pests, or stress. Fungal spots appear raised with distinct margins. Pest damage shows irregular holes or stippling.
Environmental burn creates crispy edges without halos. Check undersides first for accurate diagnosis.
Is It Disease, Pests, or Care? The 3-Step Mint Diagnosis
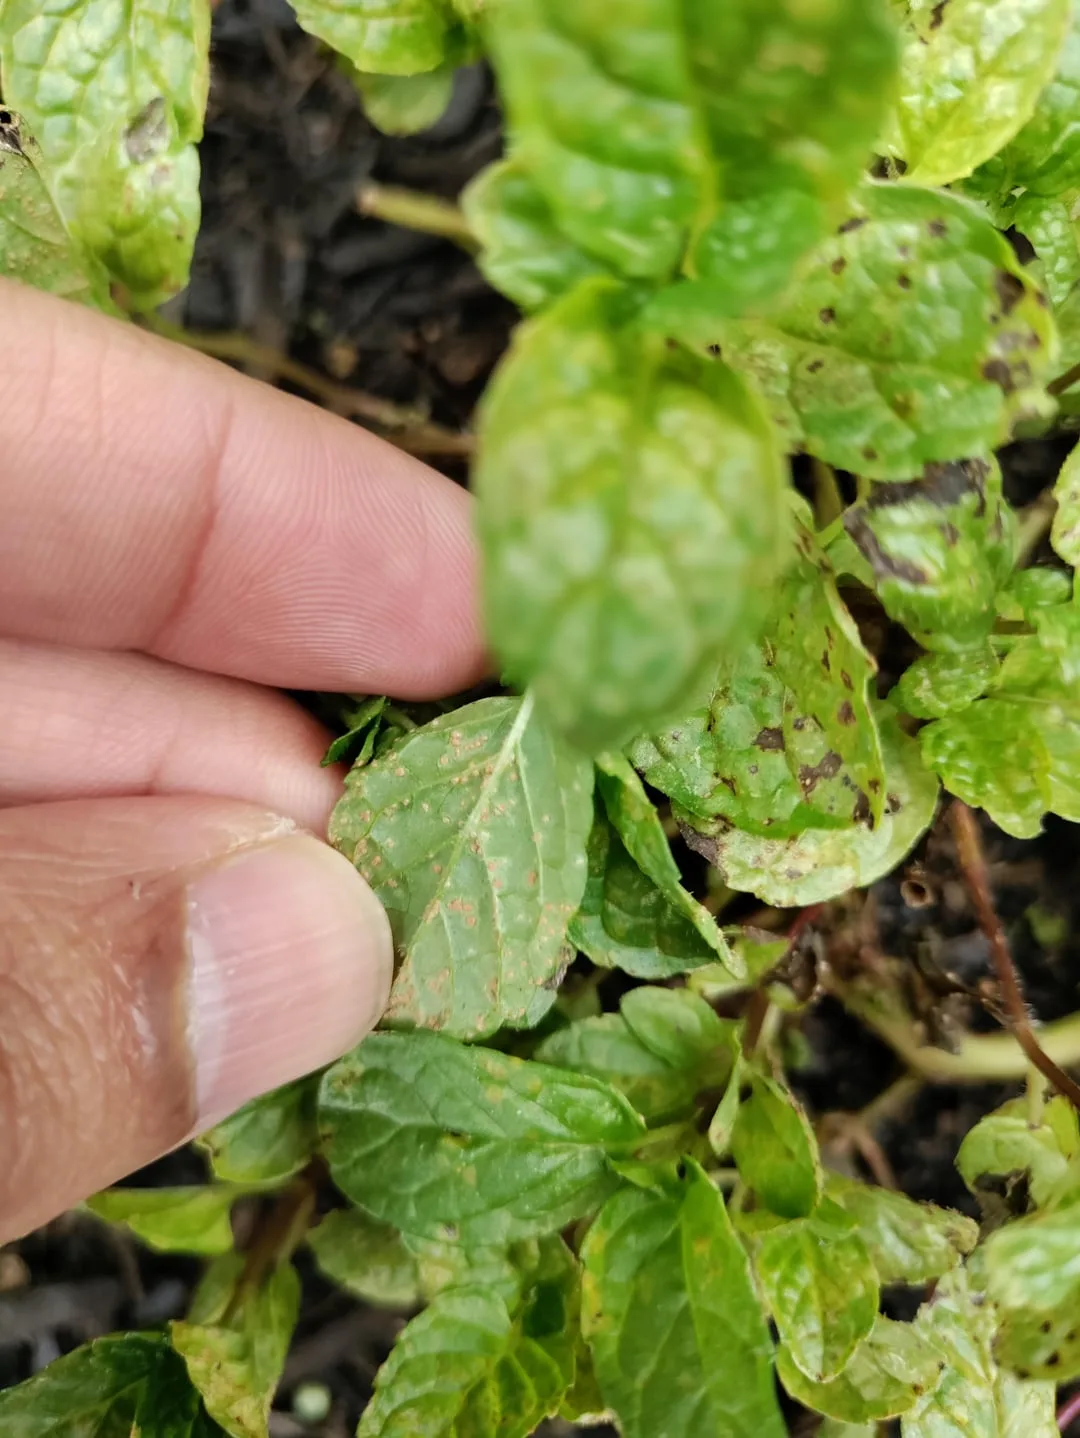
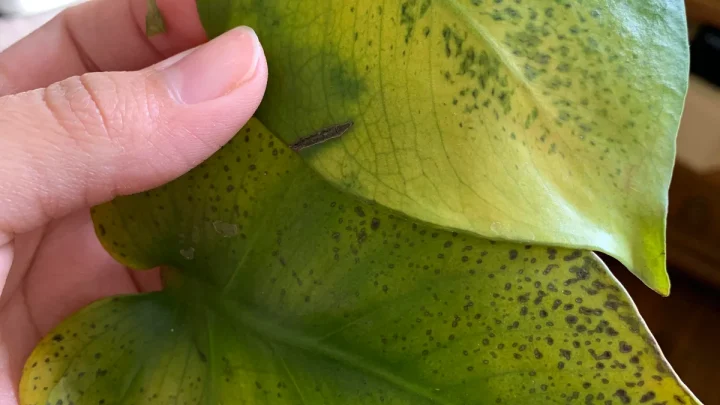
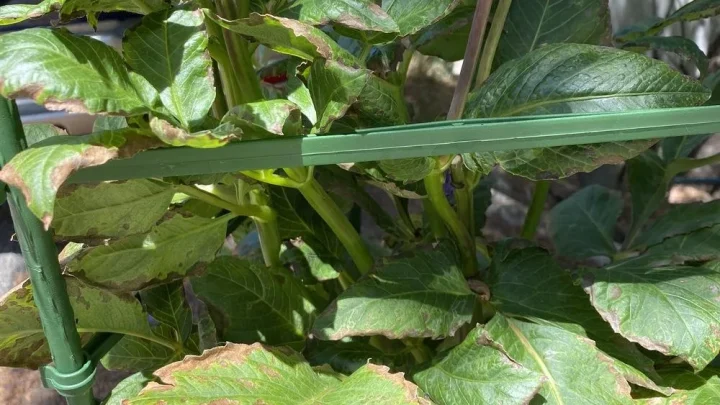
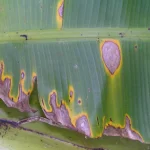
Image source: Bing (Web (fair-use with source credit))
You must determine if the brown spots are biotic or abiotic before taking action. Biotic issues involve living organisms like fungi or insects that spread and require targeted treatment. Abiotic issues come from water, nutrients, or temperature and won't infect other plants.
Getting this wrong wastes time and can harm edible leaves unnecessarily.
Start by checking the spot texture and location on the leaf. Fungal infections typically feel raised or powdery and often start on the underside. Pest damage usually appears as irregular holes, stippling, or sunken necrotic areas.
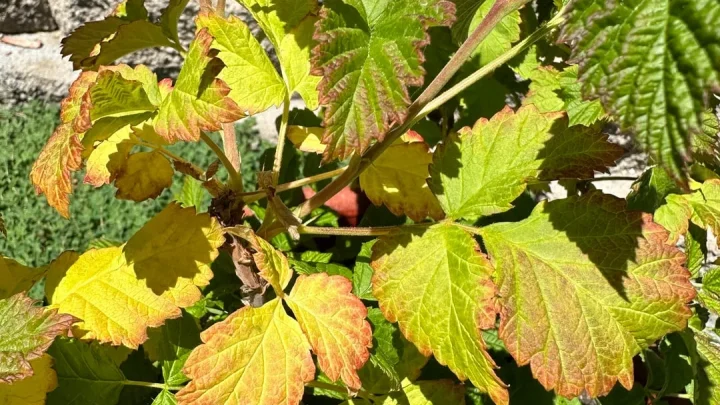
Environmental stress tends to show as uniform browning at leaf tips or margins without distinct borders.
Next, assess your recent care routine and weather conditions. Have you had prolonged rain or overhead watering in the last week? Did you recently fertilize or apply a new spray?
Abiotic problems correlate directly with recent events while diseases develop over days regardless of immediate care changes. This context separates cultural mistakes from active infections.
Finally, examine the progression speed and spread pattern. Diseases move systematically from older to newer growth or follow vein patterns. Pest damage appears randomly where insects feed.
Environmental damage stops progressing once the stressor is removed. Use these three variables to route yourself to the correct diagnostic branch below.
Branch 1: Identifying Fungal and Bacterial Infections by Spot Pattern
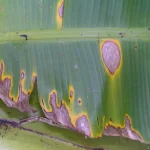
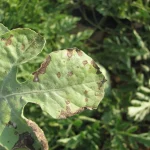
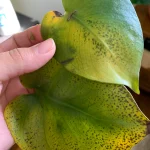
Fungal and bacterial infections create distinct visual signatures that separate them from other causes. Mint rust (Puccinia menthae) produces bright orange or brown pustules primarily on leaf undersides. These raised bumps contain spores and will rub off onto your finger if touched.
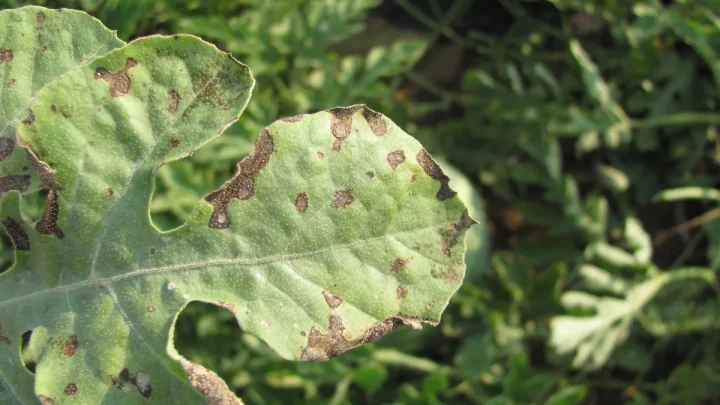
Anthracnose creates dark brown lesions with concentric rings that eventually form shot-holes as dead tissue drops out.
Bacterial leaf spot differs significantly in appearance and texture. Lesions are often angular because bacteria cannot penetrate leaf veins easily. They may have yellow chlorotic halos surrounding the brown center.
Bacterial spots feel slimy or water-soaked when fresh rather than dry or powdery. This distinction matters because fungicides do not control bacterial infections.
Septoria leaf spot presents as small circular brown spots with gray centers. These typically begin on lower older leaves and move upward during wet periods. The spots remain relatively uniform in size unlike the variable lesions of anthracnose.
High humidity above 85% accelerates all fungal development dramatically according to plant pathology standards.
Treatment depends entirely on accurate identification at this stage. Copper-based fungicides work broadly against both fungal and bacterial pathogens on edibles. Sulfur sprays target rust specifically but can burn mint foliage above 80°F.
Always verify the product label lists mint as an approved crop before application. Removing infected leaves immediately reduces spore load regardless of which pathogen you face.
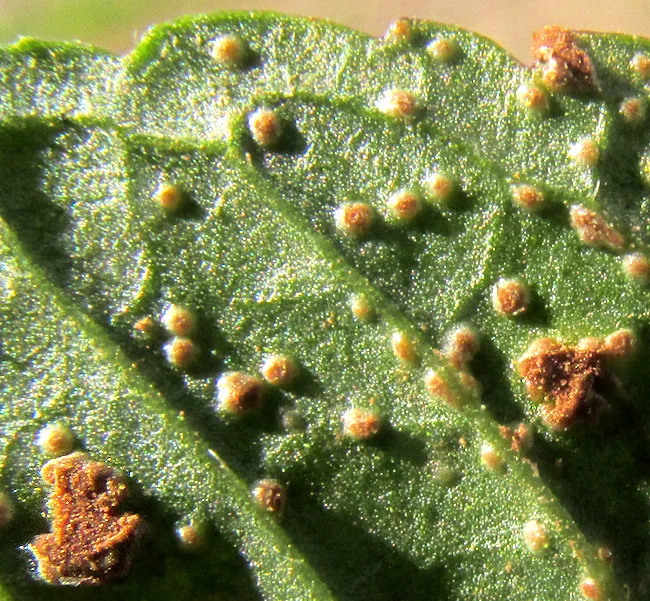
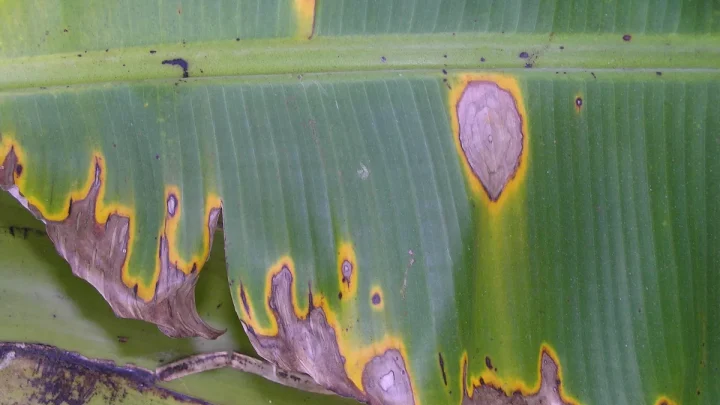
Image source: Bing (Web (fair-use with source credit))
Branch 2: Ruling Out Pests, Nutrient Burn, and Water Stress
If spots lack the defined patterns of disease, suspect pests or abiotic stress instead. Four-lined plant bugs (Poecilocapsus lineatus) create perfectly round brown necrotic spots that look like disease. These spots result from enzyme injection during feeding rather than infection.
Check for the distinctive yellow-and-black striped nymphs hiding under leaves in early summer.
Spider mites cause fine bronze or brown stippling rather than discrete spots. You might see tiny webbing between leaves in severe infestations. Tap a leaf over white paper to confirm their presence as specks that move.
Mite damage intensifies during hot dry spells unlike fungal issues that prefer moisture. Insecticidal soap controls them safely on edible herbs.
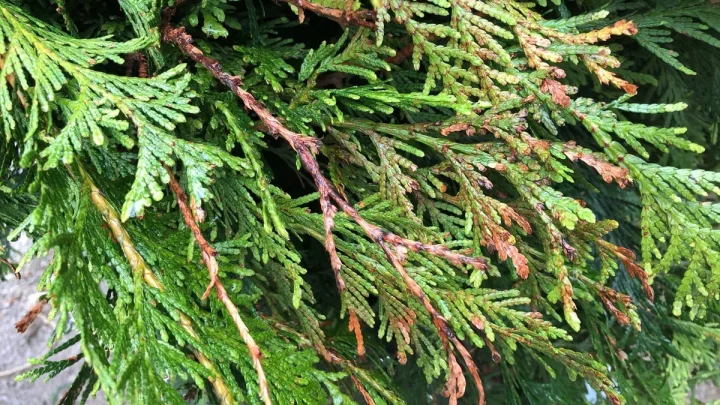
Nutrient burn from excess fertilizer creates brown crispy leaf margins and tips. The damage appears uniformly across multiple leaves at similar growth stages. It does not spread or change shape over time like a pathogen would.
Flush the soil with plain water to leach excess salts if you suspect this cause. Recovery takes weeks since damaged tissue cannot repair itself.
Water stress from inconsistent irrigation mimics nutrient burn closely. Underwatered mint develops dry brown edges starting at leaf tips. Overwatered roots cause generalized yellowing with scattered brown spots from oxygen deprivation.
Use a soil moisture probe to verify actual root zone conditions rather than guessing. Consistent moisture prevents recurrence better than reactive treatments ever will.
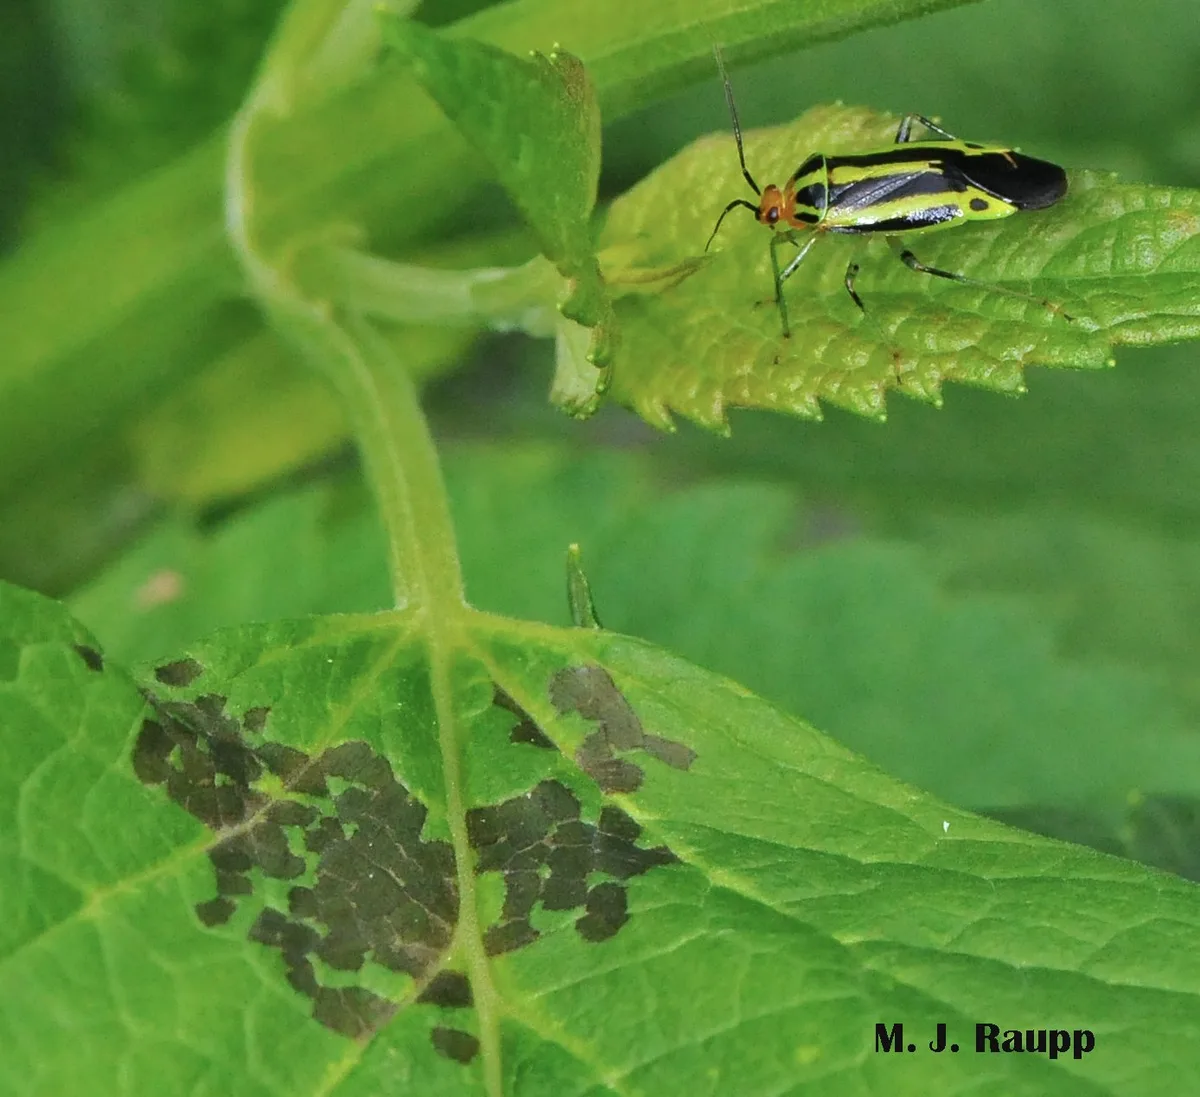
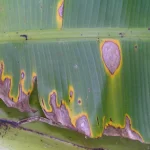
Image source: Bing (Web (fair-use with source credit))
Safe Treatment Protocols for Edible Mint Leaves
Treating edible herbs requires balancing efficacy with food safety above all else. Never use synthetic systemic fungicides unless the label explicitly permits harvest within days. Residue on mint leaves transfers directly to tea or garnishes without washing.
Organic options approved by OMRI provide effective control without toxic persistence. Start with mechanical removal of heavily infected foliage to reduce pathogen load immediately.
Copper fungicide serves as the broad-spectrum standard for bacterial and fungal issues. Apply it preventatively or at first sign of disease following label rates precisely. Reapply after rain since copper washes off readily.
Wait the stated pre-harvest interval before consuming treated leaves even though copper is permitted in organic production. Overuse can accumulate in soil over seasons so rotate with other methods.
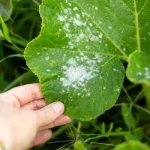
Sodium bicarbonate sprays offer a gentler alternative for powdery mildew and some rusts. Mix one tablespoon baking soda with one gallon of water plus a few drops of horticultural oil. Test on a few leaves first since mint can be sensitive to alkaline solutions.
Apply in cool morning hours to prevent phytotoxicity from rapid drying. This works by altering surface pH rather than killing pathogens directly.
Neem oil addresses both pests and some fungal issues simultaneously. It disrupts insect feeding and inhibits spore germination on contact. Avoid applying neem during bloom to protect pollinators visiting mint flowers.
Do not use neem within 24 hours of sulfur applications as the combination burns foliage. Store purchased sprays properly since degraded products lose effectiveness quickly.
| Treatment | Best For | Pre-Harvest Interval | Safety Note |
|---|---|---|---|
| Copper Fungicide | Bacterial & Fungal | 0-1 days | Can stain surfaces |
| Baking Soda Spray | Powdery Mildew | None | Test for sensitivity |
| Neem Oil | Pests & Mild Fungi | 0 days | Avoid during bloom |
| Sulfur Dust | Rust Specific | 0 days | No heat application |
Prevention Workflow: Airflow, Sanitation, and Watering Adjustments
Prevention beats cure every time when managing mint health long term. Most brown spot issues originate from microclimate conditions you can modify directly. Start by improving airflow around plants through strategic spacing and pruning.
Mint spreads aggressively so thinning dense patches reduces humidity trapped within the canopy. Aim for six inches minimum between stems to allow air movement.
Watering technique matters more than frequency for foliar disease prevention. Always water at the soil level using drip irrigation or careful hand pouring. Overhead sprinklers splash soilborne pathogens onto lower leaves repeatedly.
Water early in the day so any accidental splashes dry before nightfall. Evening watering extends leaf wetness duration which invites infection overnight.
Sanitation removes inoculum sources that survive between growing seasons. Clear fallen debris from around mint crowns each autumn. Compost only in hot piles reaching 140°F to kill pathogens safely.
Sterilize pruning tools between plants with 70% alcohol solution during active outbreaks. This simple step prevents spreading disease from one clump to another during routine maintenance.
Soil health supports natural resistance against opportunistic pathogens. Maintain pH between 6.0 and 7.0 where mint thrives best. Add compost annually to improve drainage and microbial diversity.
Avoid high nitrogen fertilizers that promote soft succulent growth susceptible to infection. Balanced nutrition builds stronger cell walls that resist penetration by fungi and bacteria alike.
Common Misdiagnoses That Waste Time and Kill Plants
Treating abiotic stress as a fungal disease is the most frequent error we see. Gardeners often spray fungicides on mint suffering from root rot or nutrient lockout. This adds chemical residue to edible leaves without addressing the actual problem.
The plant continues declining while you wait for a cure that cannot work. Always verify soil moisture and drainage before reaching for sprays.
Confusing natural senescence with infection leads to unnecessary pruning. Lower leaves naturally yellow and brown as they age and get shaded by new growth. This aging process starts at the bottom and moves up slowly over weeks.
Disease typically strikes randomly or targets specific tissue types regardless of position. Removing healthy lower leaves reduces photosynthetic capacity and weakens the entire plant.
Mistaking pesticide burn for pest damage creates a vicious treatment cycle. Neem oil or insecticidal soap applied in full sun scorches tender mint foliage instantly. These brown crispy patches look exactly like mite or bug feeding damage.
You might then apply more spray thinking the pests survived. Check application timing and weather conditions before assuming pests are still active.
Assuming all spots require immediate chemical intervention ignores beneficial organisms. Some minor leaf spotting comes from harmless saprophytic fungi feeding on dead tissue. These organisms do not spread to healthy living cells or reduce yield.
Aggressive spraying kills beneficial microbes that actually suppress true pathogens. Monitor spot progression for several days before deciding whether treatment is truly necessary.
Frequently Asked Questions About Brown Mint Spots
Can I eat mint leaves with brown spots?
You can safely eat mint with minor cosmetic browning after washing thoroughly. Remove heavily infected or slimy leaves entirely since they taste bitter and may harbor toxins. Fungal rust spots are generally harmless to humans but unpleasant in texture.
Always discard leaves showing signs of bacterial ooze or mold growth. When in doubt, compost damaged foliage and harvest only clean growth.
Does mint rust kill the whole plant?
Mint rust rarely kills established plants outright but severely reduces vigor and harvest quality. Infected leaves drop prematurely which weakens the root system over time. The fungus survives winter in rhizomes and returns each spring without management.
Cutting plants back to ground level after harvest removes overwintering spores effectively. Replanting resistant varieties in fresh soil offers the best long-term solution.
How do I distinguish rust from spider mites?
Rust forms distinct raised orange or brown pustules primarily on leaf undersides. Spider mites create fine bronze stippling across the entire leaf surface without discrete spots. Wipe suspected rust with your finger to see if colored spores transfer.
Tap mite-infested leaves over white paper to catch moving specks. Rust thrives in cool damp weather while mites prefer hot dry conditions.
Should I remove all affected leaves immediately?
Remove only leaves where damage exceeds fifty percent of the surface area. Lightly spotted leaves still contribute energy through remaining green tissue. Complete defoliation shocks the plant and slows recovery significantly.
Sterilize scissors between cuts to avoid spreading pathogens to healthy stems. Dispose of infected material in trash rather than home compost unless your pile reaches pathogen-killing temperatures consistently.
What causes brown spots only on new growth?
Brown spots restricted to new growth usually indicate calcium deficiency or herbicide drift. Calcium cannot move within the plant so deficiencies show first in developing tissues. Herbicide exposure from nearby spraying damages tender emerging leaves selectively.
Pests like thrips also target new shoots before older foliage. Test soil pH and review recent yard activities to narrow down the cause.

Similar Posts