Can You Grow Dill From Cuttings? Here’s What Actually Works
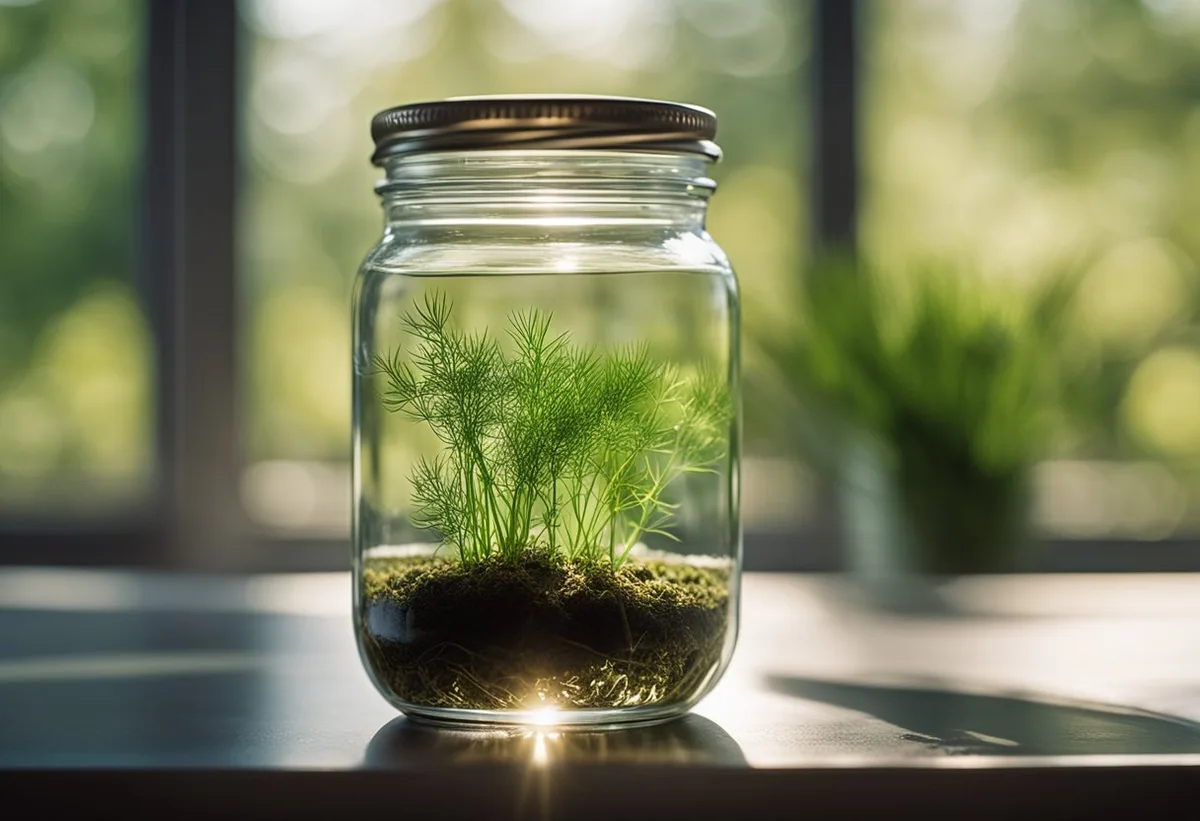
If you are wondering whether you can grow dill from cuttings, the short answer is yes. But it requires a very specific workflow because this herb fights cloning at every step. Dill (Anethum graveolens) belongs to the Apiaceae family and relies on a deep taproot.
That root system makes vegetative propagation much harder than starting from seed.
In our research, softwood cuttings take 10 to 14 days to form root initials in water. University extension programs consistently report that direct sowing seeds yields far more reliable harvests as of 2026. Still, if you need to clone a specific plant, you can do it by following the right conditions.
Let's look at exactly how this works.
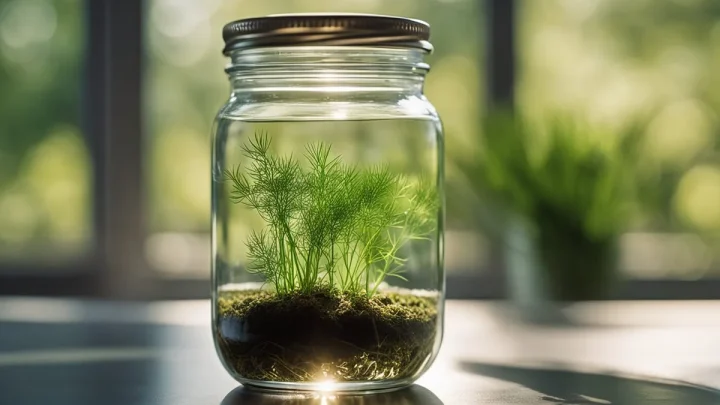
Image source: Bing (Web (fair-use with source credit))
Quick Answer
Yes, you can grow dill from cuttings.
Use only fresh, soft green stems.
Place them in clean, chlorine-free water.
Roots usually appear within two weeks.
Seeds remain the more reliable option.
Can You Grow Dill From Cuttings? The Honest Answer
You can grow dill from cuttings, but you should know the odds before you start. Most soft herbs like basil or mint root effortlessly in a glass of water. Dill does not play by those rules.
It grows fast, flowers quickly, and wants to drop seed rather than build new roots.
Because it is an herbaceous annual, its primary goal is reproduction through seed. When you sever a stem, you trigger a stress response. Sometimes the cutting roots beautifully.
Other times it bolts immediately just to survive the shock.
This means your success depends entirely on the condition of the stem you choose. If you grab a thick, woody branch from the bottom of the plant, it will rot. You must target the newest, softest growth at the top.
Even then, treat this as a fun experiment rather than a guaranteed food source.
If you just want a steady supply of leaves for cooking, buy a packet of seeds. They germinate in 7 to 14 days and cost almost nothing. But if you have a favorite potted supermarket dill plant you want to save, cloning is your best option.
Why Dill Resists Cloning (And How the Taproot Changes Everything)
Dill resists cloning because of its root architecture. Plants in the Apiaceae family develop a single, dominant taproot. This taproot anchors the plant and pulls moisture from deep in the soil profile.
When you take a cutting, you remove that entire support system. The severed stem must generate adventitious roots from scratch. These are new roots that form from non-root tissue, usually near a leaf node.
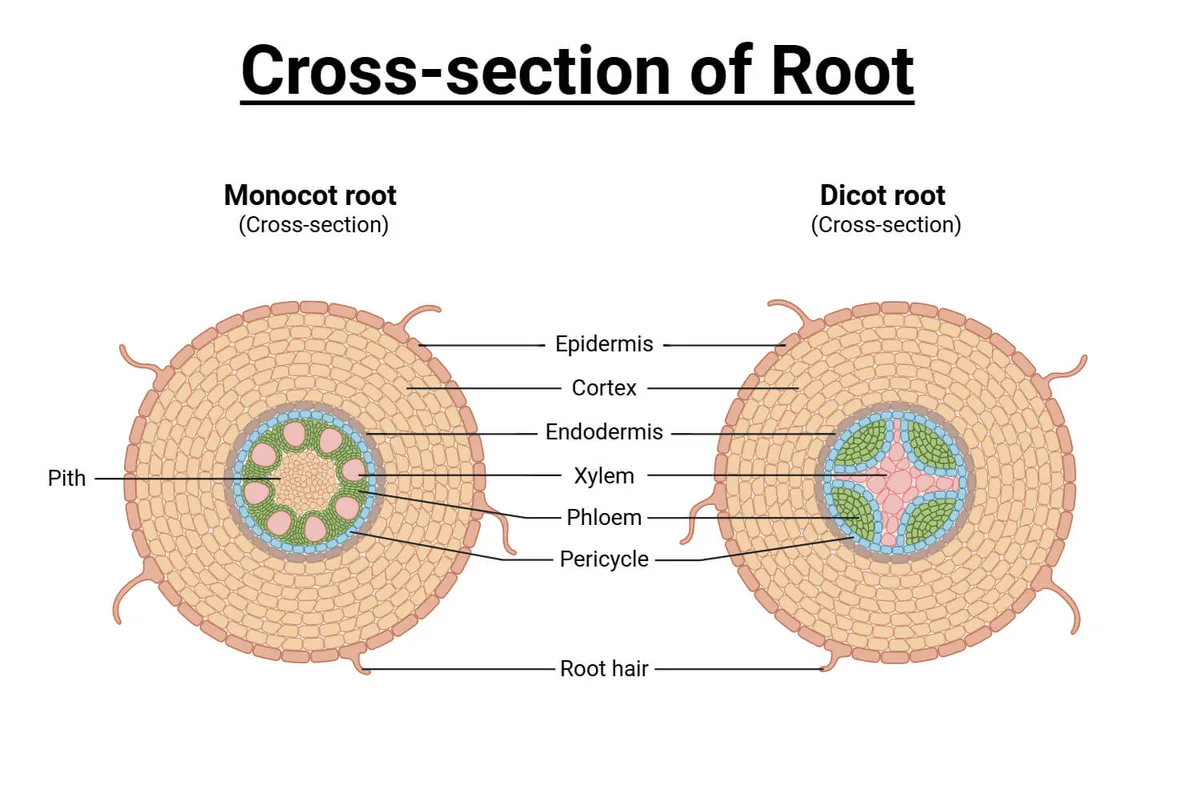
Image source: Bing (Web (fair-use with source credit))
Forming adventitious roots takes massive cellular energy. Dill stems lack the stored reserves found in woody perennials. The fine, feathery leaflets continue transpiring moisture while the base has no way to replace it.
This mismatch causes rapid wilting if humidity drops.
Botanical research from university horticulture programs confirms that umbellifers generally struggle with vegetative propagation. Their vascular tissue crushes easily under dull blades, blocking water uptake. Clean cuts are mandatory to keep the transport cells open.
You also face a biological clock problem. Dill naturally bolts when exposed to longer summer days or heat stress. Cutting the stem mimics severe environmental stress.
The plant often rushes to flower instead of rooting. Understanding this biology helps you manage expectations and adjust your workflow accordingly.
Decision Guide: Should You Take a Cutting or Just Sow Seeds?
Before you make a cut, evaluate your specific situation. Not every scenario calls for propagation. Use this decision logic to choose the right path.
If your goal is a large, reliable harvest for pickling or cooking, sow seeds directly. Direct sowing avoids transplant shock entirely. Dill hates having its roots disturbed after germination.
If you have a living potted plant from the grocery store with multiple stems, try dividing it. Gently tease the root ball apart into smaller sections. This preserves the existing taproots better than taking stem cuttings.
If you need to preserve the exact genetics of a specific heirloom variety, take a cutting. Seeds might cross-pollinate if grown outdoors near other dill types. Cloning guarantees identical foliage flavor and growth habits.
| Your Situation | Recommended Action | Primary Reason |
|---|---|---|
| Need bulk dill for recipes | Sow seeds directly | Germinates in 7 to 14 days reliably |
| Have mature, woody stems | Skip propagation | Older wood lacks energy to root |
| Have fresh, soft green tips | Take a softwood cutting | Active cells promote adventitious roots |
| Bought a crowded nursery pot | Divide the root ball | Preserves existing taproot structures |
| Want to save a specific cultivar | Clone via cuttings | Prevents genetic variation from seeds |
If you fall into the cutting category, move to the next step. Only use stems that bend easily without snapping. Rigid stems will fail.
Step-by-Step Workflow for Rooting Softwood Dill Cuttings in Water
Water propagation lets you monitor root development visually. Soil propagation works too, but wet soil hides early rot. Follow this exact sequence to maximize your success rate.
Selecting and Preparing the Stem
Choose bright green, flexible stems from the top of the plant. Avoid pale or yellowing growth. Measure out a 3 to 4 inch section.
Make your cut at a 45-degree angle just below a leaf node. Nodes contain concentrated meristematic cells ready to divide. Use sharp, sanitized pruning snips to prevent crushing the vascular tissue.
Strip all foliage from the bottom 1.5 to 2 inches of the stem. Submerged leaves will decay rapidly and introduce bacteria. Leave the top cluster of feathery leaflets completely intact for photosynthesis.
Setting Up the Rooting Environment
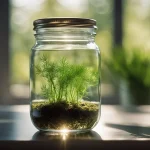
Fill a small glass jar with room-temperature water. If your tap water contains heavy chlorine, let it sit uncovered overnight first. Chlorine inhibits cell division in new roots.
Place the prepared cuttings into the jar. Ensure only the bare stem sits underwater. Keep the remaining foliage dry and well above the water line.
Position the jar in bright, indirect light. Direct sunlight will overheat the water and scorch the delicate leaves. A north-facing or east-facing window works perfectly indoors.
Image source: Bing (Web (fair-use with source credit))
Monitoring Root Development
Change the water every two to three days to prevent bacterial buildup. Stagnant water deprives the cutting of dissolved oxygen. Fresh water keeps the stem base healthy.
Within 10 to 14 days, look for tiny white bumps forming near the cut edge. These root initials signal that adventitious roots are emerging. Do not disturb them during this fragile stage.
Wait until the roots reach 1 to 2 inches long before moving to soil. Transplanting too early shocks the unestablished root system. Transplanting too late starves the cutting of nutrients found only in soil.
Moving Cuttings to Soil
Select a terra cotta pot with drainage holes. Terra cotta breathes better than plastic, preventing soggy soil conditions. Fill it with a light potting mix amended heavily with perlite for drainage.
Poke a hole in the center of the soil with your finger. Slide the rooted cutting in gently without bending the fragile new roots. Firm the soil lightly around the base to provide support.
Water the soil once to settle everything into place. Then leave it alone until the top inch dries out completely. Overwatering is the fastest way to kill a newly potted dill cutting.
Transplanting Rooted Dill Cuttings Without Triggering Bolting
Moving rooted cuttings into their final container causes stress. Stress triggers bolting in Anethum graveolens. Once a plant bolts, the foliage turns bitter and the life cycle ends.
Your goal is keeping the plant calm during this transition.
For the first few days after potting, create a humidity dome. Place a clear plastic bag loosely over the pot. This traps moisture around the leaves while the roots adapt to soil.
Remove the bag for an hour each day to allow airflow. Trapped stagnant air encourages fungal growth on the fine foliage. Gradually increase the time the bag stays off over five days.
Provide at least 6 hours of sunlight daily once hardened off. South-facing windows deliver the best indoor light intensity. Insufficient light causes leggy, weak growth that collapses under its own weight.
When harvesting your established cutting, always snip from the outer edges. Never remove more than one-third of the total plant volume at once. Taking too much foliage forces the plant back into survival mode.
Keep the soil slightly drier than you would for seed-grown dill. Cuttings develop shallower root systems that rot easily in heavy moisture. Check the top inch of soil daily before watering.
Aggregate user reviews from gardening forums suggest feeding lightly after three weeks in soil. A diluted liquid fertilizer supports continued leaf production. Heavy feeding pushes the plant toward flowering prematurely.
Common Mistakes That Kill Dill Cuttings Before They Root
Most failures happen in the first few days. If your cutting turns brown and mushy at the base, you likely left leaves underwater. Submerged foliage decays rapidly and breeds bacteria that attack the stem tissue.
Always strip the bottom two inches completely bare before placing it in your jar.
Using dull scissors is another silent killer. Crushed stems cannot transport water up to the remaining leaflets. The vascular bundles collapse under pressure from a bad blade.
Use sharp bypass pruners for every single cut to keep those channels wide open.
Stagnant water starves the developing root initials of oxygen. If you forget to change the water every three days, the liquid turns cloudy. Bacteria multiply quickly in that low-oxygen environment.
Dump it out, rinse the jar, and refill with fresh room-temperature water.
Direct sunlight on a glass jar acts like a magnifying lens. It heats the water fast enough to cook delicate new cells. Keep your setup in bright indirect light instead.
An east-facing window provides gentle morning rays without the intense afternoon heat.
Rushing the transplant phase causes massive shock. If you move a cutting into soil when roots are barely visible, they dry out instantly. Wait until those white threads reach a full inch or two.
Patience here prevents the plant from collapsing right after potting.
Overwatering the newly potted cutting drowns the fragile adventitious roots. Dill needs well-draining soil, not a swamp. Let the top inch of the mix dry out completely between waterings.
Terra cotta pots help wick away excess moisture naturally.
Frequently Asked Questions About Propagating Anethum Graveolens
Can you root grocery store dill in water?
Yes, you can try rooting supermarket dill if the stems are still fresh and green. Avoid bunches with wilted or slimy bases. Trim the bottom inch off at an angle and place it in clean water immediately.
Success rates vary wildly depending on how long the herbs sat in cold storage.
How long does it take for dill cuttings to root?
Expect to see tiny white root initials forming within 10 to 14 days. Full roots suitable for transplanting usually take another week or two. Warmer room temperatures speed up this cellular division slightly.
Cold drafts will stall the process entirely.
Is it better to grow dill from seed or cuttings?
Growing dill from seed is almost always the better choice for a reliable harvest. Seeds germinate in 7 to 14 days and develop strong taproots naturally. Cuttings struggle with root establishment and often bolt prematurely due to stress.
Reserve cloning only for saving specific genetic varieties.
Why is my dill cutting turning yellow?
Yellowing leaves usually indicate either too much direct sunlight or bacterial rot at the base. Check the submerged portion of the stem for slime. If it feels mushy, the cutting has failed.
Trim above the rot, change the water, and try again with a fresh piece.
Do you need rooting hormone for dill cuttings?
You do not strictly need rooting hormone, but it can speed up adventitious root formation. A quick dip in powdered auxin before placing the stem in water gives cells a chemical signal to divide. Many home gardeners skip it successfully.
Clean cuts and fresh water matter more than additives.
Can you divide a potted dill plant instead of taking cuttings?
Dividing a crowded nursery pot works much better than taking stem cuttings. Supermarket herb pots often contain multiple seedlings packed tightly together. Gently tease the root ball apart under running water to separate them.
Plant each section individually to give the existing taproots room to grow.

Similar Posts