Monstera Leaf Black Spots: Causes, Fixes & Prevention
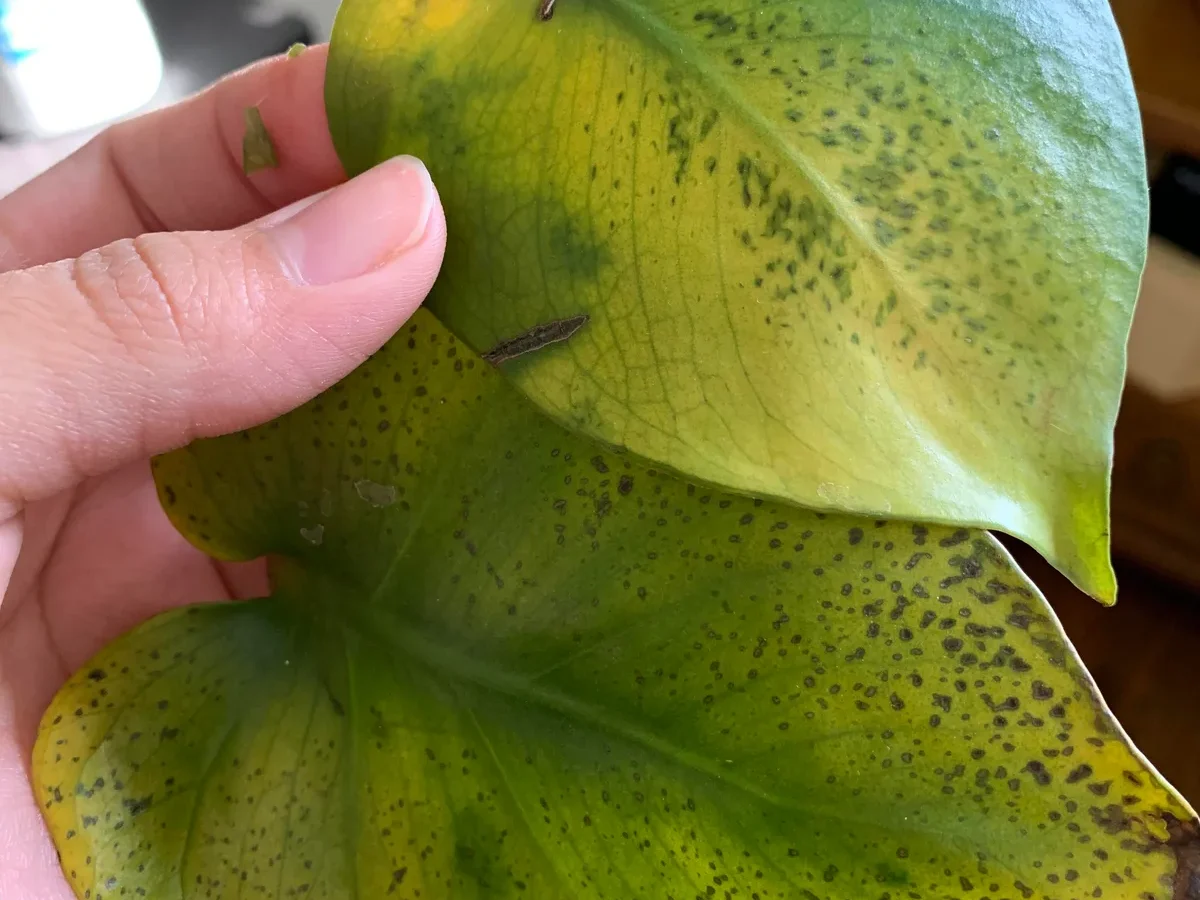
Finding monstera leaf black spots usually means your plant is dealing with too much water, a pathogen, or environmental stress. You don't need to panic, but you do need to act fast before the damage spreads to healthy tissue.
Monstera deliciosa thrives when temperatures stay between 65°F and 85°F, per University of Florida IFAS Extension guidelines. When conditions drift outside that range or soil stays soggy, necrotic tissue shows up quickly. Let's figure out exactly what your plant is telling you.
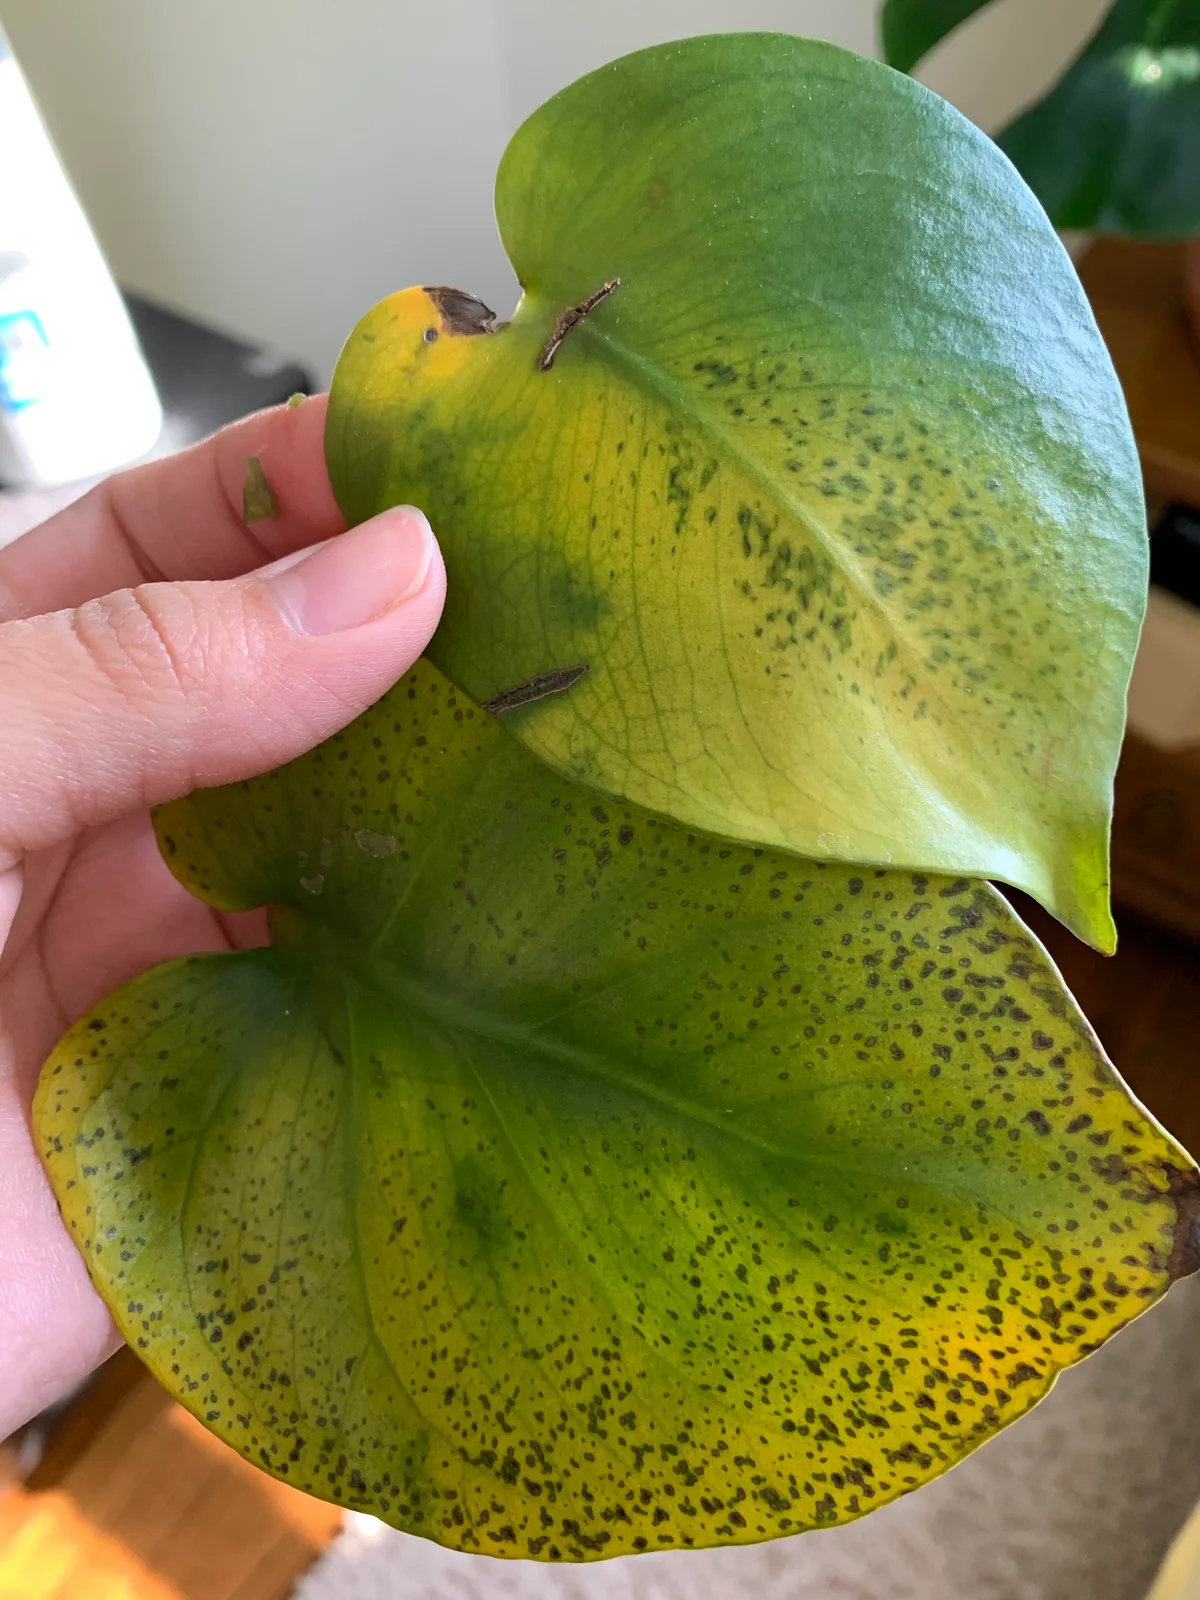
Image source: Bing (Web (fair-use with source credit))
Quick Answer
Monstera leaf black spots signal overwatering, infections, or cold damage. Mushy black areas mean root rot or bacterial disease. Crispy dark patches point to sunburn or chilling injury.
Always isolate the plant immediately. Prune affected leaves using sterilized shears.
The Touch Test: How to Read Your Monstera’s Black Spots
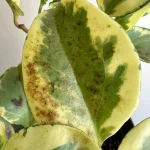
Black spots on a Monstera aren't just one problem. They are a symptom. To fix it, you have to touch the leaf and look closely at the damage.
Our research shows most houseplant owners skip this step and guess wrong. That guessing game costs them the plant.
Start by pressing your finger gently against the spot. If the tissue feels wet, mushy, or slimy, you are likely dealing with a moisture issue. This could be overwatering, root rot caused by Pythium, or a bacterial infection like Xanthomonas.
Wet spots mean the cells are actively breaking down.
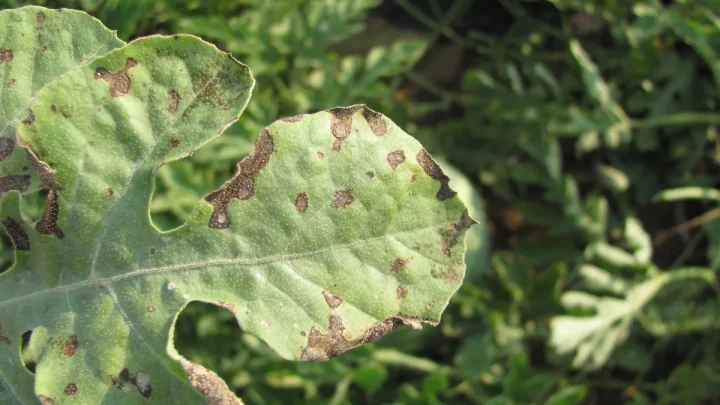
If the spot feels dry, crispy, or papery, the cause is entirely different. Dry necrosis usually points to sunburn, cold damage, or severe underwatering. The cells didn't rot.
They dried out and died. Texture is your best diagnostic tool here.
Next, look at where the spots sit on the plant. Damage isolated to the lowest, oldest leaves often signals natural aging or early root rot. Spots appearing randomly across new growth suggest a spreading pathogen or sudden environmental shock.
Location matters just as much as texture.
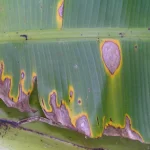
Finally, check for a yellow halo around the black center. A bright yellow ring bordering the dead tissue almost always indicates a bacterial or fungal leaf spot. Sunburn rarely produces neat yellow halos.
It just bleaches the leaf until the tissue turns brown or black.
| Symptom | What It Feels Like | Most Likely Cause |
|---|---|---|
| Wet, dark patches | Soft, mushy, slimy | Overwatering, bacterial blight |
| Dry, dark patches | Crispy, brittle, thin | Sunburn, cold drafts |
| Yellow halos | Slightly raised edges | Fungal or bacterial infection |
| Edge browning | Crunchy margins | Low humidity, salt buildup |
Decision Tree: Matching the Spot to the Real Problem
Diagnosing monstera leaf black spots requires following a simple decision tree. Look at the symptoms, match them to the conditions below, and take action based on the result. Don't treat everything the same way.
Fungicides won't fix a watering habit, and repotting won't cure a bacterial spread.
Mushy, Wet, or Smelly (Overwatering & Root Rot)
If the black spots feel soft and smell slightly foul, your soil is staying wet too long. Root rot pathogens like Phytophthora thrive in oxygen-starved dirt. The roots suffocate, die, and send decay signals straight up to the leaves.
Check your soil right now. Push your finger two inches down. If it feels like a damp sponge weeks after watering, you've found your culprit.
Monsteras need chunky, well-draining aroid mixes, not dense potting soil that holds water like a brick.
Yellow Halos and Splatter Patterns (Bacterial Leaf Spot)
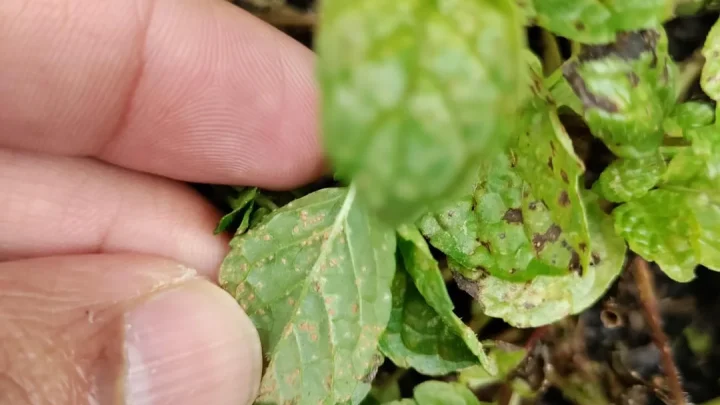
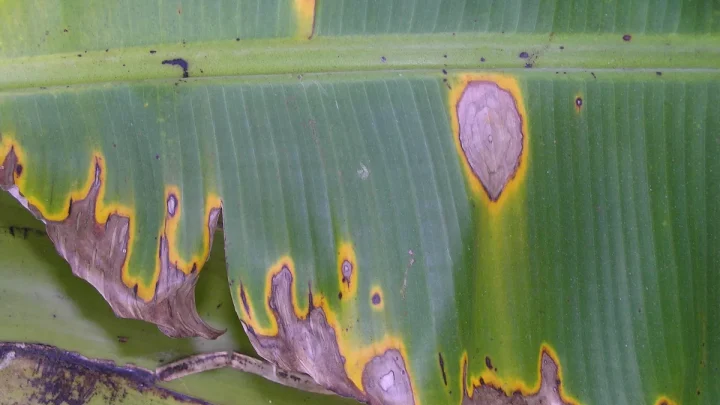
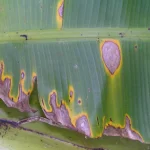
Bacterial leaf spot spreads fast and looks messy. You'll see irregular black splatters surrounded by distinct yellow rings. The bacteria enter through tiny wounds or natural leaf pores when moisture sits on the foliage overnight.
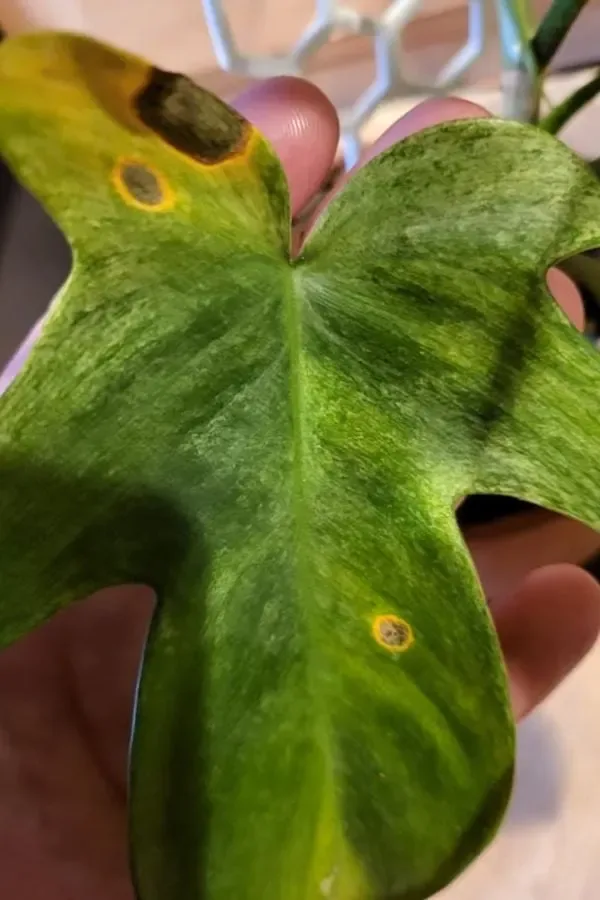
Image source: Bing (Web (fair-use with source credit))
This happens frequently when people mist their plants heavily without providing airflow. Bacteria need standing water to multiply. If your Monstera sits in stagnant, humid air, you're rolling out a welcome mat for Pseudomonas and similar pathogens.
Isolate the plant immediately if you suspect this.
Dry, Crispy, or Papery Patches (Sunburn & Cold Damage)
Dry black spots mean the plant tissue was scorched or frozen. Monsteras suffer chilling injury when exposed to temperatures below 50°F. Drafts from winter windows or AC vents cause localized cell death that dries out completely.
Sunburn works the same way but usually hits the top leaves facing the glass. Direct afternoon light bleaches the chlorophyll. The damaged area eventually turns dark brown or black and feels like thin paper.
Move the plant back from the window or filter the light.
Concentric Rings on Older Leaves (Fungal Infections)
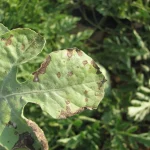
Fungal issues like Septoria or Anthracnose often show up as target-like rings. You'll see a dark center surrounded by alternating bands of lighter and darker tissue. These fungi love decaying organic matter left sitting on the soil surface.
Fungal spores splash up from the dirt during overhead watering. They settle on lower leaves first. If you notice these rings, stop watering from the top.
Switch to bottom watering and clear away any dead debris resting against the base of the stem.
Step-by-Step Fix: Pruning, Treating, and Quarantining
Once you know what caused the monstera leaf black spots, follow this exact workflow to save the plant. Rushing this process spreads pathogens to healthy tissue. Take your time and use clean tools.
- Isolate the plant. Move your Monstera away from other houseplants immediately. Keep it quarantined for at least two to four weeks. Bacterial and fungal spores travel easily through shared air currents and splashing water.
- Sterilize your pruning shears. Wipe your blades thoroughly with 70% isopropyl alcohol. Do this before making a single cut. Unsterilized tools are the number one way hobbyists accidentally infect their entire plant collection.
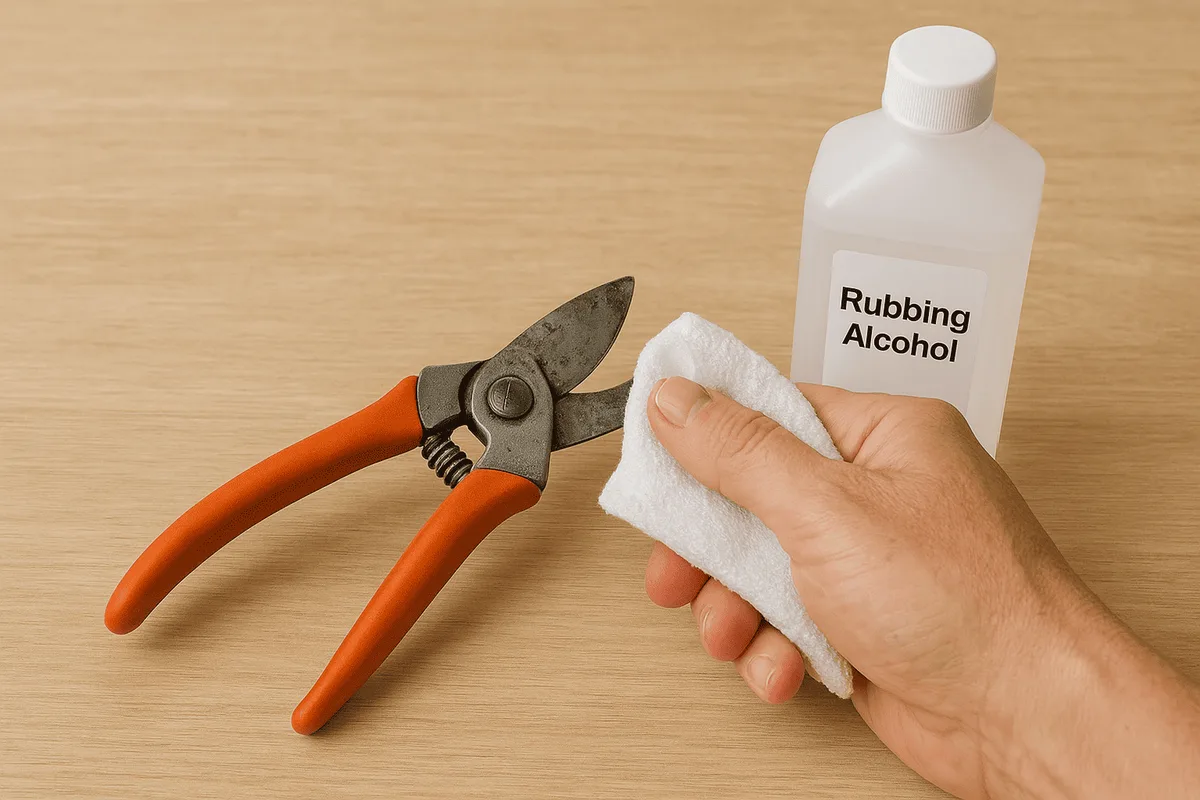
Image source: Bing (Web (fair-use with source credit))
- Prune the damaged leaves. Cut the affected leaf off at the base of the petiole. If only the tip is damaged, cut about half an inch into the healthy green tissue past the black margin. Leaving diseased tissue behind guarantees the rot continues.
- Treat the remaining foliage. For fungal issues, apply a copper-based fungicide according to the label directions. Copper acts as both a preventative and a mild treatment. Avoid spraying in direct sunlight to prevent phytotoxicity on the remaining healthy leaves.
- Adjust your environment. Set up a small oscillating fan nearby to keep air moving. Stagnant air invites trouble. Ensure the plant sits in bright, indirect light rather than deep shade where soil takes forever to dry out.
Wash your hands thoroughly after handling diseased leaves. Monstera plants contain calcium oxalate crystals that irritate skin. Bag the pruned leaves and throw them in the trash.
Never put infected plant material into your compost bin.
Repotting and Soil Fixes When Roots Are Involved
If your decision tree pointed to overwatering or root rot, pruning the leaves isn't enough. You have to fix the root system. Bad soil will keep generating monstera leaf black spots no matter how many times you trim the canopy.
Pull the plant out of its nursery pot gently. Healthy roots should look firm and pale. Rotten roots turn dark brown or black, feel mushy, and sometimes snap off in your fingers.
Sniff the root ball. A sour, swampy odor confirms anaerobic bacteria have taken over.
Grab a clean pair of scissors and cut away every mushy root. Sterilize the blades between cuts. Once you remove the dead weight, dust the remaining healthy roots lightly with ground cinnamon or horticultural sulfur powder.
Both act as natural, gentle antifungal barriers.
Throw the old soil away completely. Don't reuse it. Build a fresh, chunky aroid mix using these proportions:
- 40% orchid bark for structure and airflow
- 30% perlite or pumice for drainage
- 20% high-quality coco coir for light moisture retention
- 10% horticultural charcoal to absorb impurities
Choose a pot that fits the reduced root system snugly. Putting a small root ball into a massive pot guarantees the excess soil stays wet too long. Water the fresh mix once, let it drain completely, and don't water again until the top three inches feel totally dry.
Five Mistakes That Keep Bringing Black Spots Back
Fixing the immediate damage only works if you change the habits causing it. Our research shows most recurring leaf issues trace back to a few specific care errors. Stop making these mistakes and your Monstera will stay clear.
Watering on a strict calendar schedule is the biggest offender. Your plant doesn't care what day of the week it is. Soil dries at different rates depending on light, temperature, and pot size.
Always check moisture levels physically before adding more water.
Leaving wet foliage sitting overnight invites bacterial blight. If you water from the top or mist heavily, do it early in the morning. The leaves need time to dry completely before temperatures drop in the evening.
Stagnant moisture on the leaf surface is exactly how Pseudomonas spreads.
Crowding plants together creates pockets of dead air. Monsteras need space around their canopy for proper circulation. When leaves constantly touch neighboring pots, fungal spores transfer easily between them.
Pull your plants a few inches apart to let the air move freely.
Ignoring the first tiny speck guarantees a bigger problem later. A single black dot might look harmless today. Within two weeks, it can expand into a massive necrotic patch that takes out the whole leaf.
Catching spots when they are the size of a pinhead saves the plant.
Using dirty tools during routine maintenance introduces pathogens directly into fresh cuts. We covered sterilization during the emergency pruning phase earlier. You need to apply that same standard every single time you trim a brown edge or remove an old leaf.
Wipe those blades down with alcohol consistently.
Finally, placing your Monstera too close to exterior walls in winter causes chilling injury. Glass radiates cold aggressively once outdoor temperatures plummet. Even if your thermostat reads 70°F, the microclimate right against a drafty windowpane can dip below 50°F.
Move the pot inward as soon as autumn arrives.
Frequently Asked Questions
Should I cut off Monstera leaves with black spots?
Yes, remove any leaf where black spots cover more than half the surface area. Severely damaged leaves drain energy without contributing to photosynthesis. Use sterilized shears and cut cleanly at the base of the stem.
Toss the removed leaves in the trash, never the compost.
Can overwatering cause black spots on Monstera leaves?
Overwatering is the most common trigger for dark, mushy leaf spots. Soggy soil suffocates roots and encourages Pythium root rot. The decay travels upward and manifests as wet black patches on lower leaves first.
Let the top three inches of soil dry out completely between waterings.
Will bacterial leaf spot spread to other houseplants?
Bacterial infections spread rapidly through splashing water and shared airflow. Isolate the affected Monstera immediately upon noticing yellow halos around dark spots. Avoid overhead watering while the plant is quarantined.
Wash your hands thoroughly after handling the infected foliage to prevent transferring bacteria to healthy specimens.
How long does it take for a Monstera to recover from root rot?
Recovery typically takes four to six weeks after repotting into fresh chunky soil. The plant needs time to push out new white roots before top growth resumes. Don't panic if existing older leaves continue to yellow during this waiting period.
Focus entirely on keeping the new soil mix aerated and barely moist.
Why are my new Monstera leaves turning black before they unfurl?
Blackening on emerging leaves usually signals severe root damage or extreme cold exposure. The plant lacks the established root system needed to support new tissue development. Check your soil moisture immediately and verify the ambient room temperature stays above 65°F.
New growth is always the most vulnerable part of the plant.

Similar Posts