How to Get Rid of Pachysandra for Good
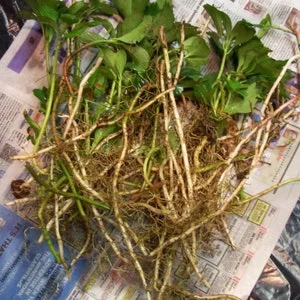
Getting rid of pachysandra takes more effort than pulling standard yard weeds. If you just yank the green tops, it grows right back. Pachysandra terminalis, commonly called Japanese spurge, survives through a dense network of woody underground stems called rhizomes. You have to remove that entire system or kill it completely.
Our research into groundcover management shows this plant thrives in USDA Hardiness Zones 4 through 8. It roots itself firmly in the top six inches of soil. Clearing it out requires matching your removal method to your specific yard conditions.
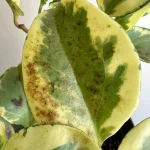
Image source: Bing (Web (fair-use with source credit))
Quick Answer
Getting rid of pachysandra requires removing its underground rhizomes. You can dig them out manually. You can also apply systemic herbicides in fall.
Smothering the patch with cardboard works too. Every root node left behind will sprout again.
Why Pachysandra Is So Hard to Kill (And How the Rhizomes Work)
Japanese spurge spreads almost entirely through vegetative reproduction. It rarely relies on seeds to take over a yard. Instead, it pushes out thick, creeping rhizomes just below the soil surface.
These woody runners branch out aggressively in every direction.
Every few inches along a rhizome, you will find a growth node. That node holds everything the plant needs to start a brand new colony. If your shovel slices through the runner, both pieces survive.
Each broken fragment simply grows fresh leaves and roots.
This is why clearing a bed feels like an endless chore. You pull up what looks like a massive clump. Two weeks later, dozens of tiny green shoots push through the dirt.
The mature leaves also feature a thick, waxy cuticle.
That waxy coating blocks liquid chemicals from soaking in properly. Spraying herbicide on old foliage yields terrible results. The plant needs fresh, tender growth to absorb chemical treatments effectively.
Understanding this biology changes how you approach the whole project.
University extension programs, like those at Penn State Extension, consistently flag this species as a difficult invasive groundcover. They note that mechanical disruption often worsens the spread if done carelessly. You cannot treat this plant like normal turfgrass weeds.
The root mat forms a dense, interlocking web. It chokes out native plants by blocking sunlight and monopolizing soil nutrients. As of 2026, many property owners are actively replacing these monocultures with diverse native plantings.
Reclaiming your soil starts with understanding the enemy.
The Quick Decision Guide: Manual, Chemical, or Smothering?
Choosing the right removal method depends on three variables. First, measure the total square footage of the infested area. Second, identify any desirable trees or shrubs growing nearby.
Third, decide if you accept synthetic chemicals or prefer organic methods.
If your patch is small and sits under a prized oak tree, go manual. Herbicides applied over shallow tree roots can damage the host tree. Systemic chemicals travel through the soil and enter shared root zones.
Manual extraction protects sensitive neighboring plants.
If you face a massive slope covered entirely in spurge, chemicals save your back. Digging out hundreds of square feet by hand causes severe physical strain. It also strips the hillside bare, inviting immediate soil erosion.
Targeted spraying handles large acreage efficiently.
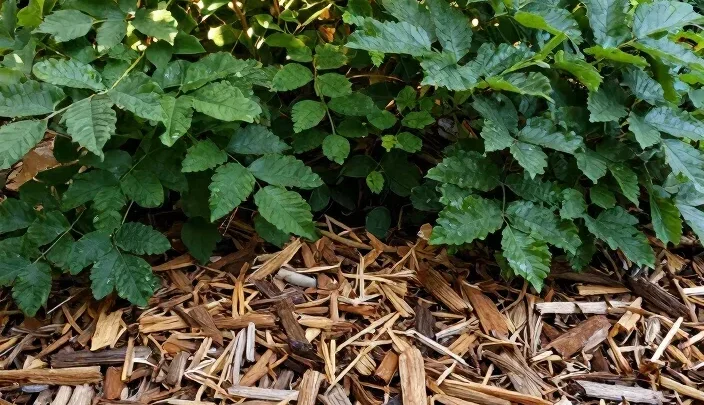
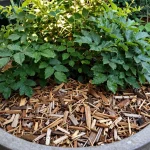
For patient gardeners who refuse to use glyphosate, smothering works well. This method involves layering overlapping cardboard directly over the trimmed plants. You then cover the cardboard with four inches of wood chips.
Light deprivation slowly starves the root system.
| Method | Best Application | Labor Level | Time to Clear |
|---|---|---|---|
| Manual digging | Small beds near trees | Very high | Immediate |
| Glyphosate spray | Large open areas | Low | 3 to 6 weeks |
| Cardboard smothering | Organic yards | Medium setup | 6 to 12 months |
Smothering takes a full growing season to finish the job. You cannot plant anything new in that spot until next year. Chemical treatment kills the foliage fast but leaves dead roots temporarily.
Manual removal clears the space instantly for replanting.
Evaluate your timeline before starting. A landscape renovation happening next month requires digging or spraying. A long term yard overhaul allows for slower smothering techniques.
Match the workflow to your actual schedule.
Path A: Digging Out Small Beds and Protecting Tree Roots
Manual extraction is the only safe option near established trees. Tree roots share the same shallow soil layer as the spurge. You must physically lift the weed mat without slicing the tree roots.
Start by watering the target area deeply the day before.
Wet soil releases rhizomes much easier than dry clay. Trying to pry woody runners out of baked earth just snaps them. You want the dirt soft enough to peel the roots out intact.
Put down a tarp nearby to hold the removed debris.
Never throw live pachysandra into your home compost bin. The heat generated by standard backyard compost piles rarely kills tough rhizome nodes. Bag the plant material and send it to the municipal yard waste facility.
Keep the cleared zone clean as you work.
Next, cut all the leafy top growth down to one inch. Use a string trimmer or sharp hedge clippers for this step. Rake away the severed leaves so you can see the bare soil.
This visibility prevents you from missing hidden runners.
Grab a spading fork instead of a flat shovel. A shovel blade acts like a guillotine on the root network. A spading fork loosens the soil and lifts the mat whole.
Push the tines about six inches deep into the earth.
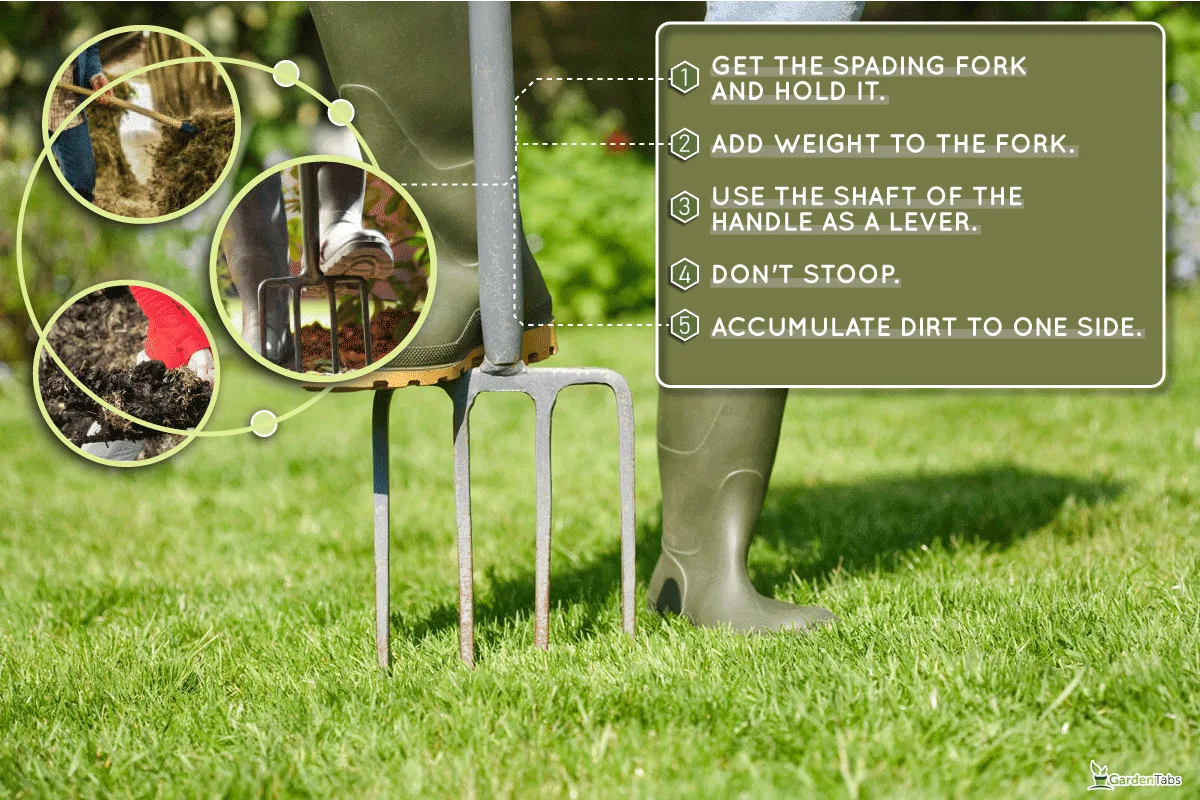
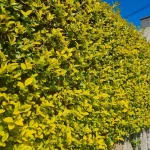
Image source: Bing (Web (fair-use with source credit))
Lever the handle back gently to pop the root mass upward. Start at the outer edge of the bed and roll inward. Try to peel the rhizome carpet back in large continuous sheets.
Work slowly to keep the woody runners from snapping.
Once the main mat is gone, sift through the loose soil. Run your hands through the dirt and pull out stray white roots. Even a two inch fragment left behind will sprout again.
Take your time during this inspection phase.
Cover the bare soil immediately after finishing. Lay down overlapping sheets of plain brown cardboard over the entire bed. Top the cardboard with three inches of shredded hardwood bark.
This smothers any microscopic fragments you might have missed.
Monitor the spot closely the following spring. If you see a single green shoot poking through the mulch, dig it out instantly. Catching regrowth early takes five seconds.
Ignoring it gives you another weekend project next year.
Path B: Using Glyphosate on Large Patches Without Wasting Your Time
Chemical control works best when you follow the plant's natural energy cycle. Do not spray nonselective systemic herbicide in early spring. Spring growth moves energy upward from the roots into the leaves.
The chemical stays trapped in the top growth.
Wait until late summer or early fall for maximum effectiveness. During autumn, Pachysandra terminalis actively pulls nutrients downward to store for winter. This translocation process drags the absorbed herbicide straight into the rhizomes.
Timing your application correctly is the biggest factor in success.
Prepare the site by mowing the existing groundcover down first. Cut the mature, waxy leaves off completely. Wait one to two weeks for the plant to push out fresh regrowth.
You need the new stems to reach about four to six inches tall.
Tender young leaves lack that thick protective cuticle. They absorb liquid chemicals rapidly and efficiently. Mix your glyphosate concentrate exactly according to the manufacturer label specifications.
Do not add extra chemical hoping for faster results. Overconcentrated mixtures burn the leaf tissue before the plant can transport it downward.
Apply the spray on a calm, dry morning. Wind drift carries herbicide droplets onto desirable turfgrass or ornamental shrubs. Wear chemical resistant gloves, long sleeves, and eye protection during application.
Keep pets and children off the treated zone until the liquid dries completely.
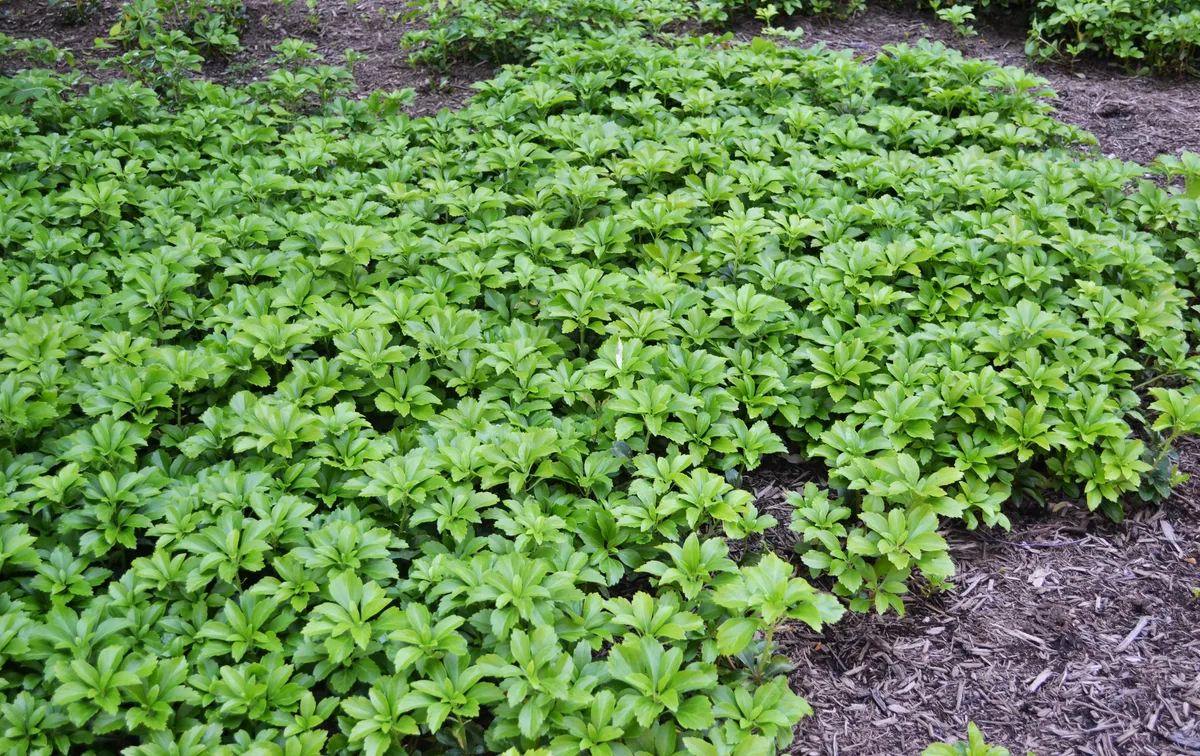
Image source: Bing (Web (fair-use with source credit))
Patience is required after you finish spraying. Visible die off typically takes three to six weeks. The foliage will turn yellow, then brown, and finally collapse.
Do not pull the dead vines out immediately after they change color.
Leave the dead plant material standing through the winter. The root system needs time to fully absorb the lethal dose. Ripping the dead tops away prematurely interrupts the chemical transfer process.
Let the frost and snow help break down the decaying matter.
You will likely need a second pass for stubborn patches. Inspect the area carefully about three weeks after your first application. Spot treat any sections that still show green growth.
Aggregate reviews from landscaping professionals suggest two applications guarantee complete eradication on heavy infestations.
By the following spring, the dead mat should rake away easily. Test your soil pH before planting replacements. Spurge prefers acidic conditions around 5.5 to 6.5.
Your new plants might require different nutrient levels to thrive in that reclaimed space.
Path C: Clearing Steep Slopes Without Triggering Erosion
Removing groundcover from a hillside introduces a serious erosion risk. If you clear the entire slope at once, heavy rain will wash your topsoil straight into the street. The dense root mat was the only thing holding that dirt in place.
You have to work in controlled sections.
Divide the hill into horizontal strips about three feet wide. Clear one strip completely using your preferred method. Leave the surrounding vegetation untouched while that specific section recovers.
Plant replacement species immediately after the old roots die off.
Creeping juniper and native sedges establish quickly on inclines. They send down fresh roots to anchor the bare soil. Do not wait until next spring to plant your replacements.
Bare slopes left over winter almost always suffer severe washouts.
Pin down biodegradable jute netting over any exposed dirt. This erosion control blanket holds the soil together while new plants take root. Secure the edges with landscape staples every two feet.
The netting rots away naturally after a year or two.
If you used herbicides on the slope, wait for full die off before planting. Check the manufacturer label for the specific replanting interval. Some chemical formulations require several weeks before new seeds can safely germinate.
Rushing this step kills your expensive replacement plants.
Work from the top of the hill downward. Gravity pulls water and loose soil downhill as you dig. Starting at the bottom means you will stand in mud while clearing the upper sections.
Top down progression keeps your footing stable.
Monitor the cleared strips closely during heavy storms. If you notice ruts forming, add more jute netting right away. Catching erosion early saves you from hauling wheelbarrows of fresh soil back up the bank later.
Slope management is mostly about patience and timing.
Mistakes That Guarantee It Comes Back Next Spring
The most common error we see is snapping the rhizomes during manual removal. Using a flat shovel chops the woody runners into dozens of pieces. Each severed node simply grows a brand new plant.
You end up multiplying your problem instead of solving it.
Always use a spading fork to lift the root mat intact. Pry gently rather than slicing aggressively through the dirt. If a runner snaps, dig down and pull out both broken ends.
Leaving even an inch of white root behind invites regrowth.
Timing your herbicide application wrong wastes money and effort. Spraying in May when the plant pushes energy upward traps the chemical in the leaves. The roots survive perfectly fine underground.
Wait until late summer so the plant drags the poison downward.
Skipping the mow and wait step ruins chemical treatments. Mature Japanese spurge leaves have a thick waxy coating. Liquid spray just beads up and rolls off onto the soil.
Cutting the plant back forces out tender new growth that absorbs chemicals readily.
Tossing pulled plants into your backyard compost pile spreads the infestation. Standard compost piles rarely reach temperatures high enough to kill woody rhizomes. Those roots survive the winter inside your bin.
When you spread finished compost next year, you scatter live spurge everywhere.
Bag all removed debris and send it to municipal waste facilities. Commercial sites generate enough heat to destroy invasive root fragments. Never reuse soil dug out of a heavy patch without sifting it first.
Tiny hidden nodes blend right in with normal dirt clods.
Giving up after a single treatment guarantees failure. Aggregate reviews from landscaping professionals show stubborn patches often need two or three passes. Monitor the cleared area for two full springs.
Dig out any stray green shoots the moment they appear.

Similar Posts