Why Mint Leaves Turn Brown and How to Fix It
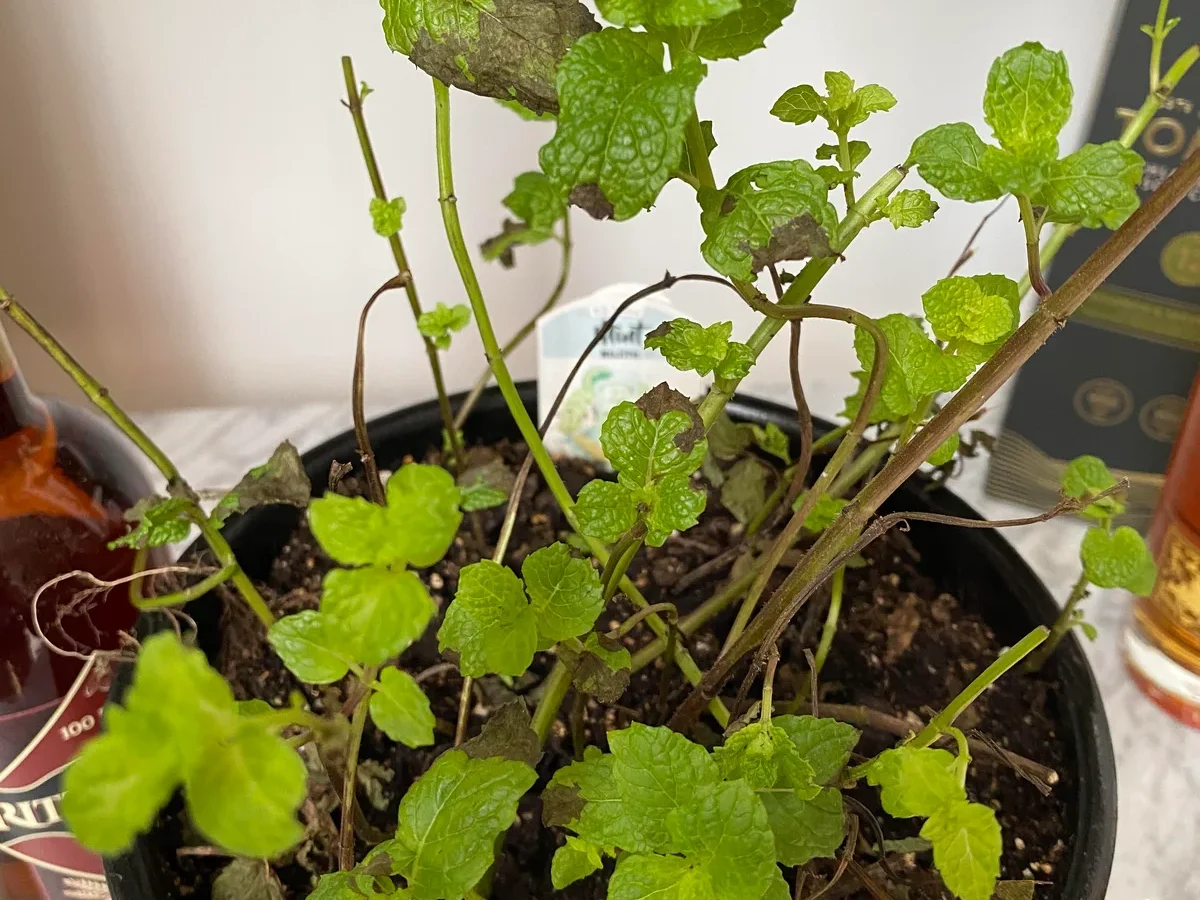
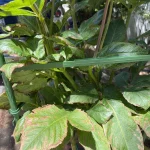
Seeing mint plant leaves turning brown is frustrating when you expect a lush, green herb. Our research shows this usually points to watering issues or fungal infections. You don't need to throw the whole plant away just yet.
Mint grows best in soil with a pH between 6.0 and 7.0. Per Cornell University's plant pathology resources, mint rust remains a leading cause of leaf discoloration as of 2026. Let's walk through exactly how to figure out what your plant needs.
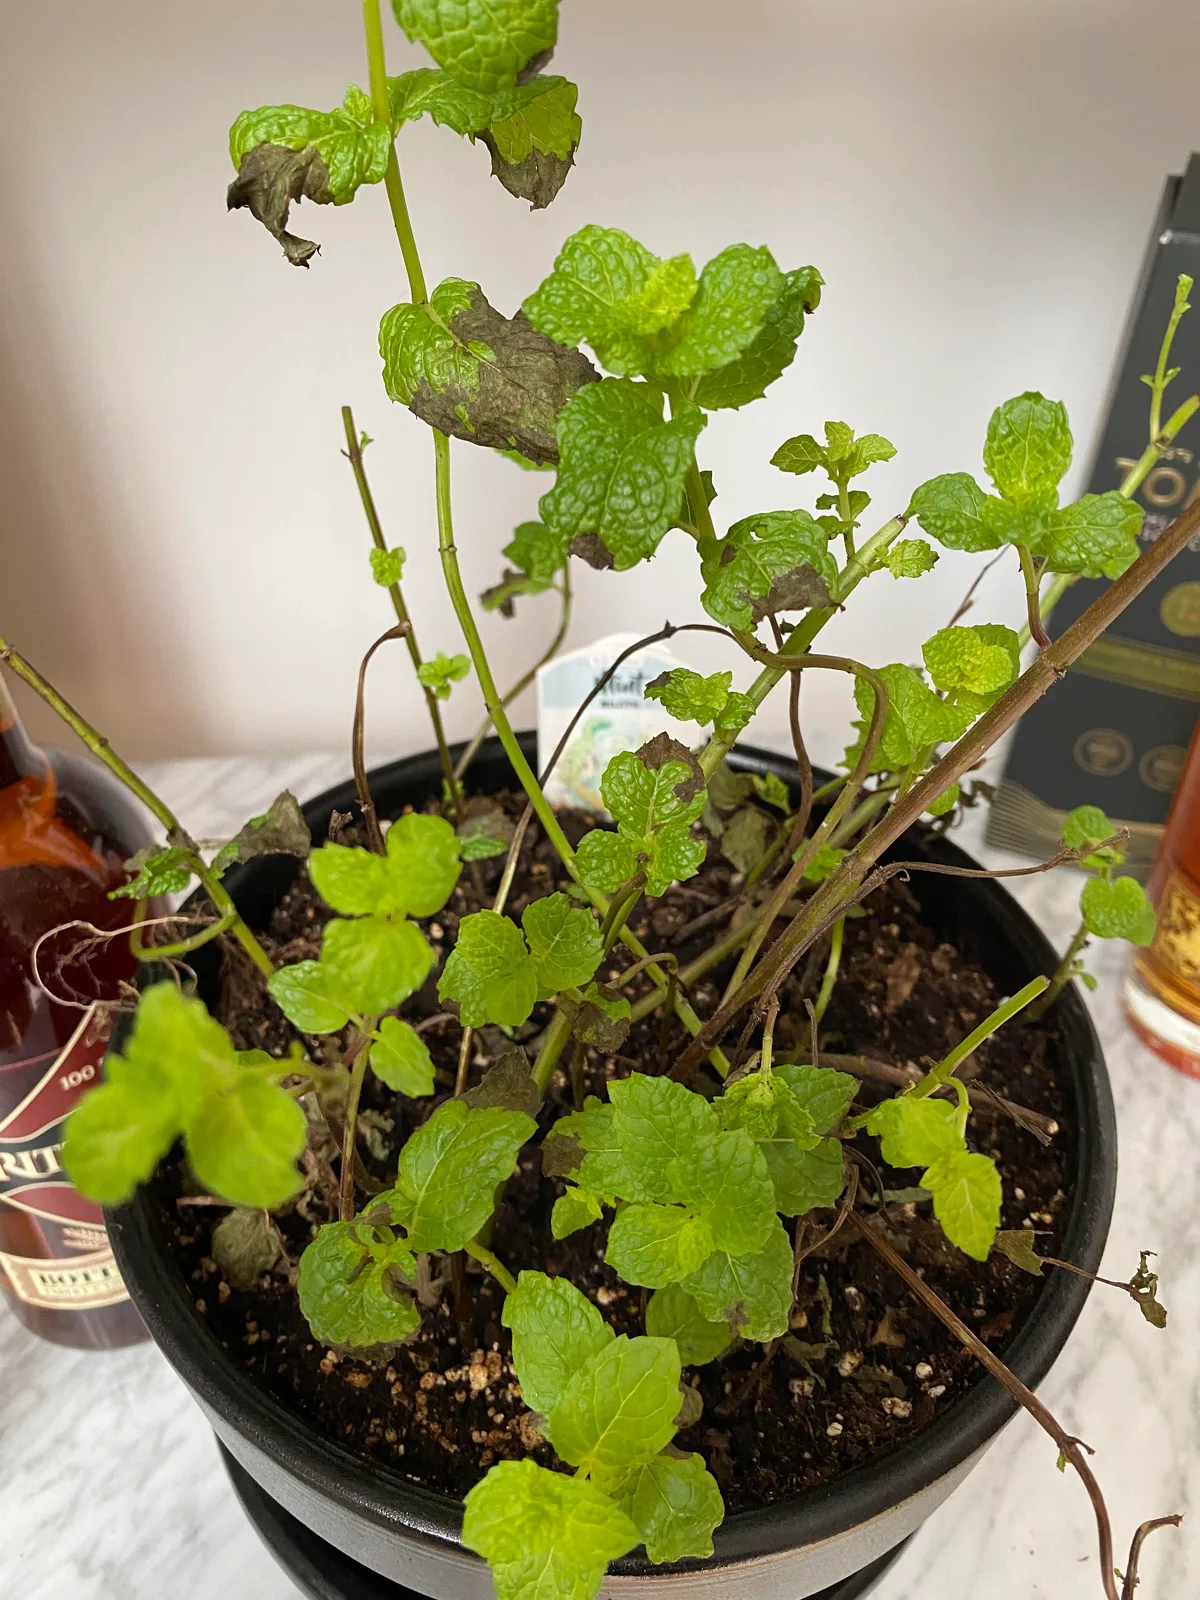
Image source: Bing (Web (fair-use with source credit))
Quick Answer
Mint plant leaves turn brown from water stress or disease. Crispy edges mean underwatering or salt buildup. Soft brown spots point to root rot.
Orange bumps indicate mint rust fungus. Match the texture to find your fix.
Why Your Mint Leaves Are Turning Brown (The Quick Diagnostic)
Brown leaves on mint are a symptom, not a single disease. The Mentha genus pushes out new growth rapidly from underground rhizomes. That means the plant constantly signals its health through its foliage.
When something goes wrong in the soil or air, the leaves react first.
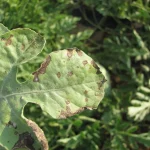
You have to look closely at the damage. Marginal necrosis happens when only the outer edges of the leaf die. Interveinal spotting kills tissue between the leaf veins.
Full leaf collapse takes down the entire structure at once. Each pattern points to a different culprit.
Environmental stress causes most browning we see in home gardens. Tap water heavy in chlorine or calcium builds up salts in container soil. Those salts burn delicate root tips.
The burn travels upward and dries out the leaf margins.
Pathogens cause a completely different type of damage. Fungal spores land on wet leaves and multiply fast. They eat through plant tissue and leave behind rusty pustules or dark spots.
Knowing the difference between environmental stress and a pathogen changes your entire treatment plan.
Here is a quick breakdown of what causes specific types of browning.
| Symptom Pattern | Likely Cause | Plant Part Affected |
|---|---|---|
| Crispy leaf margins | Salt burn or drought | Older basal leaves |
| Dark mushy patches | Root rot or overwatering | Lower stems and roots |
| Raised orange bumps | Mint rust (Puccinia menthae) | Leaf undersides |
| Bleached papery spots | Sun scorch | Top apical growth |
Container plants face these issues faster than garden bed plants. Pots dry out unevenly and trap excess minerals. If your spearmint or peppermint lives in a glazed ceramic pot, moisture hangs around much longer.
Terracotta wicks moisture away naturally. Your choice of container sets the stage for everything else.
Step 1: Feel the Leaves and Check the Soil
Your hands are the best diagnostic tools you own. Before you change your watering schedule or buy a fungicide, touch the damaged leaves. The physical texture tells you if the cells died from dehydration or drowned in excess moisture.
This one step prevents misdiagnosis.
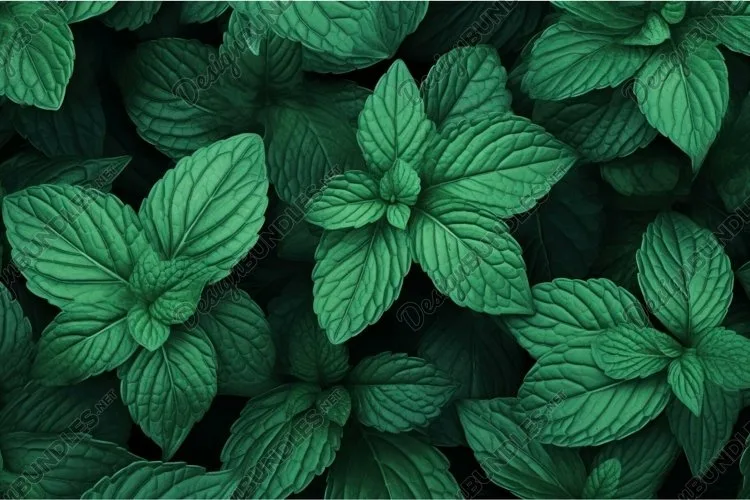
Image source: Web (Bing) / designbundles.net (Web image (fair-use with source credit))
Crispy leaves feel like dry paper. They crunch when you roll them between your fingers. This texture means the plant lacks water or suffers from osmotic stress.
Osmotic stress happens when too much fertilizer or hard water pulls moisture out of the roots.
Soft leaves feel limp and slightly slimy. They tear easily instead of snapping. This texture confirms waterlogged soil suffocating the root system.
Roots need oxygen to function. Soggy soil cuts off that supply and triggers rapid decay.
Next, test the soil moisture directly. Push your index finger about one inch deep into the dirt. If it feels bone dry, your plant needs a drink.
If it feels muddy or cold, you are watering too often.
Check the drainage holes while you are at it. Lift the pot and look underneath. Blocked holes turn good soil into a swamp.
Water must flow freely out the bottom every time you irrigate. Standing water in a saucer guarantees trouble for aggressive spreaders like mint.
Finally, smell the soil surface. Healthy potting mix smells earthy and fresh. Rotting soil smells sour or sulfurous.
That foul odor means anaerobic bacteria have taken over. If you smell that, you need to repot the plant immediately.
Step 2: Match Your Symptoms to the Right Fix
Once you know the texture and soil condition, follow the right branch below. Treat each scenario differently. Applying the wrong fix makes the problem worse.
Crispy Brown Edges and Tips (Underwatering or Salt Burn)
Crispy brown edges happen when roots fail to pull up enough water. This comes from chronic underwatering or mineral buildup. Hard tap water leaves calcium and fluoride deposits in the soil over time.
Liquid fertilizer applied too heavily does the exact same thing.
If the top inch of soil is completely dry, give the plant a deep soak. Pour water slowly until it runs freely from the drainage holes. Do not just sprinkle the surface.
Shallow watering forces roots to grow upward where they dry out even faster.
If you suspect salt accumulation, flush the container. Run plain room temperature water through the soil for two to three minutes. This leaches excess minerals out the bottom.
Skip all liquid feeds for at least four weeks after flushing.
Switching your water source helps long term. Rainwater or filtered water prevents future mineral buildup. Distilled water works well for indoor containers.
Aggregate reviews from container gardeners consistently report better leaf color after switching away from unfiltered municipal tap water.
Soft, Dark Brown, Mushy Leaves (Overwatering and Root Rot)
Dark, soft leaves signal root rot. Overwatering suffocates the roots. Without oxygen, the tissue breaks down and turns black.
The plant wilts because dead roots cannot absorb anything. People see the wilt and add more water, which accelerates the decay.
Stop watering immediately. Move the pot to a spot with good airflow. Let the top two inches of soil dry out completely before you even think about adding moisture again.
Empty any standing water sitting in the drip saucer.
If the plant looks severely distressed, pull it from the pot. Gently shake off the old dirt. Look closely at the root ball.
Healthy roots are firm and pale. Rotted roots are black, hollow, and fall apart when touched.
Take sterilized pruning shears and snip off the dead roots. Wipe your blades with 70 percent isopropyl alcohol between cuts. Repot the trimmed plant into fresh soil mixed with 20 to 30 percent perlite by volume.
Perlite creates air pockets that keep the roots breathing.
Orange-Brown Dusty Pustules on Leaf Undersides (Mint Rust)
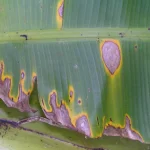
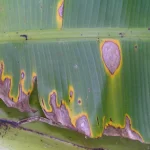
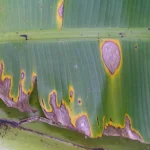
Raised orange or brown bumps on the leaf underside mean mint rust. This fungal disease is caused by Puccinia menthae. It thrives in high humidity and crowded beds.
The tops of infected leaves show pale yellow spots directly above the rust pustules.
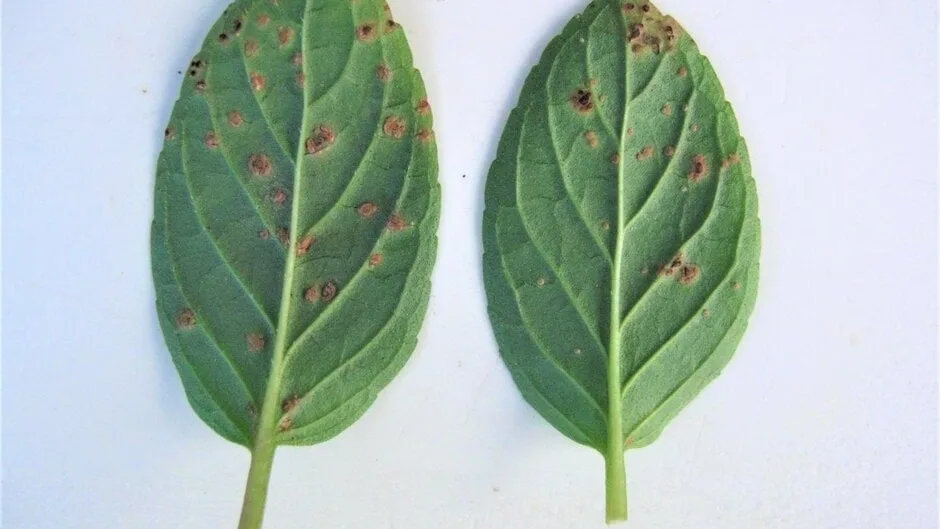
Image source: Web (Bing) / rhs.org.uk (Web image (fair-use with source credit))
Remove infected leaves right away. Do not toss them in your compost bin. Standard cold compost piles do not get hot enough to kill fungal spores.
Put the diseased foliage in a sealed plastic bag and throw it in the trash.
Improve airflow around the remaining stems. Thin out crowded growth so wind can pass through the plant. Space your containers further apart if they sit close together on a patio.
Stagnant air traps the moisture fungi need to reproduce.
Always water at the soil line. Overhead watering coats the leaves and invites spores to germinate. For severe outbreaks, cut the entire plant back to one inch above the soil line.
Bag all the clippings. The rhizome system will push out clean new shoots within seven to fourteen days.
Large Bleached Patches Turning Papery Brown (Sun Scorch)
Bleached white patches that turn papery brown come from sun scorch. This happens when you move an indoor plant straight into harsh afternoon light. The sudden UV exposure destroys chlorophyll faster than the plant can adapt.
The tissue dies and dries out.
Move the container to a location with morning sun and afternoon shade. Mint prefers bright indirect light or partial shade anyway. Direct midday summer sun is too intense for most varieties.
If the plant is in the ground, rig up a temporary shade cloth. Use a lightweight fabric that blocks about 40 percent of sunlight. Leave it in place for a week while the plant recovers.
New growth will emerge darker and thicker, naturally adapted to outdoor light levels.
Do not prune the scorched leaves immediately. They still provide some shade to the lower stems. Wait until you see fresh green growth pushing out from the nodes.
Then snip the dead material away with clean shears.
The Decision Guide: Symptom-to-Action Workflow
Use this workflow every time you spot discoloration. Follow the logic step by step. Do not skip ahead.
Each branch leads to a specific action based on what you observe.
Start by touching the affected leaf.
- If the leaf is crispy and dry: Check the soil depth.
, If the soil is bone dry at one inch deep, water deeply.
, If the soil is moist but leaves are still crispy, flush the soil to remove salt buildup. Switch to filtered water.
- If the leaf is soft and dark brown: Check the pot drainage.
, If water sits in the saucer, dump it out and stop watering.
, If the soil smells sour, unpot the plant, trim black roots, and repot in perlite amended soil.
- If you see raised orange or brown bumps: Flip the leaf over.
, If the bumps rub off like dust, you have mint rust. Remove the leaf, bag it, and improve airflow. Cut the plant back if more than half the leaves show spots.
- If the leaf has large bleached white patches: Check your light exposure.
, If the plant was recently moved outdoors, it has sun scorch. Relocate it to partial shade immediately.
Keep this decision tree handy. Print it out or save it on your phone. When you catch problems early using this logic, you save the plant before systemic damage occurs.
Waiting until the whole stem collapses limits your options.
Consistency matters more than perfection here. Check your mint twice a week during the growing season. Run through this quick mental checklist every time you harvest a few sprigs for tea or cooking.
Catching a shift in leaf texture early is the easiest way to keep your herbs healthy.
Common Mistakes That Make Brown Mint Leaves Worse
Treating root rot like underwatering is the fastest way to kill your plant. Both issues cause wilting, so people panic and add more water. That extra moisture finishes off the remaining healthy roots.
Always check the soil texture before you grab the watering can.
Composting rust infected foliage spreads spores through your entire garden. Puccinia menthae survives standard cold composting temperatures easily. Those spores wake up next spring and infect fresh growth. Bag diseased clippings tightly and put them in the municipal trash.
Applying liquid fertilizer to stressed plants causes severe osmotic shock. Burned roots cannot process nutrients anyway. The salts just sit there and pull more moisture out of the tissue.
Wait until you see fresh green leaves before feeding the plant again.
Overhead watering guarantees fungal problems will return. Wet leaves sitting in stagnant evening air invite every spore in the neighborhood. Pour water directly onto the soil surface instead.
Keep the foliage completely dry during your regular irrigation routine.
Ignoring pot drainage creates a permanent swamp environment. A container without holes traps every drop you pour in. Glazed ceramic pots hold even more moisture than plastic ones.
Drill extra holes or switch to unglazed terracotta if you struggle with overwatering.
Frequently Asked Questions
Should I cut off brown mint leaves?
Yes, remove them immediately. Dead tissue drains energy from the plant and invites secondary infections. Use clean shears sterilized with 70 percent isopropyl alcohol.
Snip the stem just above a healthy leaf node to encourage bushy new growth.
Can mint recover from root rot?
Mint recovers well if you catch it early. Unpot the plant and trim away all black mushy roots. Repot the remaining healthy white roots into fresh soil mixed with perlite.
The aggressive rhizome system usually pushes out new shoots within two weeks.
How often should I water mint in containers?
Check the top inch of soil every two days. Water deeply only when that top layer feels completely dry to the touch. Container plants dry out faster than garden beds, especially in terracotta pots.
Avoid setting a rigid calendar schedule since humidity and temperature change constantly.
Why are my indoor mint leaves turning brown?
Indoor browning usually comes from low humidity or tap water mineral buildup. Forced air heating dries out the room quickly. Switch to filtered water and group plants together to raise local humidity.
Avoid placing pots directly above heating vents or radiators.
Is mint rust safe to eat?
Do not eat leaves covered in rust pustules. While Puccinia menthae primarily targets plants, consuming heavily infected foliage tastes terrible. Harvest only clean green sprigs for culinary use.
Cut back the diseased portions and let the plant regenerate fresh edible growth.

Similar Posts