How to Test Soil pH: Home Depot Kits & Guide
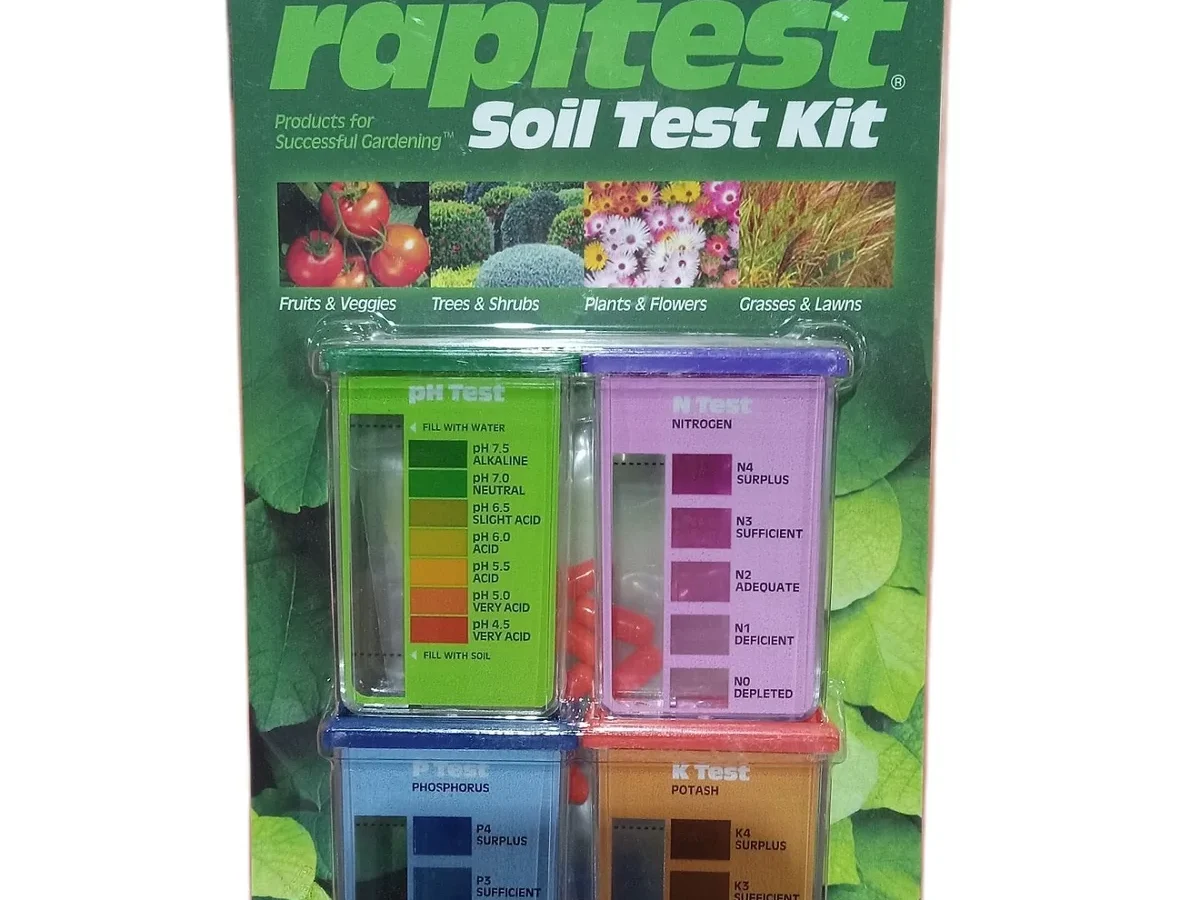
If you need to test soil ph home depot carries a few specific options in their garden center. You'll find liquid drop kits, paper test strips, and digital pen meters on the shelves. Choosing the right one depends entirely on your garden setup.
Most weekend gardeners just need a basic colorimetric kit to get started.
Soil pH measures how acidic or alkaline your dirt is on a 0 to 14 scale. Most vegetables and turf grasses thrive between 6.0 and 7.0. Outside that range, roots simply cannot absorb nutrients from fertilizer.
Let's look at exactly what Home Depot stocks and how to use it properly.
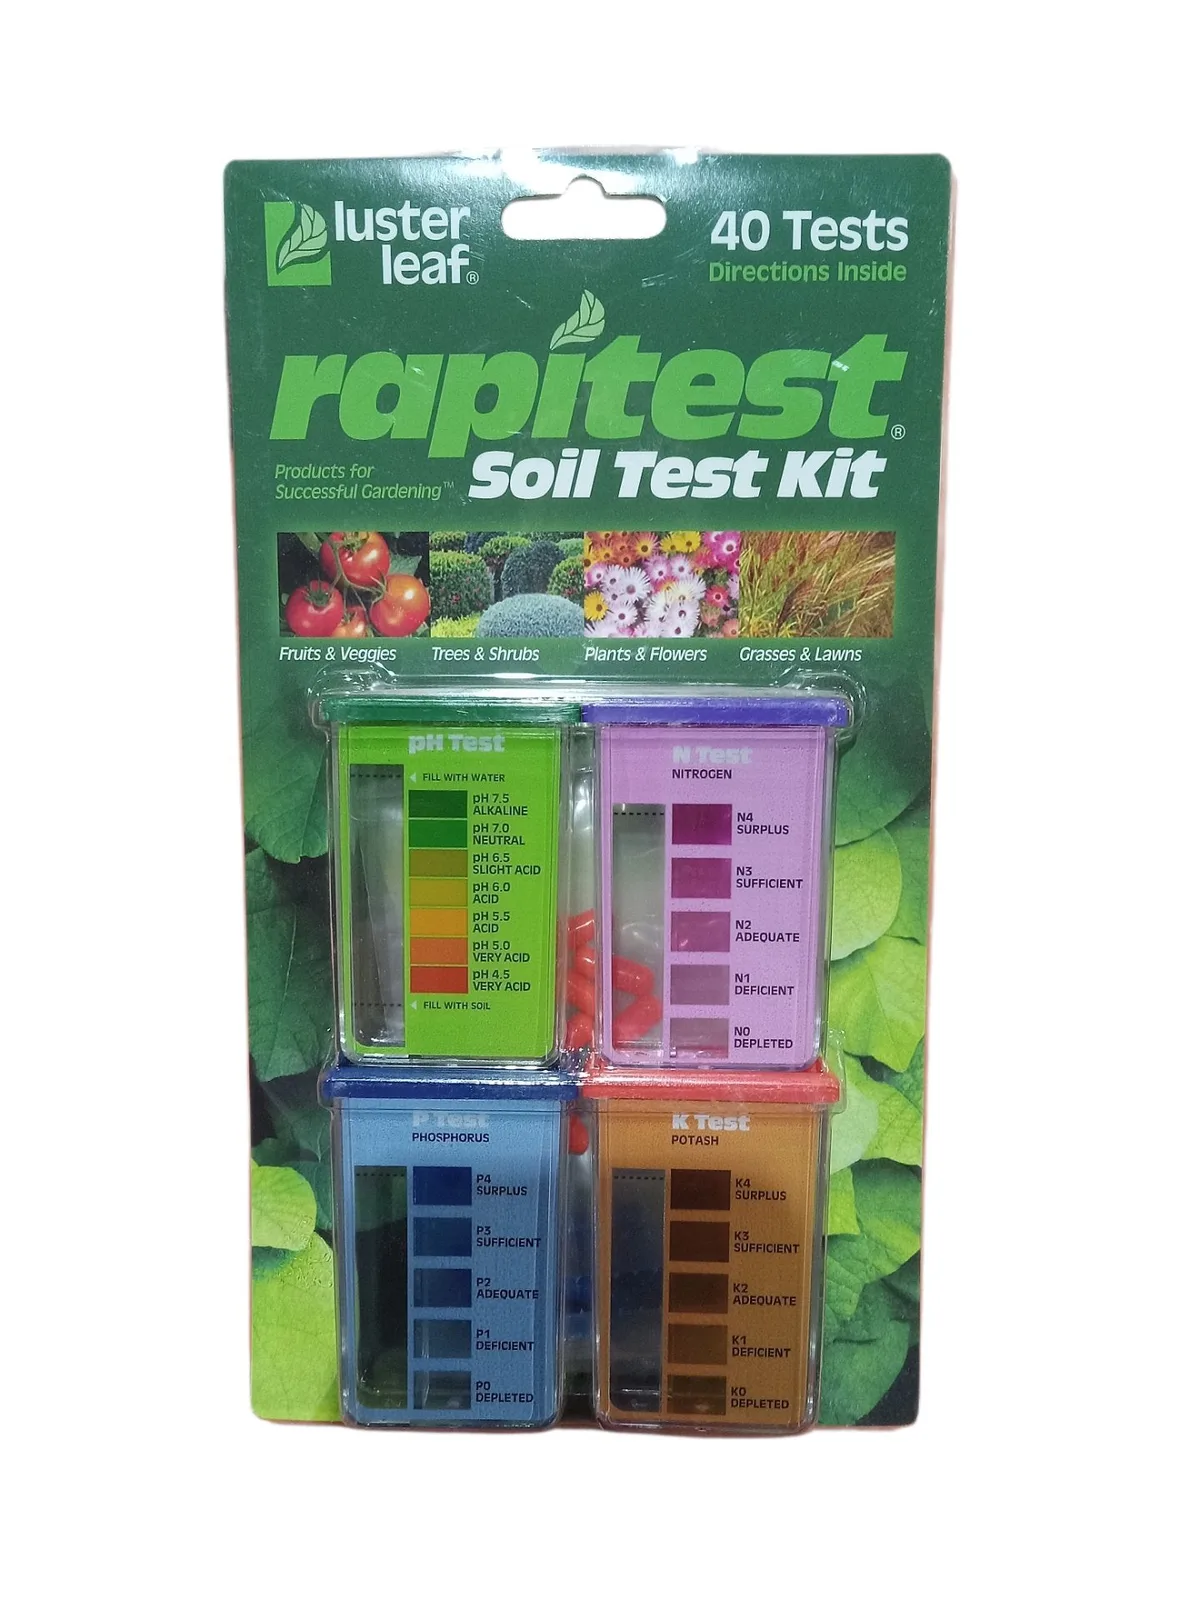
Image source: Bing (Web (fair-use with source credit))
Quick Answer
Home Depot sells three main types of soil pH testers. You can buy liquid kits, paper strips, or digital pens. Liquid drop kits are best for most backyard gardens.
They cost under fifteen dollars and require zero calibration. Just mix your soil with distilled water and read the color chart.
Why Your Soil pH Matters Before You Buy Fertilizer
Plants need specific nutrients to grow leaves, flowers, and fruit. But those nutrients only dissolve properly within a certain pH range. If your soil is too acidic or too alkaline, the chemistry locks up.
Your plants starve even if you dump expensive fertilizer on them.
This nutrient lockout happens fast. Below a pH of 6.0, phosphorus binds tightly to iron and aluminum. Above 7.5, micronutrients like zinc and manganese disappear completely.
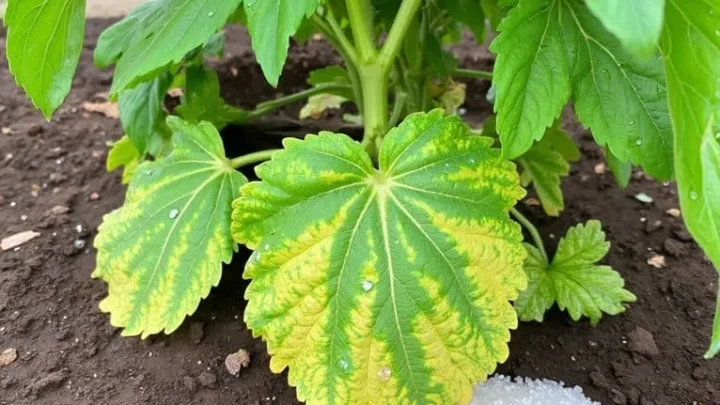
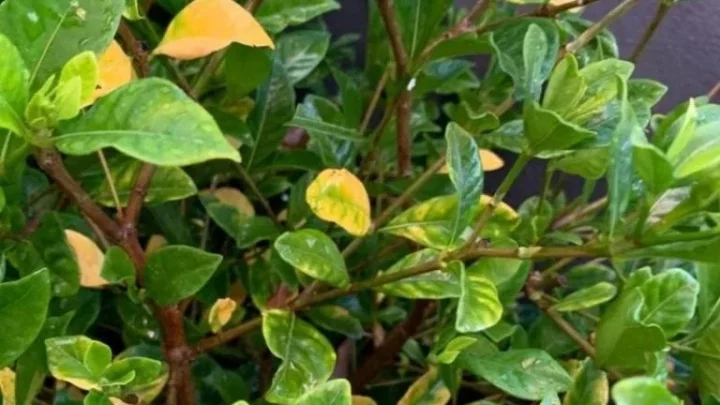
You end up with yellowing leaves and stunted growth no matter what you do.
Testing prevents this exact problem. It tells you whether you actually need to add lime or sulfur. Without a baseline number, you are just guessing blindly.
Cooperative Extension offices across the US consistently recommend testing before applying any major soil amendments.
A single bag of pelletized dolomitic lime costs around ten dollars as of 2026. Applying it to a lawn that is already alkaline wastes money and damages the turf. Knowing your starting pH saves time, cash, and a lot of frustration later.
The 3 Types of Soil pH Testers Sold at Home Depot
Home Depot generally stocks three distinct categories of at home soil testers. Each one uses different technology to measure acidity. Understanding how they work helps you pick the right tool for your yard.
Liquid Drop Kits
Liquid drop kits use chemical reagents to change the color of a soil mixture. Brands like Luster Leaf Rapitest dominate this shelf space. You mix soil with distilled water, add indicator drops, and wait.
The liquid turns a specific color based on your pH level.
These kits are incredibly reliable for casual gardening. The chemistry does not drift over time like electronic sensors do. You never have to calibrate anything or buy replacement batteries.
Manufacturer specifications indicate an accuracy margin of roughly plus or minus 0.5 pH.
The only real downside is reading the colors. Muddy water can make matching the printed chart slightly tricky. Doing this outside in bright natural sunlight solves that problem immediately.
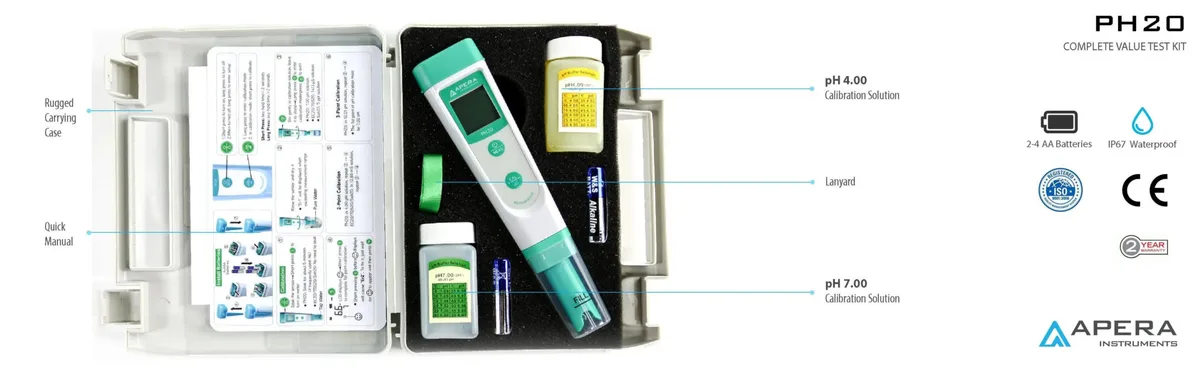
Image source: Bing (Web (fair-use with source credit))
Paper Test Strips
Paper test strips work similarly but skip the liquid chemicals. You dip a treated strip into your wet soil slurry. The paper changes color to show the pH reading.
They are usually the cheapest option in the aisle.
Aggregate user reviews show mixed feelings about these strips. They are fast and disposable, which is convenient. However, the color gradients are often very subtle.
Telling the difference between a 6.0 and a 6.5 can be genuinely hard.
They work fine for a rough ballpark estimate. If you just need to know whether your soil is wildly acidic or basic, grab them. For precise vegetable gardening, you might want something better.
Digital Pen Meters
Digital pH pens feature a metal probe and an LCD screen. You stick the probe directly into wet soil or a soil slurry. The screen spits out a numerical reading instantly.
Brands like Apera Instruments or Milwaukee Instruments offer models here.
These look professional and feel easy to use. But cheap digital pens suffer from severe electrode drift. Per standard analytical chemistry practices, they require frequent calibration using buffer solutions.
If you skip this step, the numbers on the screen become meaningless.
They also cost more upfront. You will pay anywhere from fifteen to forty dollars or more. Unless you test daily or run hydroponic systems, the maintenance burden rarely makes sense for home lawns.
Side by Side Comparison: Liquid Kits vs. Digital Pens vs. Paper Strips
Choosing between these options comes down to your specific needs. We built this table to help you weigh the tradeoffs quickly. Look at what matters most for your project before buying.
| Feature | Liquid Drop Kits | Paper Test Strips | Digital Pen Meters |
|---|---|---|---|
| Typical Price | $8 to $15 | $5 to $12 | $15 to $40+ |
| Accuracy | Good (±0.5 pH) | Fair (hard to match) | Varies without calibration |
| Maintenance Required | None | None | Frequent buffer calibration |
| Ease of Use | Very simple | Simple | Requires setup steps |
| Best Application | Raised beds and veggies | Quick rough checks | Hydroponics and daily use |
If you are fixing a backyard vegetable garden, go with the liquid kit. It offers the best balance of price and reliability. You get repeatable results without learning analytical chemistry.
Paper strips belong in your shed for quick spot checks. Maybe you want to see if your compost pile is breaking down correctly. They give you a fast general idea without much effort.
Save the digital pens for specialized setups. If you manage a greenhouse or mix liquid nutrients weekly, the speed pays off. Just commit to buying the calibration fluids alongside the meter.
How to Actually Test Your Soil pH (Without Skewing the Results)
Getting an accurate reading requires proper sampling technique. Rushing this process gives you bad data. Bad data leads to wrong amendments.
Follow these steps exactly to avoid wasting your afternoon.
Gather Your Materials First
You need a clean plastic bucket, a trowel, and your chosen test kit. You absolutely must use distilled water for mixing. Tap water contains dissolved minerals and chlorine that alter the pH.
Municipal tap water often sits around 7.5 to 8.0, which ruins your baseline reading.
Home Depot sells gallon jugs of distilled water near the humidifiers or cleaning aisle. Grab one while you are picking up your test kit. Never substitute bottled drinking water either.
Spring water has its own mineral content.
Take a Proper Composite Sample
Do not just scrape the top inch of dirt next to your porch. Plant roots live deeper than that. Clear away surface mulch, dead leaves, or grass clippings first.
Then dig down about four to six inches into the root zone.
Take three or four small plugs of soil from different spots in your planting area. Mix them all together thoroughly in your clean bucket. This composite sample represents the actual zone you want to plant.
Testing just one random spot ignores microclimates created by nearby concrete foundations or old tree stumps.
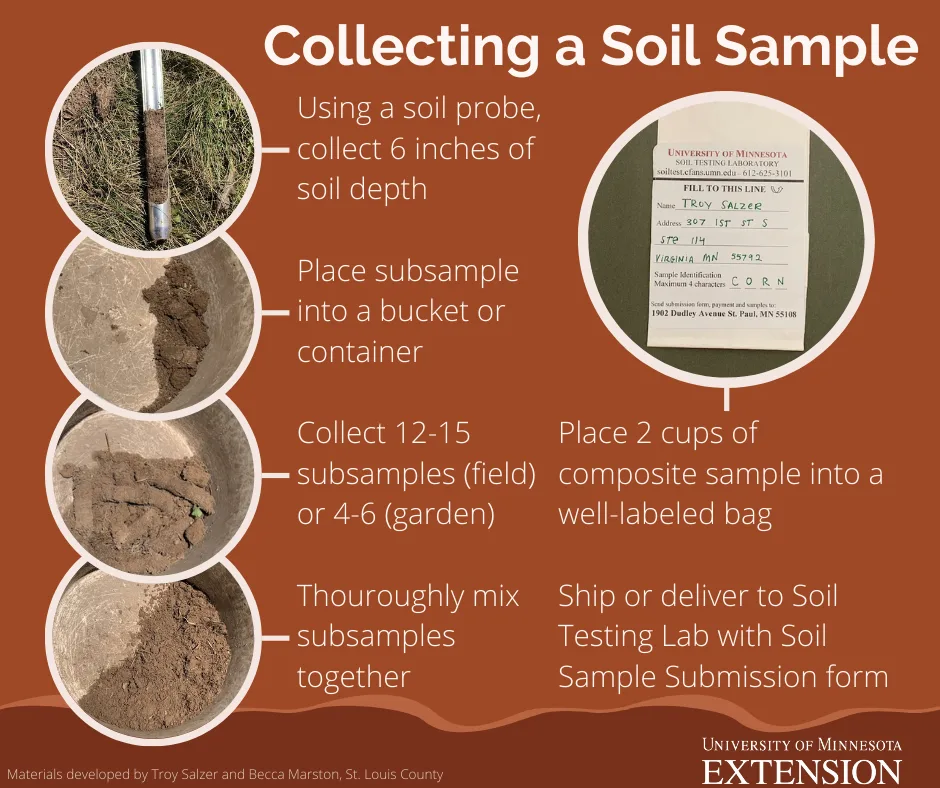
Image source: Bing (Web (fair-use with source credit))
Run the Test Correctly
Follow the specific instructions printed inside your kit box. Ratios of soil to water matter immensely here. Too much dirt creates a sludge that hides the color change.
Too much water dilutes the sample and shifts the reading artificially.
Let the mixture settle until the liquid clears enough to read. If using a liquid kit, add the exact number of drops specified. Hold the vial up against a white background in natural daylight.
Do not try reading the color chart under yellow porch lights or heavy shade.
Once you have your number, write it down immediately. Compare it against the optimal 6.0 to 7.0 range for most garden plants. Now you know exactly what your soil needs.
What to Do With Your Number: Lime, Sulfur, and Timelines
Your test kit gave you a number. Now you need to fix it if that number falls outside the 6.0 to 7.0 sweet spot. Soil chemistry moves slowly, so patience is your best tool here.
If your reading drops below 6.0, your soil is too acidic. You need to raise the pH by adding lime. Pelletized dolomitic lime is the easiest option to spread evenly.
It adds calcium and magnesium while neutralizing acid.
Apply it based on the rate printed on the bag for your specific starting pH. Water it in lightly so the pellets start breaking down. Don't expect overnight results because soil bacteria need time to process the minerals.
If your number sits above 7.5, your soil is too alkaline. Elemental sulfur is the safest way to lower pH over time. Soil microbes convert sulfur into sulfuric acid naturally.
This biological process takes several weeks to fully activate.
Aluminum sulfate works much faster than elemental sulfur. However, verified buyer feedback reports frequent root burn when people apply too much. Stick to sulfur for large garden beds unless you need an emergency fix for a single container.
Wait at least 30 to 60 days before testing again. Dumping more amendments after two weeks just creates a toxic chemical soup. University extension programs consistently warn against rushing this timeline.
Let the soil settle completely.
| Current pH | Target pH | Amendment Needed | Expected Wait Time |
|---|---|---|---|
| 5.5 | 6.5 | Dolomitic lime | 60 to 90 days |
| 6.0 | 6.5 | Dolomitic lime | 30 to 45 days |
| 7.8 | 6.5 | Elemental sulfur | 60 to 120 days |
| 8.0 | 6.5 | Elemental sulfur | 90+ days |
Keep in mind that sandy soils react faster than heavy clay. Clay holds onto minerals tightly, requiring more amendment and more time. Our research shows clay beds often need double the sulfur compared to sandy loam.
Common Mistakes That Ruin Your pH Reading
Getting a bad reading is easier than getting a good one. Small errors during sampling or mixing throw off your entire plan. Avoid these common traps before you waste money on the wrong amendments.
Using Tap Water Instead of Distilled
Tap water contains dissolved minerals that act as a buffer. If your city water sits at a pH of 8.0, it will drag your soil sample up with it. You end up treating a problem that only exists in your plumbing.
Always buy a dedicated jug of distilled water for testing. Keep it sealed between uses so it doesn't absorb carbon dioxide from the air. Absorbed CO2 lowers the water's pH slightly over time.
Testing Right After Amending
Did you just spread lime last weekend? Testing today tells you absolutely nothing useful. The chemical reaction between lime and soil acids takes weeks to finish.
Wait a full month minimum before retesting. If you used elemental sulfur, wait two months. Checking too early usually leads to panic applications that eventually burn plant roots.
Ignoring Microclimates Around Hardscapes
Concrete sidewalks and brick foundations constantly leach calcium carbonate into nearby dirt. A soil plug taken six inches from your patio will almost always read highly alkaline. That single spot does not represent your whole yard.
Step at least three feet away from any concrete or masonry before digging. Take multiple plugs from different areas and mix them together. This composite method smooths out weird localized spikes.
Reading Colors in Bad Lighting
Colorimetric liquid kits rely entirely on your eyes. Trying to match a faint purple liquid to a printed chart under a yellow porch light guarantees mistakes. Indoor fluorescent bulbs skew colors just as badly.
Take your vial outside into direct midday sunlight. Hold it against a pure white piece of paper. If you still can't tell the difference between two shades, your reagent chemicals might be expired.
Liquid indicator dyes degrade after a year or two in a hot garage. Check the expiration date on the box before mixing anything. Old chemicals produce muddy, unreadable colors every single time.
Frequently Asked Questions
How often should you test soil pH?
Test your soil once a year, ideally in early spring before planting. If you recently added lime or sulfur, wait 60 days and test again to check progress. Established gardens without recent amendments only need testing every two or three years.
Can you use vinegar and baking soda to test pH?
Vinegar and baking soda only show extreme acidity or alkalinity. Fizzing with baking soda means highly acidic soil. Fizzing with vinegar means highly alkaline soil.
This trick gives no actual numbers, making it useless for precise gardening adjustments.
Does Home Depot sell professional lab soil tests?
Home Depot occasionally sells mail in soil test kits from third party brands. These kits let you send dirt to a real laboratory for detailed nutrient analysis. Availability varies by location and season, so check their website inventory before driving to the store.
Why do digital pH pens give random readings?
Cheap digital pens suffer from electrode drift if you skip calibration. You must soak the probe in specific buffer solutions before every use. Storing the probe dry also destroys the sensor glass.
Without proper maintenance, the screen displays meaningless numbers.
Is rain affecting your soil pH test?
Heavy rain temporarily washes soluble salts through the soil profile. Testing immediately after a storm often yields a slightly skewed reading. Wait three or four days of dry weather for the soil moisture to normalize.
Then take your composite sample for accurate results.

Similar Posts