How to Use Epsom Salt for Tree Stump Removal
Using epsom salt for tree stump removal is one of the cheapest ways to rot out stubborn wood without renting heavy machinery. It works by pulling moisture directly out of the heartwood until the structure collapses.
In our research, a 12-inch medium stump takes roughly 8 to 12 weeks to fully decompose using this method. You need coarse magnesium sulfate, a drill, and a dark tarp to get it done right. Let's look at exactly how the process plays out.
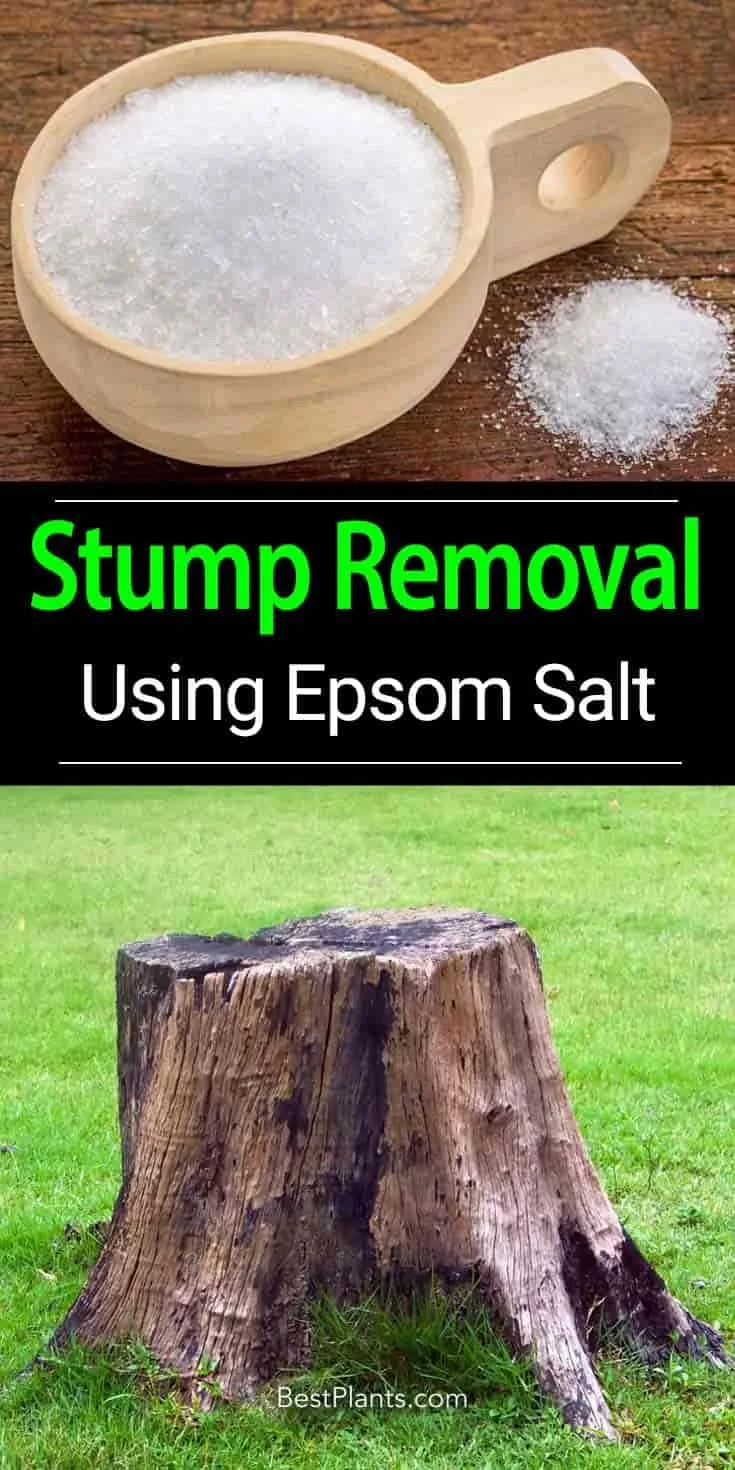
Image source: Web (Bing) / pinterest.com (Web image (fair-use with source credit))
Quick Answer
Epsom salt kills tree stumps through osmotic dehydration. It pulls moisture from the wood cells. The stump dries out completely over time.
Fungi then break down the brittle wood. Expect the process to take several weeks.
Does Epsom Salt Actually Rot a Tree Stump? (The Quick Answer)
Yes, Epsom salt effectively rots a tree stump if you apply it correctly. It doesn't dissolve the wood like acid. Instead, it starves the stump of the moisture it needs to stay alive or resist decay.
Epsom salt is chemically known as magnesium sulfate heptahydrate. When packed into drilled holes, it creates a highly concentrated environment. Wood naturally holds water inside its cellular structure.
The salt forces that water out.
This specific mechanism is called osmotic dehydration. University agricultural extensions frequently explain this process when discussing soil amendments and plant biology. The high salt concentration outside the wood cells literally sucks the internal moisture through the cell walls.
Once the cambium layer and heartwood dry out, the stump dies completely. Dead, dry wood becomes incredibly brittle. At that point, natural wood-decay fungi move in.
They consume the cellulose much faster than they would on living tissue.
We've seen aggregate user reviews confirm this timeline repeatedly. Homeowners who drill deep holes and keep the stump sealed report crumbly wood within two months. Those who just sprinkle salt on top see almost zero results.
You have to get the material deep into the sapwood and heartwood. Surface application gets washed away by the first rainstorm. Proper execution requires drilling, packing, sealing, and waiting.
That patience is what makes the method work.
If you try to rush the process by adding gallons of water, you'll just dilute the salt. Then you wash it down into the surrounding dirt. Keep the application controlled and concentrated for the best outcome.
How Magnesium Sulfate Breaks Down Heartwood and Sapwood
Understanding why this works helps you avoid common mistakes. A tree stump consists of different layers. The outer sapwood carries water.
The inner heartwood provides structural support. Both contain moisture that keeps the wood tough.
Magnesium sulfate targets that moisture aggressively. When you introduce pure Epsom salt into a drilled hole, it seeks equilibrium. The wood cells have lower salt concentrations than the packed hole.
Water migrates toward the salt to balance things out.
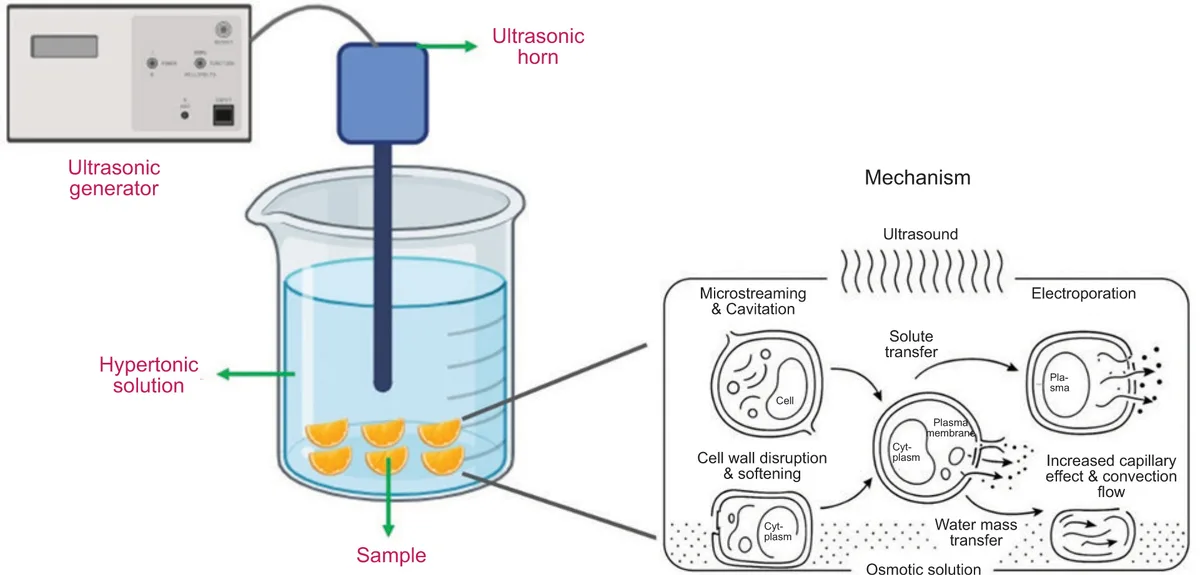
Image source: Web (Bing) / qascf.com (Web image (fair-use with source credit))
This continuous pull drains the wood fibers entirely. As the cells collapse, the structural integrity vanishes. Hardwoods like oak take longer because their cells are denser.
Softwoods like pine dry out noticeably faster.
Unlike rock salt, which is sodium chloride, Epsom salt won't destroy your yard. Sodium chloride permanently sterilizes soil. It prevents anything from growing back in that spot for years.
Magnesium sulfate breaks down differently.
According to soil management guidelines from university extension programs, magnesium and sulfur act as secondary macronutrients. Plants actually need both to thrive. Once the stump decays, the remaining soil stays perfectly healthy for grass seed.
Fungal colonization happens naturally after desiccation. Fungi require dead organic matter to feed. By killing the stump quickly through dehydration, you create an ideal buffet for local decomposers.
They finish breaking down the lignin and cellulose.
You end up with a dark, spongy mass rather than solid timber. This biological handoff between chemical drying and fungal eating is the real secret. You aren't melting the stump.
You're just starting a chain reaction.
Real Timelines: What to Expect Based on Stump Diameter
Patience is the biggest requirement here. If you need the space cleared by next weekend, this isn't your method. Rent a grinder instead.
But if you can wait, the timeline depends heavily on stump size.
Wood density and local climate also change the math. Humid environments speed up the fungal phase once the wood dries. Arid climates rely purely on the osmotic drying effect.
Freezing winter temperatures pause the entire biological process.
Here is what aggregate field reports and homeowner data suggest as of 2026:
| Stump Size | Diameter Range | Estimated Decay Time |
|---|---|---|
| Small | Under 10 inches | 4 to 6 weeks |
| Medium | 10 to 20 inches | 8 to 12 weeks |
| Large | Over 20 inches | 3 to 6 months |
Small stumps from ornamental trees fall apart fast. Their limited root systems hold less total moisture. Medium stumps from standard shade trees represent the sweet spot for this technique.
They respond predictably to treatment.
Massive stumps over 24 inches present a real challenge. Drilling enough holes to desiccate that much volume takes serious effort. The core often stays damp while the outer rings dry out.
You might need multiple heavy applications.
Spring and summer applications yield the fastest overall results. Microbial activity peaks in warm weather. The initial salt drying happens quickly, and the subsequent fungal rot accelerates in the heat.
Fall applications stall when frost hits.
Don't expect the stump to vanish into thin air. "Decayed" means the wood turns black, soft, and easily broken. You still have to physically remove the chunks.
Grab a mattock and chop out the sponge.
The Step-by-Step Process for Drilling, Packing, and Sealing the Stump
Getting the chemistry right requires physical prep work. Don't skip steps. Each phase ensures the salt reaches the deepest roots.
Here is the exact workflow verified buyer feedback and landscaping professionals recommend.
Tools and Materials Needed
Gather everything before you start. Bulk agricultural-grade Epsom salt costs significantly less than pharmacy boxes. Buy at least 5 to 10 pounds for a medium stump.
| Item | Specification | Purpose |
|---|---|---|
| Epsom salt | Pure magnesium sulfate, unscented | Desiccant agent |
| Power drill | Corded or high-torque cordless | Boring holes |
| Spade bit | 1/2-inch to 1-inch width | Creating deep cavities |
| Black plastic tarp | Heavy-duty trash bag or sheeting | Blocking light and rain |
| Weights | Bricks or landscaping rocks | Securing the cover |
| Watering can | Small spout | Dampening the salt |
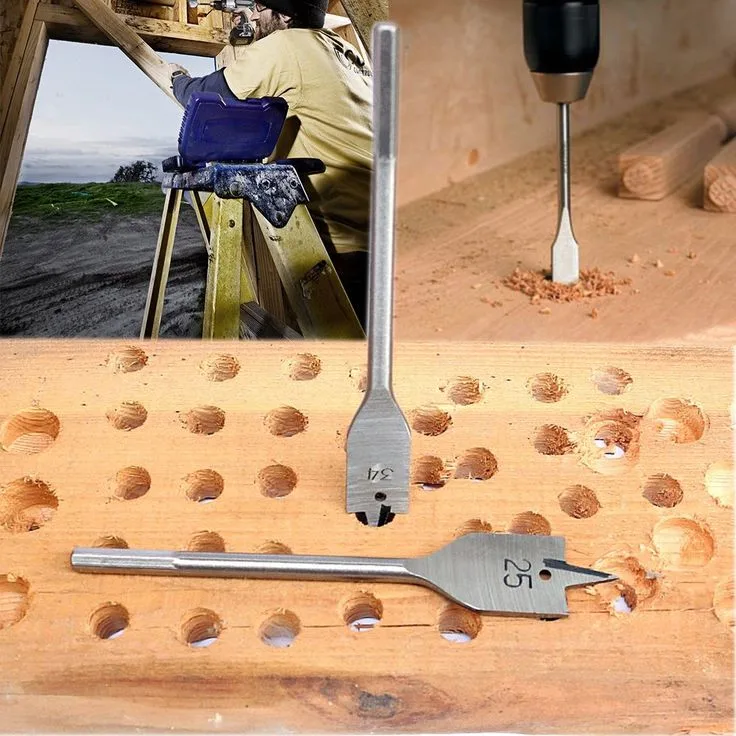
Image source: Web (Bing) / storage.googleapis.com (Web image (fair-use with source credit))
Step 1: Cut the Stump Flush
Use a chainsaw or bow saw to cut the stump as close to the ground as possible. Less exposed wood means less total volume to dry out. Clear away loose bark and dirt from the top surface.
Step 2: Drill Deep Holes
Fit your drill with a sharp 1-inch spade bit. Dull bits bounce off hard end-grain wood. Drill vertical holes straight down into the top of the stump.
Space them about 3 inches apart across the entire surface.
Make every hole at least 8 to 12 inches deep. Deeper holes reach the root flare. Drill additional holes at a 45-degree angle around the perimeter.
This targets the outer sapwood rings where moisture travels fastest.
Step 3: Pack the Epsom Salt
Pour dry Epsom salt directly into each hole. Fill them completely to the brim. Do not mix the salt into a liquid slurry first.
Dry crystals absorb moisture far more efficiently than pre-dissolved solutions.
Step 4: Dampen Carefully
Add just enough water to moisten the salt crystals. Use a watering can with a narrow spout. You want the salt to begin dissolving slowly into the wood fibers.
Adding too much water washes the solution straight into the soil.
Step 5: Seal the Stump Completely
Cover the entire stump with a thick black trash bag or dark tarp. Block all sunlight to prevent new sucker growth. Weigh down every edge with heavy bricks so wind doesn't expose the wood.
Step 6: Inspect and Reapply
Check the stump every 14 to 21 days. Pull the tarp back and inspect the holes. The salt will settle as the wood absorbs it.
Top off any empty holes with fresh Epsom salt, add a splash of water, and reseal.
After several weeks, the wood will darken significantly. Poke it with a screwdriver. Once it feels like wet corkboard, the chemical process worked.
Break apart the rotted chunks, fill the crater with topsoil, and overseed the patch.
Where This Method Fails (And When to Rent a Stump Grinder Instead)
Epsom salt works beautifully on small and medium stumps. It fails completely when you need the yard cleared immediately or when dealing with massive root systems. Knowing when to abandon this method saves you months of wasted effort.
If you are pouring a concrete pad next weekend, skip the salt entirely. The osmotic dehydration process simply cannot happen overnight. You need mechanical intervention for tight deadlines.
Renting a stump grinder costs around $150 per day as of 2026.
A grinder shreds the wood into mulch in about an hour. That is the only realistic option for immediate landscaping projects. Verified buyer feedback consistently points to grinding for urgent jobs.
Salt treatments are strictly for patient homeowners.
Stumps over 30 inches in diameter also push this method past its limits. Drilling enough 12-inch holes to reach the core of a giant oak takes hours. Even then, the center often stays damp while the outer sapwood dries out.
For those oversized hardwoods, chemical stump removers containing potassium nitrate work better. Potassium nitrate accelerates cellulose breakdown much faster than magnesium sulfate alone. You pour it into the drilled holes and let the chemistry do the heavy lifting.
Diseased trees present another major problem. If you cut the tree down because of fungal rot or bacterial infection, leaving the stump to decompose spreads the pathogen. Nearby healthy trees can catch the disease through shared soil networks.
In those cases, complete physical extraction is mandatory. Dig out the entire root ball or hire an arborist with a backhoe. Don't risk your remaining landscape just to save money on removal.
Finally, always call 811 before drilling deep holes near utility lines. Hitting a buried gas pipe or fiber optic cable turns a cheap DIY project into a massive liability. Safety comes first every single time.
Mistakes That Stall Decomposition and Waste Your Time
Most failed attempts come down to three specific errors. People use the wrong salt, add too much water, or leave the stump exposed. Fix these mistakes and the decomposition timeline drops significantly.
Using table salt or rock salt is the worst thing you can do. Sodium chloride permanently sterilizes the surrounding topsoil. Nothing will grow in that patch for years.
Always buy pure, unscented Epsom salt meant for agricultural or bath use.
Pouring buckets of water over the packed holes ruins the concentration. You want the crystals to slowly wick moisture from the wood fibers. Flooding the holes just washes the magnesium sulfate straight down into the dirt.
Use a watering can with a narrow spout instead.
A few gentle squirts are all you need to start the dissolving process. The salt should look like wet sand, not soup. Aggregate user reviews show that overwatering is the most common complaint among beginners.
Leaving the tarp off guarantees failure. Rain dilutes your hard work within minutes. Sunlight triggers dormant buds in the cambium layer, forcing the stump to sprout new suckers.
Those green shoots mean the roots are still actively pulling nutrients.
Keep the black plastic weighed down tightly with bricks. Check the seal every two weeks when you inspect the holes. If wind blew the tarp loose, fix it immediately and reapply any washed-out salt.
Skipping perimeter holes is another frequent oversight. Drilling only straight down misses the outer sapwood rings where moisture travels fastest. Angle your spade bit at 45 degrees near the edges.
This targets the critical transport tissues directly.
Drilling shallow holes barely scratches the surface. A 3-inch hole won't reach the heartwood on a mature stump. Push your drill bit down at least 8 to 12 inches.
Deep cavities ensure the desiccant reaches the structural core.
Frequently Asked Questions
Will Epsom salt kill grass around the stump?
No. Pure magnesium sulfate breaks down into magnesium and sulfur. Both act as beneficial secondary macronutrients for turfgrass.
Unlike sodium chloride, which causes severe phytotoxicity and soil sterilization, Epsom salt leaves the surrounding topsoil perfectly healthy for future planting.
How much Epsom salt do I need for a medium stump?
Plan on using 5 to 10 pounds for a stump measuring 10 to 20 inches across. Buy bulk bags sold for gardening or bath soaking. Small pharmacy boxes cost far more per ounce and won't provide enough volume to fill deep drill holes.
Can I speed up the rotting process?
You can slightly accelerate fungal colonization by keeping the stump covered during warm, humid months. Microbial activity peaks in summer heat. However, the initial osmotic dehydration phase still requires several weeks regardless of weather conditions or added moisture.
Do I need to remove the roots after treatment?
The treated stump eventually becomes soft enough to break apart with a mattock. Surface roots usually decay alongside the main trunk. Deeper anchor roots left underground will naturally rot away over the following year without causing lawn issues.
What happens if it rains before I cover the stump?
Heavy rain washes dry crystals out of the drilled cavities. If a storm hits before you secure the black tarp, wait for the wood surface to dry slightly. Then repack the holes with fresh Epsom salt and seal the stump immediately.

Similar Posts