Can Butternut Squash Ripen Off the Vine? The Truth
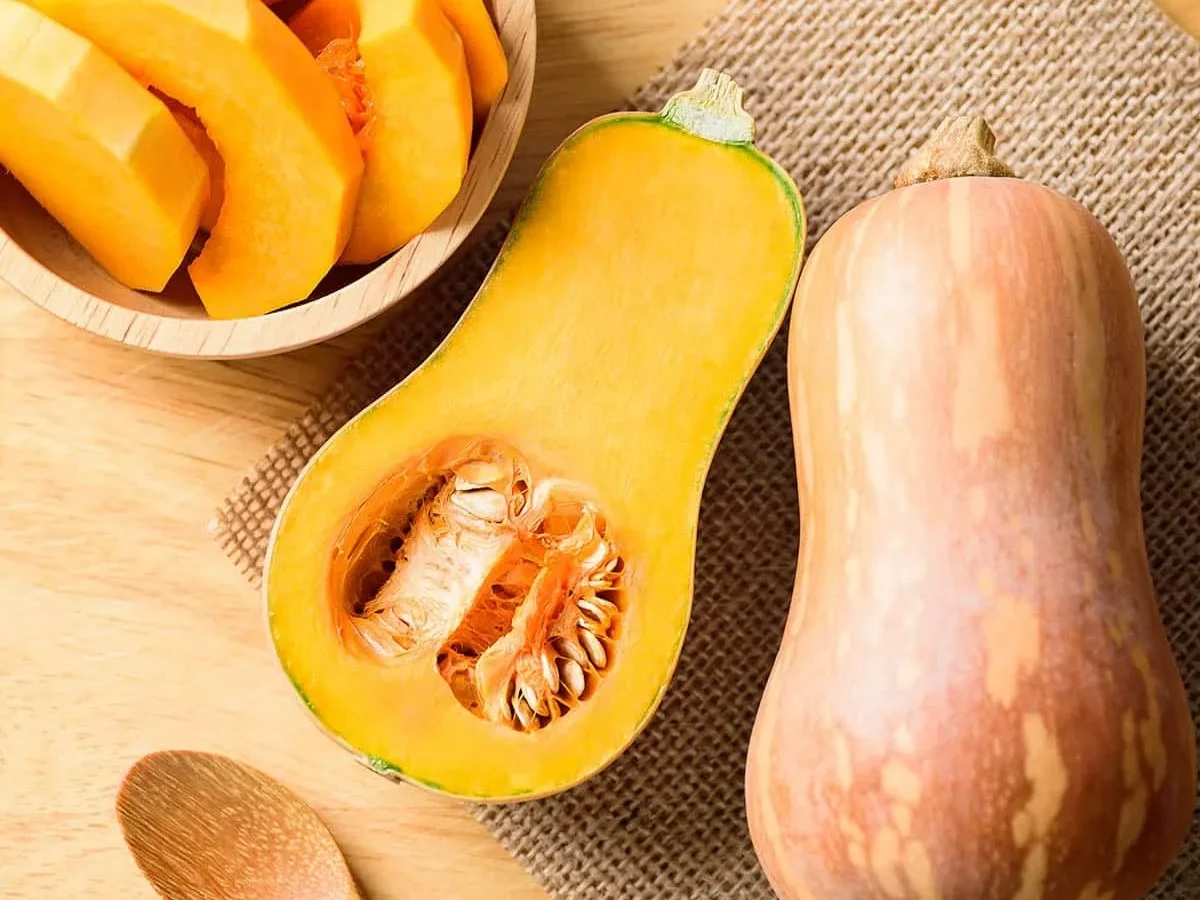
Yes, butternut squash can ripen off the vine if it reached physiological maturity before harvest. Immature fruit will never sweeten or store well regardless of conditions. You need to assess rind hardness and color first.
Proper curing then converts remaining starches into sugars safely.
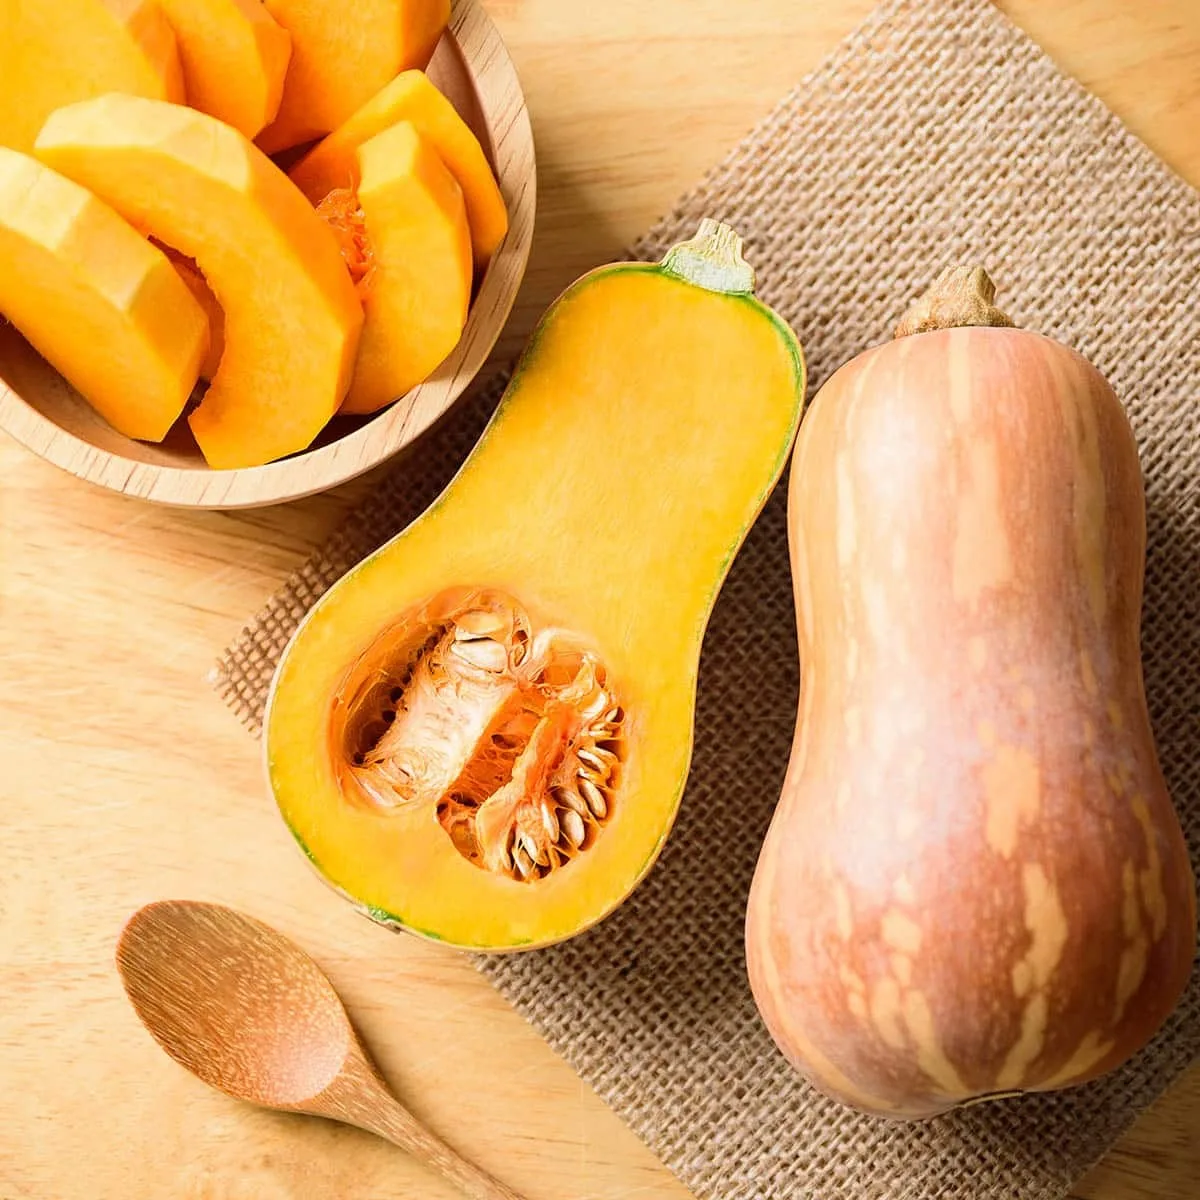
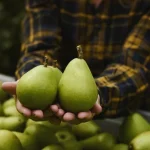
Image source: Web (Bing) / storage.googleapis.com (Web image (fair-use with source credit))
Postharvest research from UC Davis confirms curing requires 80°F to 85°F with high humidity for ten days. This specific environment triggers enzymatic changes that field ripening cannot replicate after frost damage. Let’s walk through how to determine if your green squash is actually worth saving.
Quick Answer
Butternut squash can ripen off the vine only if physiologically mature. Green immature fruit will rot instead of sweetening indoors. Mature squash needs warm curing at 80°F to 85°F.
This process takes ten to fourteen days minimum. Proper curing converts starches to sugar effectively.
How to Tell If Your Green Squash Is Mature Enough to Ripen Indoors
Your green squash will only ripen successfully if it achieved physiological maturity before being picked. Size alone is a terrible indicator of readiness. Many gardeners mistake large immature fruit for ripe ones because they look heavy.
True maturity shows up in specific physical traits that signal internal development is complete.
What Does Physiological Maturity Actually Mean?
Physiological maturity means the seed cavity is fully developed and dry matter accumulation has peaked. The fruit has stopped growing and shifted energy toward storage compounds. This biological milestone happens weeks before the skin turns tan.
Harvesting before this point guarantees failure no matter how perfect your curing setup is.
You are looking for evidence that the plant finished its reproductive work. Seeds should be plump and cream colored when cut open. Immature seeds remain white and gelatinous inside.
This internal check is the most reliable test if you are unsure about external signs.
External Signs of a Mature Green Butternut
Rind hardness is your best field indicator of maturity. Press your thumbnail firmly against the skin near the stem end. A mature rind resists puncture completely and feels like hard plastic.
Immature skin dents easily or even breaks under pressure.
Color shifts provide secondary confirmation even on green fruit. Look for a subtle yellowish undertone developing beneath the green chlorophyll. The ground spot where the squash rested should be deep orange or cream.
White or pale green ground spots indicate immaturity.
Stem condition tells the final part of the story. Mature stems begin corking and drying naturally while still attached. They turn brown and woody rather than staying fleshy and green.
A completely green succulent stem means the fruit was harvested too early.
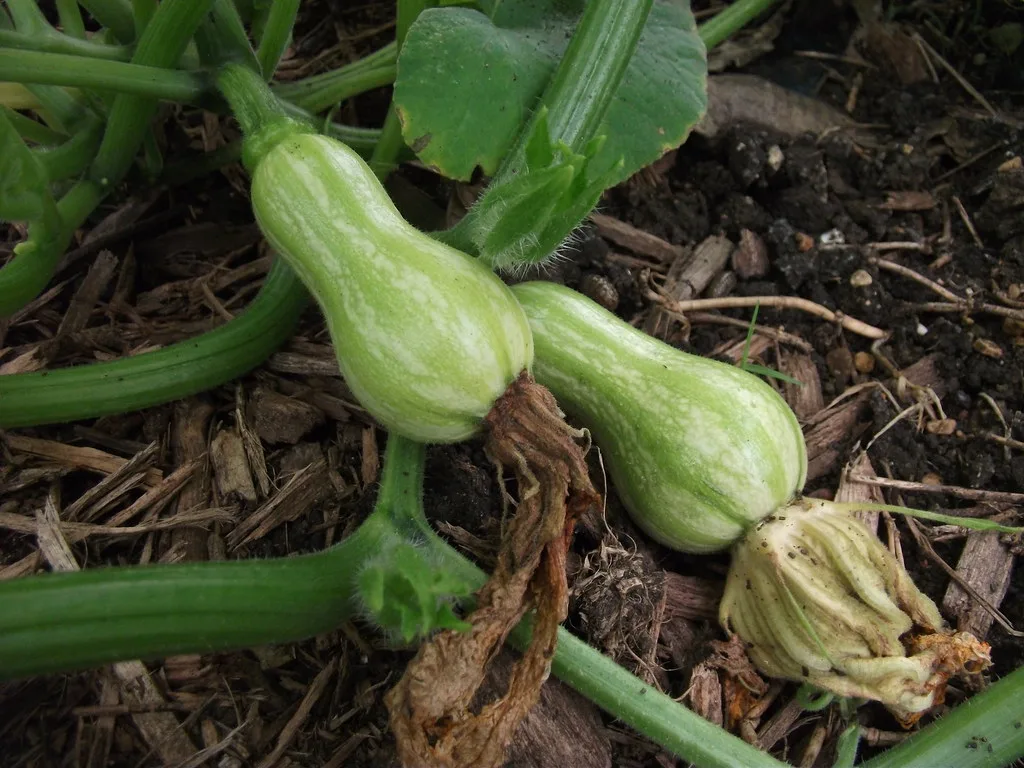
Image source: Bing (Web (fair-use with source credit))
When to Compost Instead of Curing
Some squash simply cannot be saved through indoor ripening. Fruit with soft spots or mold should go straight to compost. These defects accelerate during curing and spread to healthy neighbors.
Trying to salvage damaged fruit risks losing your entire batch.
Very small fruit under two pounds rarely reach full maturity. They lack sufficient starch reserves to convert during curing. The flesh stays watery and bland even if the skin eventually colors up.
It is better to accept the loss than waste weeks monitoring hopeless specimens.
Fruit harvested more than three weeks before expected maturity date usually fails. Check your seed packet for days to maturity as a baseline reference. Cornell University Extension notes that Cucurbita moschata varieties need their full growing window.
Early termination stops biochemical processes that artificial warmth cannot restart.
The Step-by-Step Curing Workflow for Off-Vine Butternut Squash
Successful off-vine ripening depends entirely on controlling temperature and humidity precisely. You are essentially creating an artificial tropical microclimate indoors. This environment activates enzymes that convert starches into sugars.
Skipping any step in this workflow compromises flavor and storage life.
Preparing Your Curing Space
Choose a location that maintains consistent warmth without direct sunlight. Spare bedrooms near water heaters often work well naturally. Avoid garages or sheds where temperatures swing wildly overnight.
Stability matters more than hitting exact numbers every single hour.
Set up airflow using box fans or oscillating fans on low speed. Stagnant air invites mold growth on damp rinds. Gentle circulation carries away moisture released during respiration.
Do not point fans directly at the squash though. Direct blasts cause uneven drying and shriveling.
Monitor conditions with a digital hygrometer thermometer combo unit. Place sensors at fruit level rather than eye height. Conditions vary significantly between floor and ceiling spaces.
Calibrate your device beforehand to ensure accuracy within two degrees. Guesswork leads to crop failure during this critical phase.
Harvesting and Initial Handling
Cut stems leaving two to three inches attached to each fruit. Never twist or pull squash from the vine. Broken stem scars become entry points for rot organisms during curing.
Use clean sharp pruners sanitized between cuts to prevent disease transfer.
Handle fruit gently to avoid invisible bruising. Set them down softly rather than dropping into containers. Bruised tissue breaks down faster than intact rind during warm curing.
Sort by size and maturity level before arranging. Uniform batches cure more predictably than mixed groups.
Wipe off visible dirt with a dry cloth only. Water introduces surface moisture that encourages fungal growth. Do not wash squash until you are ready to cook them.
Field soil contains beneficial microbes that actually aid curing. Sterile surfaces are unnecessary and potentially counterproductive here.
Image source: Web (Bing) / smallfarmcanada.ca (Web image (fair-use with source credit))
Managing the Ten to Fourteen Day Cure
Arrange squash in single layers with space between each fruit. Stacking creates humid pockets where mold thrives quickly. Use wire racks or cardboard lined with newspaper underneath.
Elevating fruit allows air circulation on all sides evenly.
Check daily for soft spots or fuzzy growth developing. Remove compromised fruit immediately to protect the rest. Rotate positions every few days to ensure even exposure.
Front row fruit often receives different conditions than back rows. Consistency across the batch prevents partial failures.
Maintain humidity between eighty and eighty-five percent throughout. Too dry causes shriveling before sugars develop fully. Too wet promotes bacterial soft rot spreading rapidly.
Mist walls or floors lightly if readings drop below threshold. Avoid spraying fruit directly since surface water causes problems.
Transitioning to Long Term Storage
Move cured squash to cooler storage once rinds harden further. Target fifty to fifty-five degrees Fahrenheit for winter keeping. Higher temperatures restart respiration and burn through stored sugars.
Lower temperatures cause chilling injury and rapid deterioration. Cool basements or unheated spare rooms typically work perfectly.
Reduce humidity to sixty to seventy percent for storage phase. Curing moisture levels now promote decay over months. Continue inspecting weekly throughout the winter season.
One rotten squash can spoil adjacent ones quickly. Catching problems early saves the majority of your harvest.
What Changes During Curing: Color, Sweetness, Texture, and Storage Life
Understanding the biochemistry helps you recognize successful ripening versus failure. Curing is not just cosmetic coloring of green skin. Complex metabolic pathways activate under warm humid conditions.
These transformations determine whether your squash tastes sweet or starchy come winter.
Chlorophyll Degradation and Carotenoid Reveal
Green color comes from chlorophyll masking underlying pigments. Warmth accelerates natural breakdown of these green molecules. Orange carotenoids were always present but hidden underneath.
Curing simply removes the mask gradually over days. This process mirrors autumn leaf color change biologically.
Uneven coloring indicates inconsistent environmental conditions. Pale patches suggest cool spots or poor air circulation. Deep uniform tan signals successful pigment revelation throughout.
Some green streaks may persist near the stem permanently. This residual coloring does not affect eating quality internally.
Do not confuse sun bleaching with true ripening color change. Direct light causes white faded patches on exposed surfaces. True ripening produces warm orange tones from within.
Keep curing areas dim to prevent photo degradation. Biological color development needs darkness not sunshine.
Starch Hydrolysis and Sugar Accumulation
Immature butternut stores energy primarily as complex starches. Starch tastes bland and cooks up grainy or mealy. Curing activates amylase enzymes breaking starch into simple sugars.
Sucrose and glucose accumulate progressively over the curing period. This conversion is irreversible once completed properly.
Sweetness increases measurably during the first two weeks. Brix levels climb from six or seven up to twelve plus. Taste testing raw flesh reveals progress clearly.
Starchy samples need more time in warm conditions. Sweet samples indicate enzyme activity worked successfully.
Temperature directly controls reaction speed of starch conversion. Below seventy degrees the process stalls almost completely. Above ninety degrees enzymes denature and stop working.
Eighty to eighty-five degrees hits the optimal range precisely. Patience at correct temps beats rushing with excess heat.
Rind Lignification and Moisture Barrier Formation
Curing thickens and hardens the outer protective layer significantly. Lignin deposits reinforce cell walls against physical damage. Waxy cuticle layers seal microscopic pores reducing water loss.
This barrier formation determines ultimate storage longevity. Soft rinds mean incomplete protection against desiccation and rot.
Fingernail tests confirm lignification progress reliably. Fully cured rinds resist scratching without leaving marks. Uncured skins dent or scratch easily under same pressure.
Test multiple fruits since individual rates vary somewhat. Batch consistency improves with uniform starting maturity.
Moisture loss slows dramatically once rinds mature fully. Weight stabilization indicates barrier function is operational. Excessive shrinking means curing failed or ended prematurely.
Properly sealed squash loses less than ten percent weight total. This retention preserves texture and prevents rubbery flesh later.
Common Mistakes That Cause Green Squash to Rot Instead of Ripen
Most curing failures trace back to preventable errors in execution. Enthusiasm often overrides patience during this delicate process. Small deviations compound quickly under warm humid conditions.
Learning what goes wrong protects future harvests from disappointment. Avoid these frequent pitfalls to maximize your success rate.
Temperature Fluctuations and Cold Exposure
Inconsistent warmth is the number one killer of off-vine ripening. Nighttime drops below seventy degrees halt enzymatic activity. Restarting stalled processes takes days of renewed warmth.
Fruit caught in cold cycles often rot before recovering. Insulate curing spaces against drafts and exterior walls.
Space heaters cycling on and off create dangerous swings. Thermostat placement far from fruit misreads actual conditions. Position heat sources to maintain steady ambient warmth.
Oil filled radiators provide gentler more stable output than forced air. Monitor continuously rather than assuming settings hold true.
Chilling injury occurs even above freezing if prolonged. Temperatures under fifty degrees damage cell membranes permanently. Injured tissue becomes mushy and susceptible to pathogens.
Never store uncured squash in refrigerators or cold garages. Wait until curing completes fully before cooling down.
Excessive Humidity and Poor Ventilation
Soggy conditions invite bacterial soft rot invading through stem scars. Standing water on surfaces breeds pathogens rapidly. Condensation forming on walls signals dangerous saturation levels.
Increase airflow immediately when moisture beads appear anywhere. Fans and ventilation trump misting when humidity runs high.
Packing fruit too tightly restricts necessary air movement. Respiring squash releases significant moisture collectively. Crowded arrangements trap this humidity creating localized wet zones.
Space generously even if it means multiple curing locations. Air gaps matter more than maximizing square footage usage.
Washing fruit before curing adds catastrophic surface moisture. Field dirt is preferable to introduced water during this phase. Brush off debris gently with dry cloths only.
Save thorough cleaning for kitchen preparation later. Wet rinds in warm rooms equal guaranteed rot outbreaks.
When to Give Up: Signs Your Squash Won’t Ripen No Matter What You Do
Some green butternut squash simply lack the biological capacity to ripen indoors. Recognizing these signs early saves time and prevents rot from spreading. If the rind remains soft after two weeks of proper curing, stop trying.
The fruit never reached physiological maturity and will not improve further.
Shriveling without color change indicates insufficient internal starch reserves. The squash is losing moisture faster than sugars can form. This happens when fruit was harvested far too early.
Compost these specimens immediately rather than wasting storage space. They will only continue deteriorating regardless of conditions.
Mold appearing within the first three days signals fatal damage. Surface fuzz might be salvageable but internal rot is not. Cut open suspect fruit to check flesh integrity before deciding.
Translucent or mushy tissue means pathogens have already colonized deeply. Healthy cured squash should remain firm throughout the process.
Distinguishing Stalled Ripening From True Failure
Sometimes curing appears stuck but is actually progressing slowly. Cooler temperatures extend timelines beyond the standard fourteen days. Check for subtle color shifts rather than expecting dramatic changes daily.
A slight warming of green tones suggests enzymes are still active. Patience may yet reward you if conditions stabilize.
True failure shows no progress whatsoever over extended periods. Completely unchanged appearance after three weeks confirms biological limits. Compare against photos taken at curing start for objective assessment.
Memory often exaggerates minor improvements that never actually occurred. Accept the loss and adjust harvest timing next season.
Weight loss exceeding fifteen percent marks irreversible desiccation. The fruit has dried beyond recovery even if colors eventually shift. Texture will remain tough and fibrous permanently.
Use such squash for livestock feed or compost instead. Kitchen quality depends on retaining adequate moisture during conversion.
Frequently Asked Questions About Off-Vine Butternut Squash Ripening
Can I ripen butternut squash in direct sunlight?
Direct sunlight causes uneven heating and surface bleaching rather than true ripening. UV radiation degrades carotenoids creating pale faded patches. Biological color development requires warmth without light exposure.
Keep curing areas dim and rely on ambient temperature control. Sunlight damages quality even if skin eventually changes color.
How long does off-vine ripening take compared to field ripening?
Off-vine curing typically takes ten to fourteen days under ideal conditions. Field ripening occurs gradually over several weeks naturally. Indoor methods accelerate specific biochemical pathways through controlled warmth.
Flavor development matches field-ripened fruit when done correctly. Storage life may actually exceed vine-ripened equivalents due to reduced field exposure.
Will immature butternut squash ever turn orange indoors?
Immature fruit lacks sufficient carotenoid precursors to develop full color. Some yellowing may occur but deep orange requires maturity. Chlorophyll breaks down revealing whatever pigments exist underneath.
Without adequate pigment accumulation the result stays pale indefinitely. Only physiologically mature squash achieves true tan coloration through curing.
Can I eat butternut squash that failed to ripen properly?
Underripe butternut is safe to eat but tastes starchy and bland. Cooking methods like roasting help mask textural shortcomings somewhat. Sweetness will never develop fully regardless of preparation technique.
Use failed fruit in heavily seasoned soups or purees. Avoid recipes relying on natural sweetness for best results.
Does refrigeration help green butternut squash ripen faster?
Cold temperatures completely halt the enzymatic processes needed for ripening. Refrigeration below fifty degrees causes chilling injury in uncured squash. Always complete warm curing before introducing cool storage conditions.
Rushing this sequence guarantees poor flavor and shortened shelf life. Patience at proper temperatures is non-negotiable for success.

Similar Posts