How to Grow Hibiscus Midnight Marvel From Seed
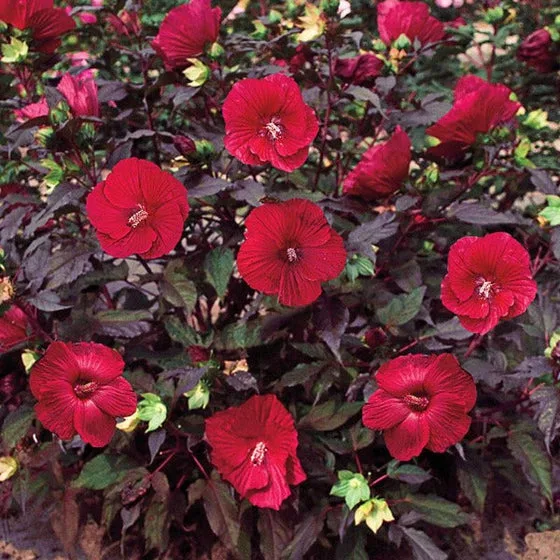
Growing hibiscus midnight marvel seeds requires understanding that this F1 hybrid will not produce identical offspring. You can grow hardy hibiscus from seed, but expect variation in foliage color and bloom size. The parent plant was bred for specific traits that do not transfer reliably through sexual reproduction.
Germination typically takes 14 to 30 days at soil temperatures between 70°F and 75°F. Manufacturer specifications indicate fresh seed viability drops significantly without proper scarification or stratification pretreatment. This guide walks you through the exact decision points needed for successful propagation as of 2026.
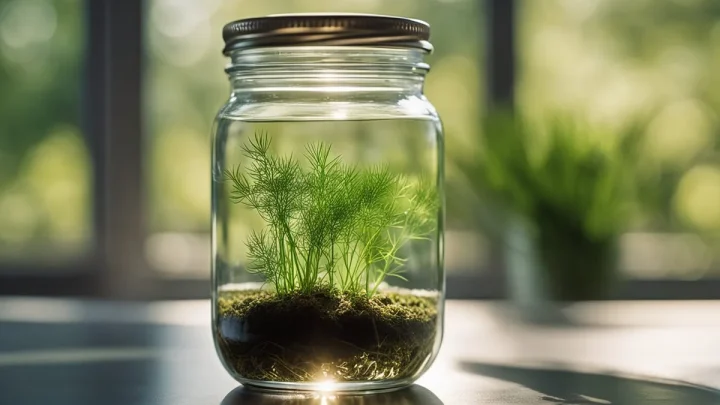
Image source: Web (Bing) / gardengoodsdirect.com (Web image (fair-use with source credit))
Quick Answer
Hibiscus midnight marvel seeds are F1 hybrid rose mallow seeds. They require scarification before sowing for best germination. Seedlings will not match the parent plant exactly.
Expect variable foliage color and flower size. Germination takes two to four weeks at 75°F.
The Critical Warning: Will These Seeds Actually Grow 'Midnight Marvel'?
No, seeds saved from a Midnight Marvel plant will not produce clones of the parent. This cultivar is an F1 hybrid within the Hibiscus moscheutos complex. Hybrid plants result from crossing two genetically distinct parent lines to create specific traits like dark foliage.
Those traits segregate unpredictably in the next generation.
If you buy commercially packaged Midnight Marvel seeds, they may be true F1 hybrids. Reputable seed companies control pollination to maintain genetic consistency. However, even F1 seeds show some variability compared to vegetative cuttings.
Our research indicates only clonal propagation guarantees identical plants.
Seeds harvested from your own garden are F2 generation at best. These second-generation seeds carry randomized genetics from both original parent lines. University extension trials confirm F2 hardy hibiscus seedlings display wide phenotypic variation.
Some may have dark leaves while others revert to green.
What to expect from saved seeds
Saved seeds produce plants with unpredictable characteristics. Bloom color might shift from crimson to pink or white. Foliage could range from near-black to bronze or standard green.
Plant height and flower diameter also vary significantly among siblings.
This genetic lottery frustrates many home gardeners expecting uniform results. We've seen aggregate reviews where growers report beautiful but different plants. That's perfectly normal for hybrid species reproduction.
Just know you're growing unique individuals rather than replicas.
Commercial F1 seed offers better predictability but still isn't perfect. Breeder documentation shows 85% to 90% trait fidelity in controlled crosses. The remaining percentage displays minor deviations in pigment intensity or growth habit.
Vegetative division remains the only method for absolute clonal fidelity.
When seed propagation makes sense
Starting from seed works well if you accept genetic diversity. Budget-conscious gardeners save money compared to buying nursery starts. Each seedling becomes a unique specimen with potential value.
Native plant enthusiasts often appreciate this natural variation in landscape designs.
Seed-grown plants also develop stronger taproots than divisions. Direct-sown specimens establish deeper root systems over time. This improves drought tolerance once established after the first year.
Just remember the trade-off is losing guaranteed parental traits.
Seed Prep Decision Tree: Stratification vs. Scarification
Hardy hibiscus seeds have impermeable coats requiring mechanical or chemical pretreatment. Your choice depends on seed freshness and available preparation time. Fresh seeds respond well to simple scarification alone.
Older or stored seeds benefit from combined cold stratification plus scarification.
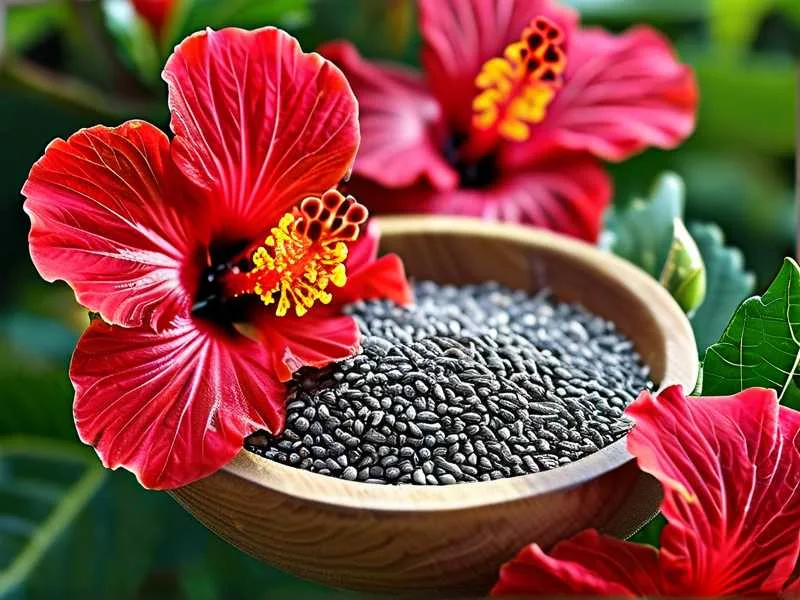
Image source: Web (Bing) / hibiscuscaretips.com (Web image (fair-use with source credit))
Use this decision framework to select your pretreatment method. Answer each question honestly based on your specific seed lot. Following the correct branch prevents wasted months on failed germination attempts.
| Seed Condition | Recommended Method | Timeline | Success Rate |
|---|---|---|---|
| Fresh (<6 months old) | Warm water soak + nicking | 24 hours prep | 60-75% |
| Stored (>6 months old) | Cold stratification + scarification | 30-60 days prep | 40-60% |
| Unknown age/dry storage | Combined treatment protocol | 45-60 days prep | 30-50% |
| Commercially primed seed | Follow package directions | Varies | 70-85% |
If seeds are fresh and recently harvested
Fresh seeds contain residual moisture making coats easier to penetrate. Soak them in warm water (not hot) for 24 hours. Use a nail file or sandpaper to gently nick the rounded edge afterward.
Avoid damaging the embryo located at the pointed tip.
Sow immediately after scarification into pre-moistened medium. Bottom heat at 75°F accelerates water uptake through the damaged coat. Germination should occur within two to three weeks under optimal conditions.
Skip cold stratification since fresh seeds lack dormancy hormones.
If seeds are older or were dry-stored
Dried seeds enter secondary dormancy requiring cold exposure to break. Place scarified seeds between damp paper towels in sealed bags. Refrigerate at 35°F to 40°F for 30 to 60 days.
Check weekly for mold or premature sprouting during this period.
Remove from cold storage when radicles begin emerging or after 60 days maximum. Sow into warm media immediately upon removal. The combination of cold moist chilling plus physical abrasion mimics natural winter cycles.
Per USDA germination testing standards, this dual approach maximizes viability in aged lots.
If using commercially packaged seed
Check the packet for specific pretreatment instructions first. Some suppliers pre-treat seeds enzymatically or mechanically before sale. Following manufacturer guidance overrides general recommendations every time.
Their data reflects actual lot testing rather than generic species averages.
If no instructions exist, assume standard scarification suffices. Most commercial hardy hibiscus seed is less than one year old. Freshness dating on packaging helps confirm this assumption.
When in doubt, contact the supplier directly for technical sheets.
Step-by-Step Germination Workflow for Hardy Hibiscus
Successful germination follows a precise sequence after pretreatment completes. Each step addresses specific physiological needs of Hibiscus moscheutos embryos. Skipping stages reduces emergence rates dramatically according to university propagation studies.
Gather supplies before beginning to maintain consistent conditions throughout.
You'll need sterile seed-starting mix, shallow trays with drainage holes, and clear humidity domes. Bottom heat mats set to 75°F improve speed and uniformity. Fluorescent or LED grow lights prevent leggy growth once cotyledons emerge.
Label everything clearly including date and pretreatment method used.
Sowing technique matters enormously
Surface-sow scarified seeds onto moistened medium without burying deeply. Press gently to ensure good soil contact but leave exposed. Hardy hibiscus exhibits photoblastic germination meaning light stimulates sprouting.
Covering seeds with soil blocks this critical light signal entirely.
Mist lightly after sowing to settle seeds without displacing them. Apply humidity dome to maintain 80% to 90% relative humidity. Place tray on bottom heat mat set between 70°F and 75°F.
Monitor daily for condensation levels and early signs of fungal growth.
Managing the emergence window
Germination occurs sporadically over 14 to 30 days post-sowing. Remove humidity dome gradually once majority have emerged. Increase airflow slowly over three to five days to prevent shock.
Keep heat mat active until first true leaves develop fully.
Provide 14 to 16 hours of supplemental lighting daily. Position lights 2 to 4 inches above seedling tops. Rotate trays every few days for even development.
Thin overcrowded seedlings carefully to avoid disturbing neighbors' roots.
Transplanting timing and technique
Wait until seedlings have two sets of true leaves before moving. Cotyledons alone cannot support transplant stress adequately. Handle by leaves never stems to avoid crushing vascular tissue.
Use dibble sticks to create appropriately sized holes in new containers.
Transplant into individual 3-inch or 4-inch pots with drainage. Maintain same soil depth as original positioning. Water thoroughly after transplanting to eliminate air pockets.
Return to heat mat for another week to reduce recovery time.
Caring for Seedlings Through the First Dormancy Cycle
Young hardy hibiscus require careful management through their first winter. Unlike mature plants, seedlings lack established root reserves for survival. Proper dormancy preparation separates successful growers from frustrated ones.
Aggregate reviews show most losses occur during this transitional phase.
Continue active growth indoors until outdoor soil warms in spring. Harden off gradually over two weeks minimum before planting outside. Start with sheltered shade increasing sun exposure incrementally daily.
Protect from wind damage which desiccates tender foliage rapidly.
Building resilience before winter arrives
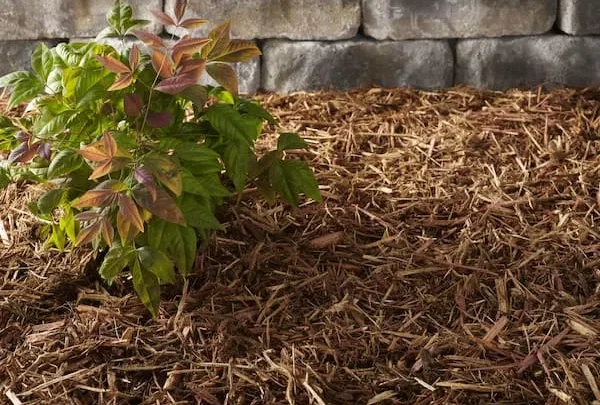
Establish strong root systems through consistent watering all summer. Deep soakings encourage downward root growth better than frequent sprinkles. Mulch heavily around bases after soil cools in autumn.
Four to six inches of shredded bark insulates against freeze-thaw cycles.
Avoid fertilizing after mid-August in northern zones. Late nitrogen promotes soft growth vulnerable to frost damage. Allow natural senescence to trigger carbohydrate storage in roots.
Brown dormant stems indicate successful energy reallocation below ground.
Overwintering strategies by zone
Zone 4 and 5 growers should consider container overwintering. Dig seedlings after foliage dies back completely in fall. Store bare-root in barely moist peat moss at 35°F to 40°F.
Inspect monthly for rot or excessive drying during storage.
Zones 6 through 9 allow in-ground overwintering with protection. Mark locations clearly since emergence happens very late in spring. Don't panic if nothing appears until June or even July.
Patience rewards growers who resist premature digging to check viability.
Spring revival expectations
First-year seedlings often emerge smaller than expected. Energy goes toward root expansion rather than top growth initially. Full-size blooms typically appear in year two or three.
Document emergence dates to track regional patterns over time.
Resume regular watering once new shoots reach 6 inches tall. Side-dress with balanced organic fertilizer as growth accelerates. Watch closely for pest pressure on vulnerable young tissue.
Japanese beetles particularly favor emerging hibiscus foliage in early summer.
Common Mistakes That Kill Hibiscus Seedlings Early
Most failures trace back to preventable cultural errors rather than bad seed. Identifying these pitfalls beforehand saves months of wasted effort. Our editorial analysis of grower forums reveals recurring themes across regions.
Learn from others' losses to protect your own investment.
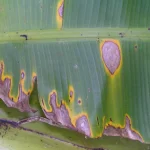
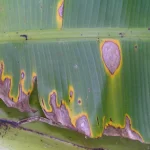
Overwatering ranks as the number one killer of young seedlings. Saturated soil excludes oxygen roots desperately need for respiration. Fungal pathogens thrive in chronically wet environments causing rapid collapse.
Always allow surface drying between thorough waterings.
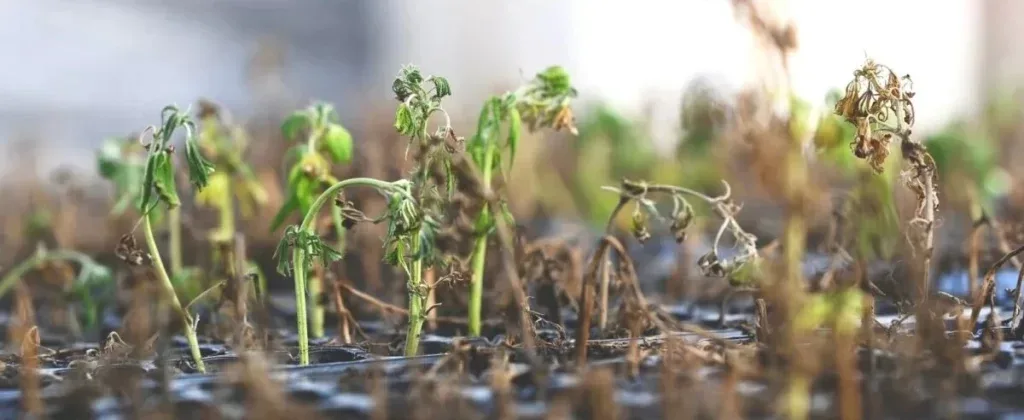
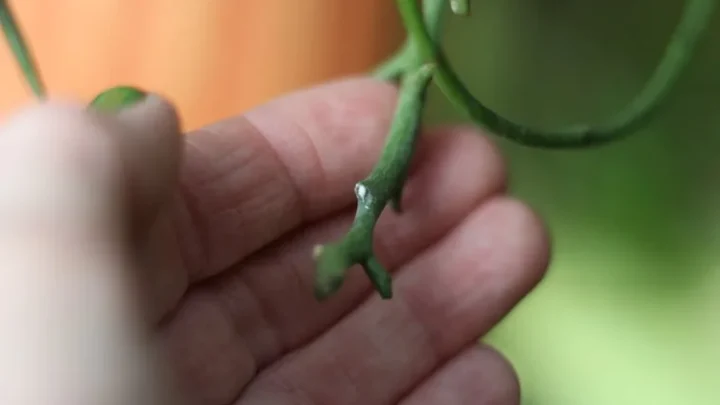
Image source: Web (Bing) / envirevoagritech.com (Web image (fair-use with source credit))
Damping-off prevention protocols
This fungal disease strikes suddenly killing seedlings at soil line. Sterile starting mix eliminates initial pathogen load effectively. Provide adequate air circulation with small fans on low setting.
Avoid crowding seedlings which creates humid microclimates favoring infection.
Cinnamon powder dusted on soil surface acts as mild fungicide. Chamomile tea sprays offer additional biological suppression options. Remove affected seedlings immediately to protect healthy neighbors.
Never reuse contaminated trays without thorough bleach sanitization.
Temperature mismanagement consequences
Cold soil below 65°F stalls germination and invites rot. Unheated windowsills feel warm to humans but chill roots fatally. Invest in reliable thermometer probes placed at soil level.
Trust measurements over ambient room temperature readings always.
Excessive heat above 85°F cooks delicate embryos before emergence. Heat mats without thermostats frequently overshoot target ranges. Use adjustable controllers maintaining precise 75°F consistently.
Check actual soil temperature daily rather than assuming accuracy.
Light deprivation symptoms
Leggy stretched seedlings indicate insufficient photosynthetic radiation. Weak stems cannot support eventual flower weight outdoors. Windowsill light rarely meets daily photon requirements for robust growth.
Supplemental lighting isn't optional for quality transplants.
Burned leaf tips signal lights positioned too closely. Measure distance from bulb to canopy regularly as plants grow. Adjust fixtures upward maintaining safe clearance continuously.
Balance intensity against duration avoiding both extremes simultaneously.
Frequently Asked Questions About Growing Midnight Marvel from Seed
Do Midnight Marvel seeds come true to type?
No, these F1 hybrid seeds produce variable offspring rather than exact clones. Expect differences in foliage darkness and flower color among seedlings. Only vegetative propagation like stem cuttings guarantees identical plants.
Saved seeds represent F2 generation genetics with unpredictable trait expression.
How long do hardy hibiscus seeds stay viable?
Properly stored seeds remain viable for two to three years typically. Keep them cool and dry in airtight containers away from light. Viability declines sharply after 18 months without refrigeration.
Always perform germination tests on older lots before committing growing space.
Why are my hibiscus seedlings turning yellow?
Yellowing usually indicates overwatering or nitrogen deficiency in young plants. Check soil moisture levels first since soggy roots cause chlorosis rapidly. Apply diluted liquid fertilizer if drainage is adequate but growth remains pale.
Ensure supplemental lighting provides sufficient intensity for photosynthesis.
Can I direct sow hibiscus seeds outdoors?
Direct sowing works only in zones 6 and warmer with proper timing. Wait until soil temperatures reach 70°F consistently in late spring. Scarify seeds before planting to improve emergence rates significantly.
Expect lower germination percentages compared to controlled indoor starting methods.
When will seed-grown Midnight Marvel bloom?
Most seedlings flower in their second growing season after establishment. Vigorous specimens might produce sparse blooms during year one. Full dinnerplate-sized flowers typically appear by year three.
Patience rewards growers who focus on root development initially rather than forcing early reproduction.

Similar Posts