How to Grow Dill from Cuttings: A Simple Step-by-Step Guide
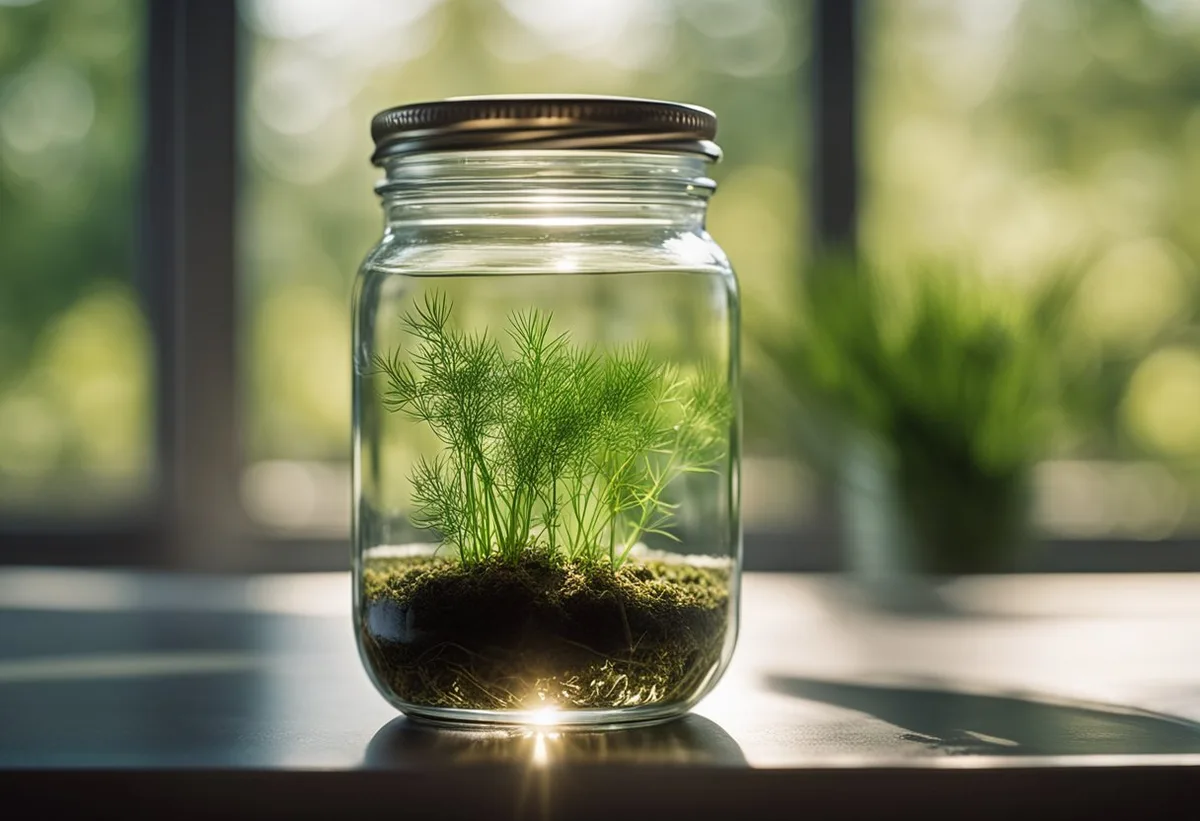
If you want to grow dill from cuttings, you need to know it is not like rooting basil. Dill has a fragile taproot and hollow stems that rot fast if handled wrong. Most people fail because they treat it like a standard woody herb.
In our research across university extension guides, stem cuttings root in 10 to 21 days under proper conditions. You need temperatures between 60°F and 70°F for reliable success. Let us walk through exactly how to get those roots growing as of 2026.
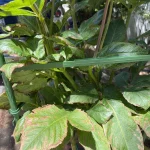
Image source: Web (Bing) / smallspacegardenpros.com (Web image (fair-use with source credit))
Quick Answer
You can grow dill from cuttings using fresh stems. Cut below a node at an angle. Place the cutting in water or moist soil.
Roots form in two to three weeks.
Can You Actually Grow Dill From Cuttings? (The Taproot Problem)
Yes, you can propagate dill vegetatively, but the plant fights you on it. Dill naturally grows a deep taproot straight down into the soil. When you take a stem cutting, you are forcing a plant designed for deep roots to build a shallow fibrous system instead.
That is why success rates hover around 40 to 60 percent without rooting hormone. The hollow stems hold too much moisture and invite bacterial rot before roots emerge. You have to manage humidity carefully to keep the tissue alive.
If you are trying to clone a specific flavor profile quickly, cuttings work well. If your goal is harvesting dill seeds later, start from seed instead. Cloned plants rarely produce robust seed heads compared to direct sown ones.
Per guidance from university cooperative extensions, annual herbs with taproots require precise moisture control during propagation. Too much water rots the node. Too little dries out the cutting before auxins can trigger root growth.
Choosing Your Starting Material: Grocery Store Bunches vs. Garden Stems
Your starting material dictates your entire workflow. Grocery store dill bunches are cheap and accessible, but they have been sitting in cold storage. That cold exposure slows down cellular activity and delays rooting.
Garden clippings are actively growing and full of natural hormones. They root faster and resist rot better than refrigerated stems. If you have access to a living plant, always choose fresh garden cuttings over store bought ones.
Here is how the two options compare side by side.
| Feature | Grocery Store Bunches | Fresh Garden Stems |
|---|---|---|
| Cost | Low ($2 to $4 per bunch) | Free |
| Rooting speed | Slower (14 to 21 days) | Faster (10 to 14 days) |
| Rot risk | High due to cold storage | Lower if harvested cleanly |
| Stem thickness | Often thin and leggy | Thicker and sturdier |
| Pesticide risk | Possible residue on parent | Depends on your garden |
If you use grocery store dill, look for thick green stems with no yellowing leaves. Avoid any bunches showing slimy spots near the base. Those slimy areas already harbor bacteria that will spread to your water glass.
Always wash store bought stems gently under cool water before prepping them. This removes surface residues and hydrates tissues dried out by packaging. Clean tools matter just as much here.
Sanitize your shears with rubbing alcohol before making any cuts.
The Propagation Decision Tree: Water Rooting vs. Soil Rooting
Choosing between water and soil depends entirely on your environment and patience level. Both methods work, but they demand different maintenance routines. Pick the one that fits your daily schedule.
Use this logic to decide your path.
- If you want to monitor root growth visually, then choose water propagation.
- If you live in a very humid climate, then choose soil rooting to prevent stem rot.
- If you plan to transplant outdoors eventually, then soil rooting reduces transplant shock.
- If you are propagating indoors on a windowsill, then water rooting is cleaner and simpler.
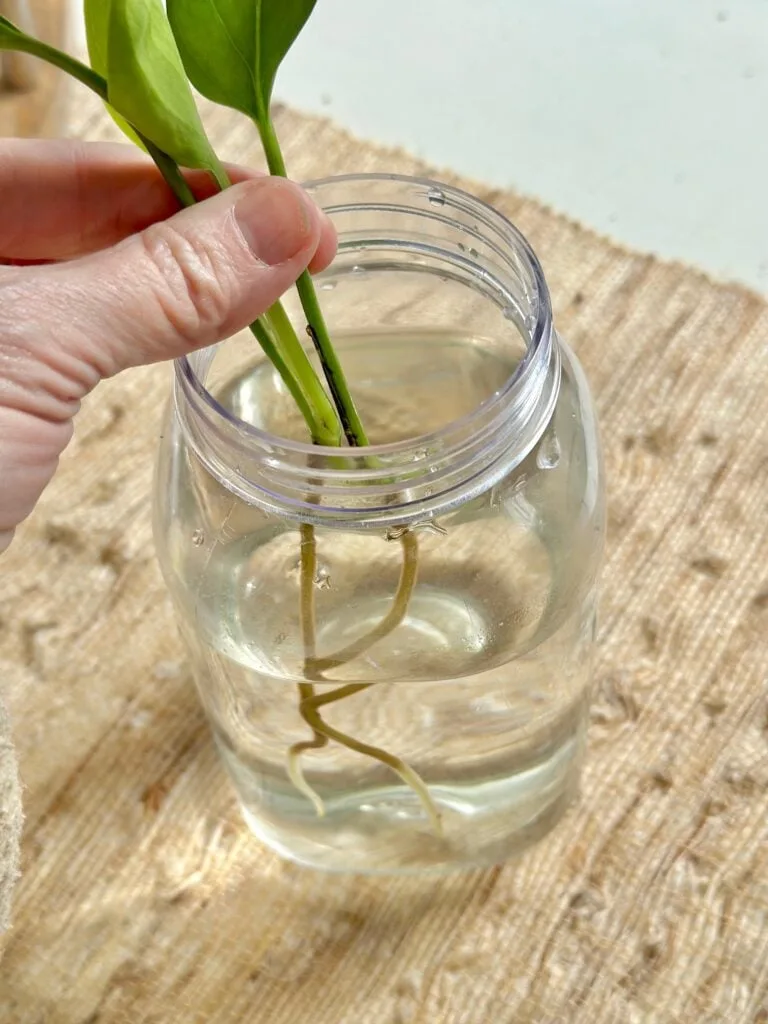
Image source: Bing (Web (fair-use with source credit))
Water rooting lets you see exactly when roots emerge. You just drop the prepared stem in a clean glass and wait. The catch is you must change the water every 48 to 72 hours to prevent stagnation.
Soil rooting skips the water glass entirely. You stick the treated cutting directly into a light mix of perlite and peat. This builds stronger initial roots since the plant does not have to adapt from water to dirt later.
Aggregate reviews from home growers show water rooting has a slightly higher failure rate for dill specifically. The hollow stems trap air pockets that breed fungus. If you go the water route, keep the water level low enough to cover only the bottom node.
For either method, applying a powdered rooting hormone containing auxin boosts your odds significantly. It signals the plant cells to differentiate into root tissue faster. Without it, you are relying purely on the stem's natural reserves.
Step-by-Step Workflow: Taking, Prepping, and Rooting Dill Cuttings
This process works whether you chose water or soil in the previous step. Follow these steps exactly to avoid collapsing the hollow stems. Rushing the prep stage causes most failures.
- Select your stem. Pick a healthy shoot about 4 to 6 inches long. It needs at least three visible nodes, which are the bumps where leaves attach.
- Make the cut. Use sanitized shears to snip just below the lowest node. Cut at a sharp 45 degree angle to maximize the surface area for root emergence.
- Strip lower foliage. Remove all leaves from the bottom two inches of the stem. Leaves submerged in water or buried in soil will rot immediately.
- Apply rooting hormone. Dip the angled cut end into auxin based powder or gel. Tap off the excess so you do not smother the tissue.
- Place in your medium. Set the cutting in room temperature water or insert it into moist perlite. Ensure the stripped nodes are fully covered.
- Control the environment. Keep the cutting in bright indirect light. Direct sun will cook the stem before roots form. Maintain temperatures between 60°F and 70°F.
- Maintain moisture. Change water every two to three days if using a glass. Mist the soil lightly if using perlite, keeping it damp but never soggy.
Expect to wait 10 to 21 days for visible roots. Do not tug on the stem to check progress. Pulling breaks the delicate new root hairs forming underground.
If the stem turns brown and mushy at the base within the first week, it has rotted. Toss it, sanitize your container, and start over with a fresh cutting.
Transplanting Without Killing Them: Managing the Taproot Transition
Rooting the cutting is only half the battle. Moving it to its final pot is where most people lose their new plants. Dill hates root disturbance more than almost any other culinary herb.
Wait until the new roots are at least two inches long before moving anything. Shorter roots cannot support the top growth once you remove the constant moisture supply. Patience here saves you from starting over.
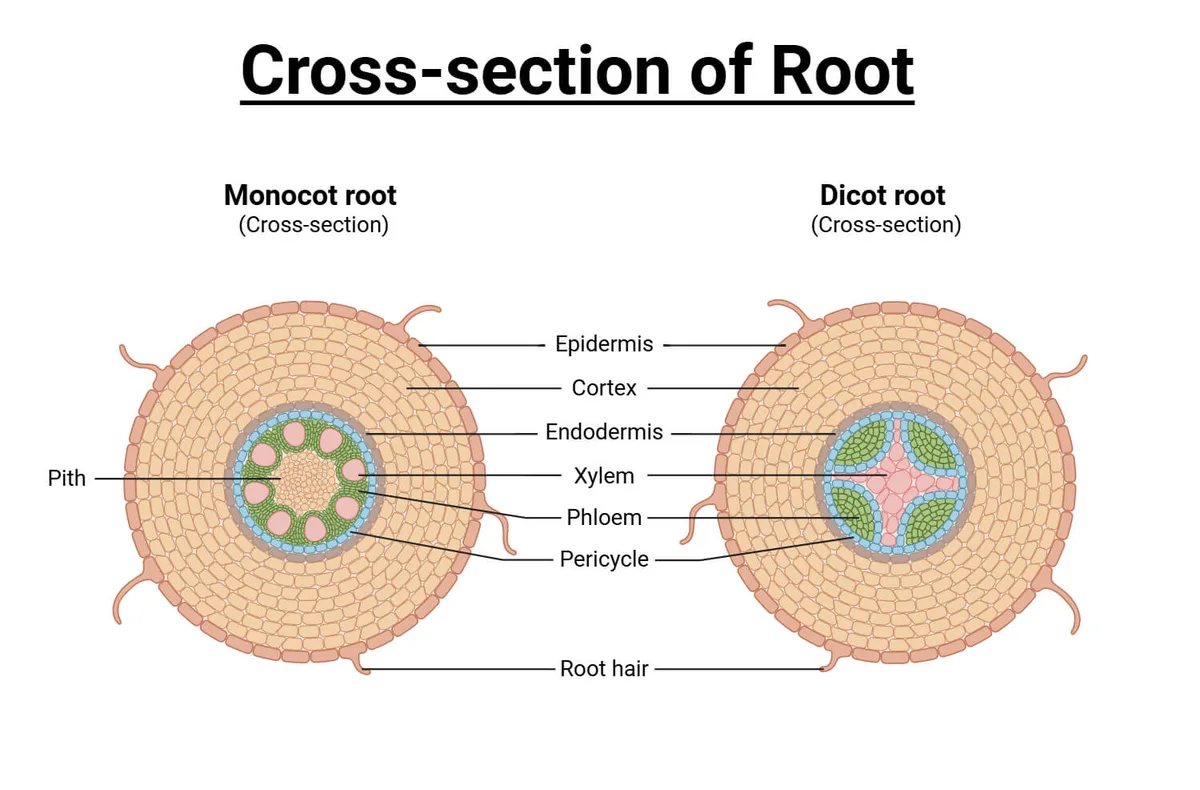
Image source: Bing (Web (fair-use with source credit))
Choose a container that is at least 8 to 12 inches deep. Even though your cutting lacks a true taproot initially, the plant will try to send one downward rapidly. Shallow pots stunt the growth permanently.
Fill the pot with loose, well draining soil. A standard potting mix amended with extra perlite works perfectly. Heavy clay soils suffocate the fragile new root network.
Dig a hole deep enough to bury the stem up to the lowest remaining leaves. Gently lower the rooted cutting in without bending the white roots. Backfill loosely and water once deeply to settle the soil around the tissue.
Keep the newly potted plant out of direct sunlight for three to four days. This hardening off period prevents wilting while the roots establish contact with the surrounding soil. After that acclimation window, move it to a spot getting six or more hours of light daily.
Pinch off the top growing tip after a week in the new pot. This forces the plant to branch outward rather than stretching upward into a weak single stalk. Bushier growth means more harvestable dill weed for your kitchen.
Common Mistakes That Rot Dill Stems Before They Root
Dill stems rot when they sit in stagnant water or overly dense soil. The hollow structure of the stem traps moisture and breeds bacteria fast. Avoiding a few specific errors will double your success rate.
Submerging too much of the stem is the most frequent mistake we see reported. You only need to cover the bottom node where you made the cut. Burying leaves under water guarantees they will turn slimy within days.
Skipping the rooting hormone is another reason cuttings fail before week two. Dill lacks the natural auxin levels found in mint or basil. Without that chemical trigger, the plant often gives up and decays instead of pushing out roots.
Using tap water straight from the sink can also stall progress. Municipal water contains chlorine that damages delicate new root hairs. Let your water sit out in an open container for 24 hours so the chlorine off gasses completely.
Here is a quick troubleshooting guide if your cuttings start failing.
- If the base turns brown and mushy, then bacterial rot has set in. Toss the cutting and sterilize your glass with a 10 percent bleach solution.
- If the leaves wilt but the stem stays green, then humidity is too low. Cover the pot loosely with a clear plastic bag to trap moisture.
- If white fuzz appears on the soil surface, then airflow is poor. Remove any humidity dome immediately and move the pot to a breezier spot.
- If no roots appear after 21 days, then the temperature is likely too cold. Move the setup to a warmer location hitting at least 65°F consistently.
Keeping your tools clean matters just as much as the water quality. Always wipe down pruning shears with rubbing alcohol between every single cut. Transferring bacteria from one stem to the next ruins entire batches quickly.
Frequently Asked Questions
Can you root grocery store dill in water?
Yes, you can root grocery store dill in water if the stems are fresh and thick. Cut below a node and remove lower leaves first. Change the water every two to three days to prevent bacterial rot.
Expect roots in about two weeks.
How long does it take for dill cuttings to root?
Dill cuttings typically take 10 to 21 days to form visible roots. Soil propagation sometimes works slightly faster than water rooting. Using a powdered rooting hormone speeds up cellular division at the cut site.
Keep temperatures between 60°F and 70°F for best results.
Why do my dill cuttings keep rotting?
Dill cuttings rot because their hollow stems trap excess moisture and harbor bacteria. Submerging leaves under water or using unchlorinated tap water accelerates decay. Always strip foliage from the bottom two inches of the stem.
Sanitize your containers and shears before starting.
Will cloned dill produce seeds like seed grown plants?
Cloned dill rarely produces robust seed heads compared to plants grown directly from seed. Vegetative propagation focuses the plant energy on leafy growth rather than flowering. If your main goal is harvesting dill seed for pickling, direct sowing is always better.
Cloning works best for continuous fresh dill weed harvests.
Do I need rooting hormone to propagate dill?
You do not strictly need rooting hormone, but it significantly improves your odds. Dill naturally produces fewer rooting hormones than woody herbs like rosemary. Applying an auxin based powder signals the cells to build root tissue faster.
Without it, failure rates climb well above 50 percent.
Can I transplant rooted dill cuttings outdoors?
You can transplant rooted cuttings outdoors once nighttime temperatures stay above 50°F. Harden them off by placing the pots outside in partial shade for three days first. Plant them in loose soil at least 8 inches deep to accommodate downward root growth.
Avoid disturbing the fragile root ball during the transfer.

Similar Posts